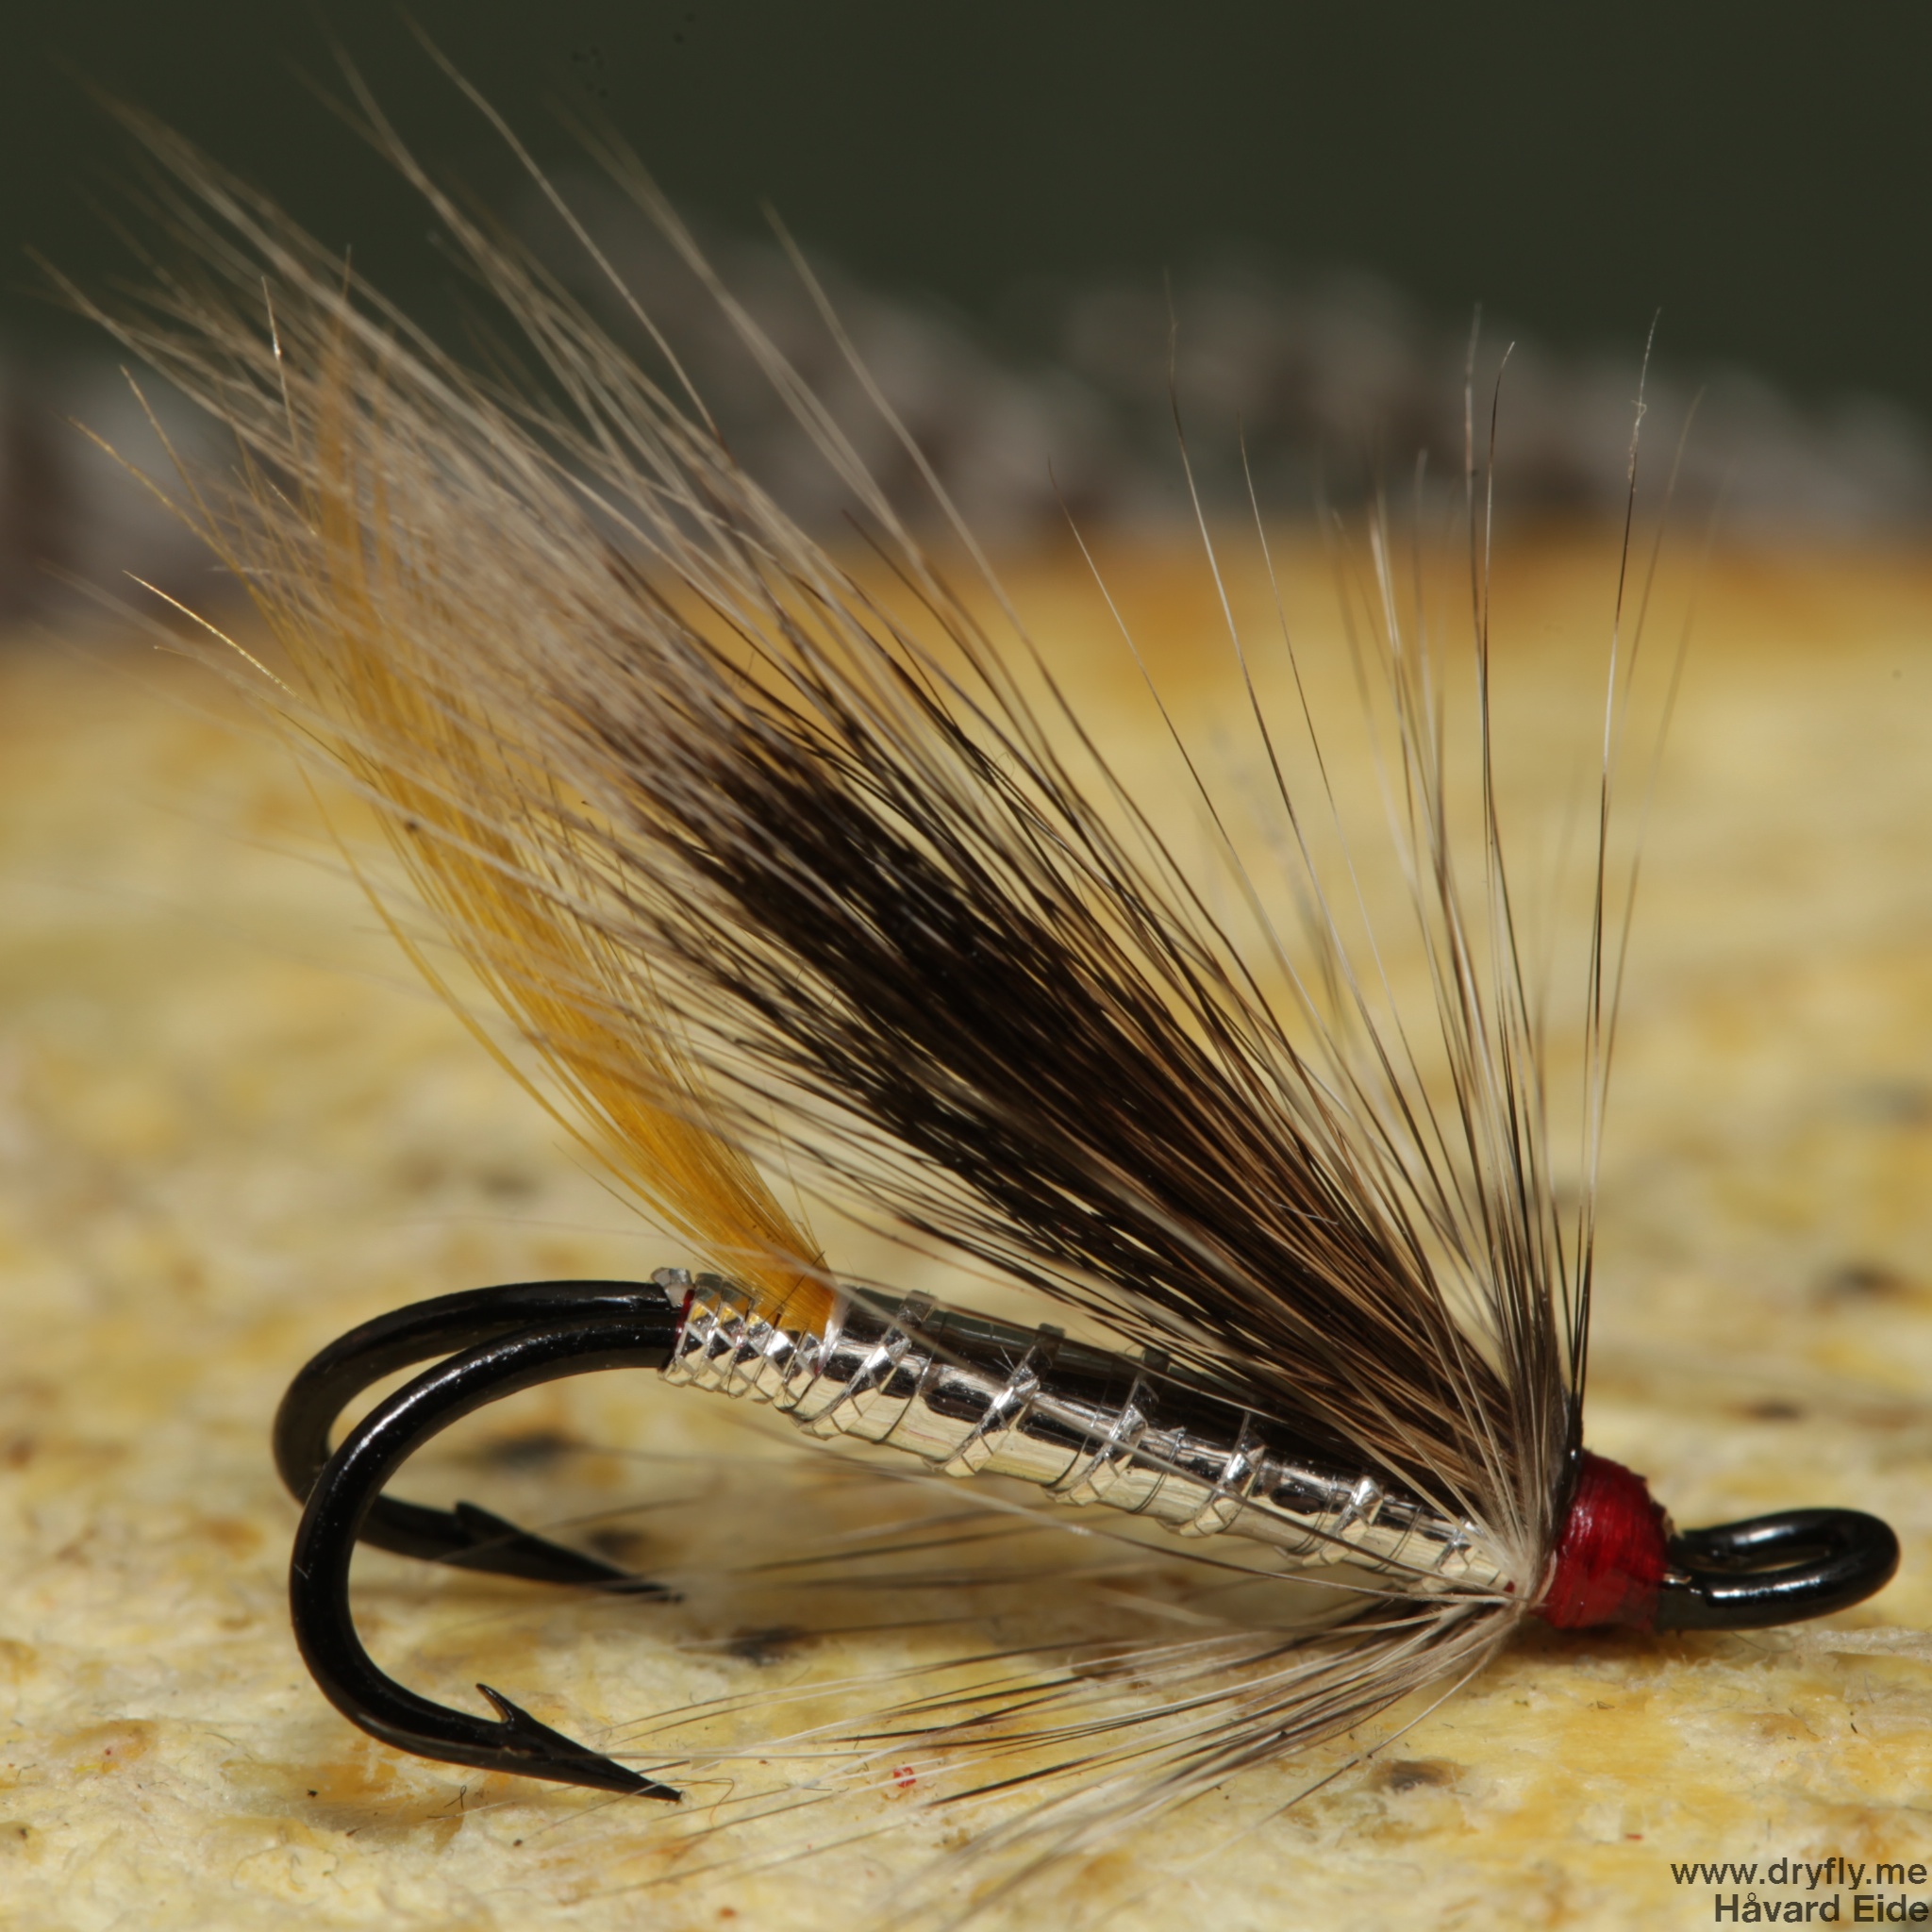
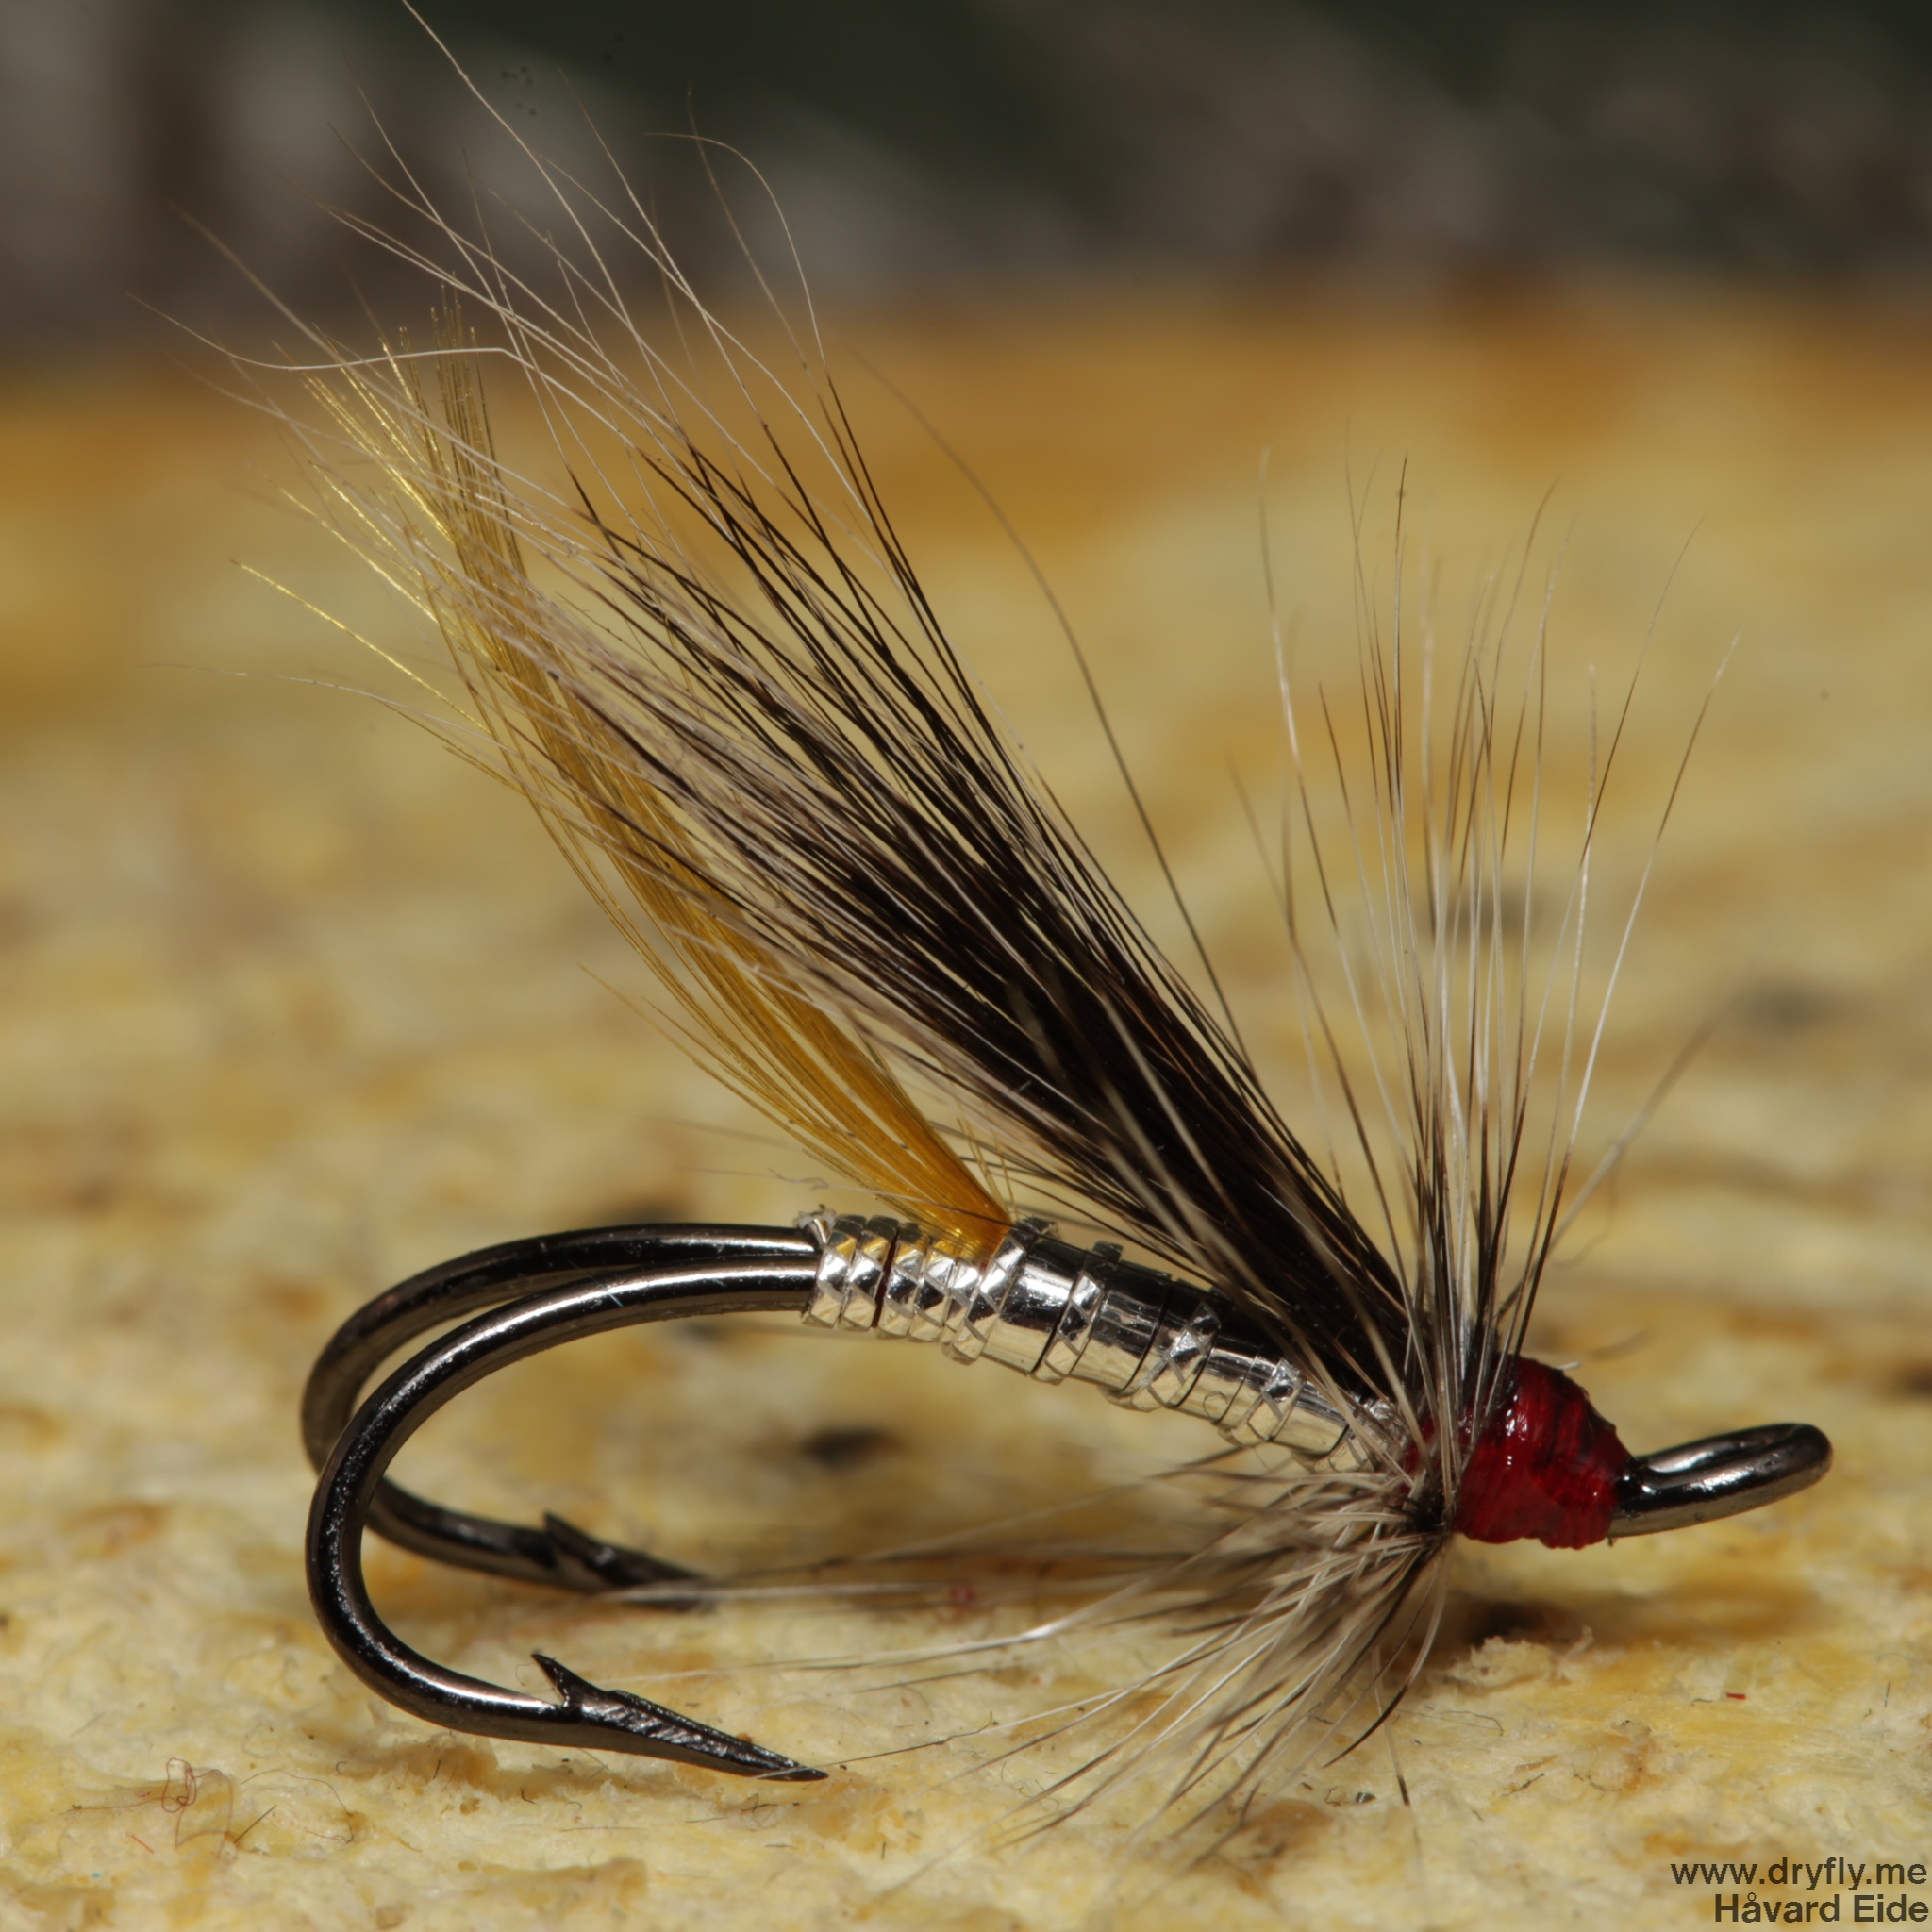
I have done some Polar Magnus lately and I thought it would be good to do a SBS on this great seatrout fly. This is a pattern that can be changed with different colors and hackle and this is how I tie them to ensure maximum durability during fishing.
Hook: TMC 777SP #8
Thread: UNI 6/0
Tail: Whiting Hackle tips
Body: Hareline Ice Dub
Body Hackle: Whiting
Rib: Copper Wire
Front Hackle: Foxtail Hen Red
Eyes: Bead Chain Gold Medium
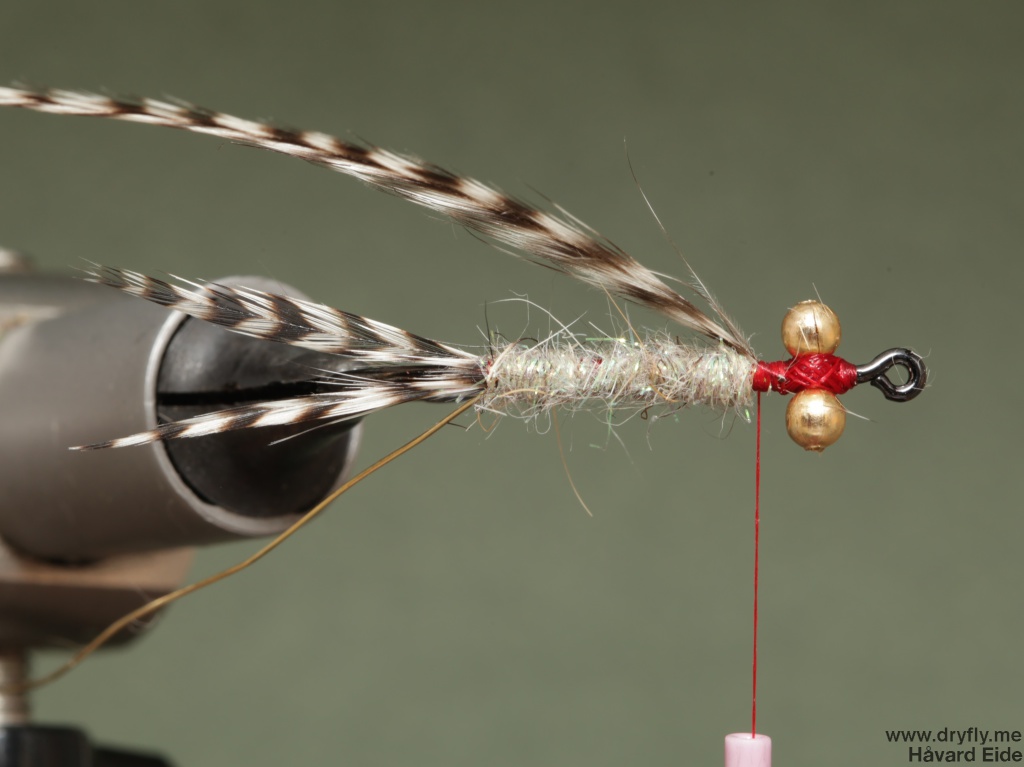
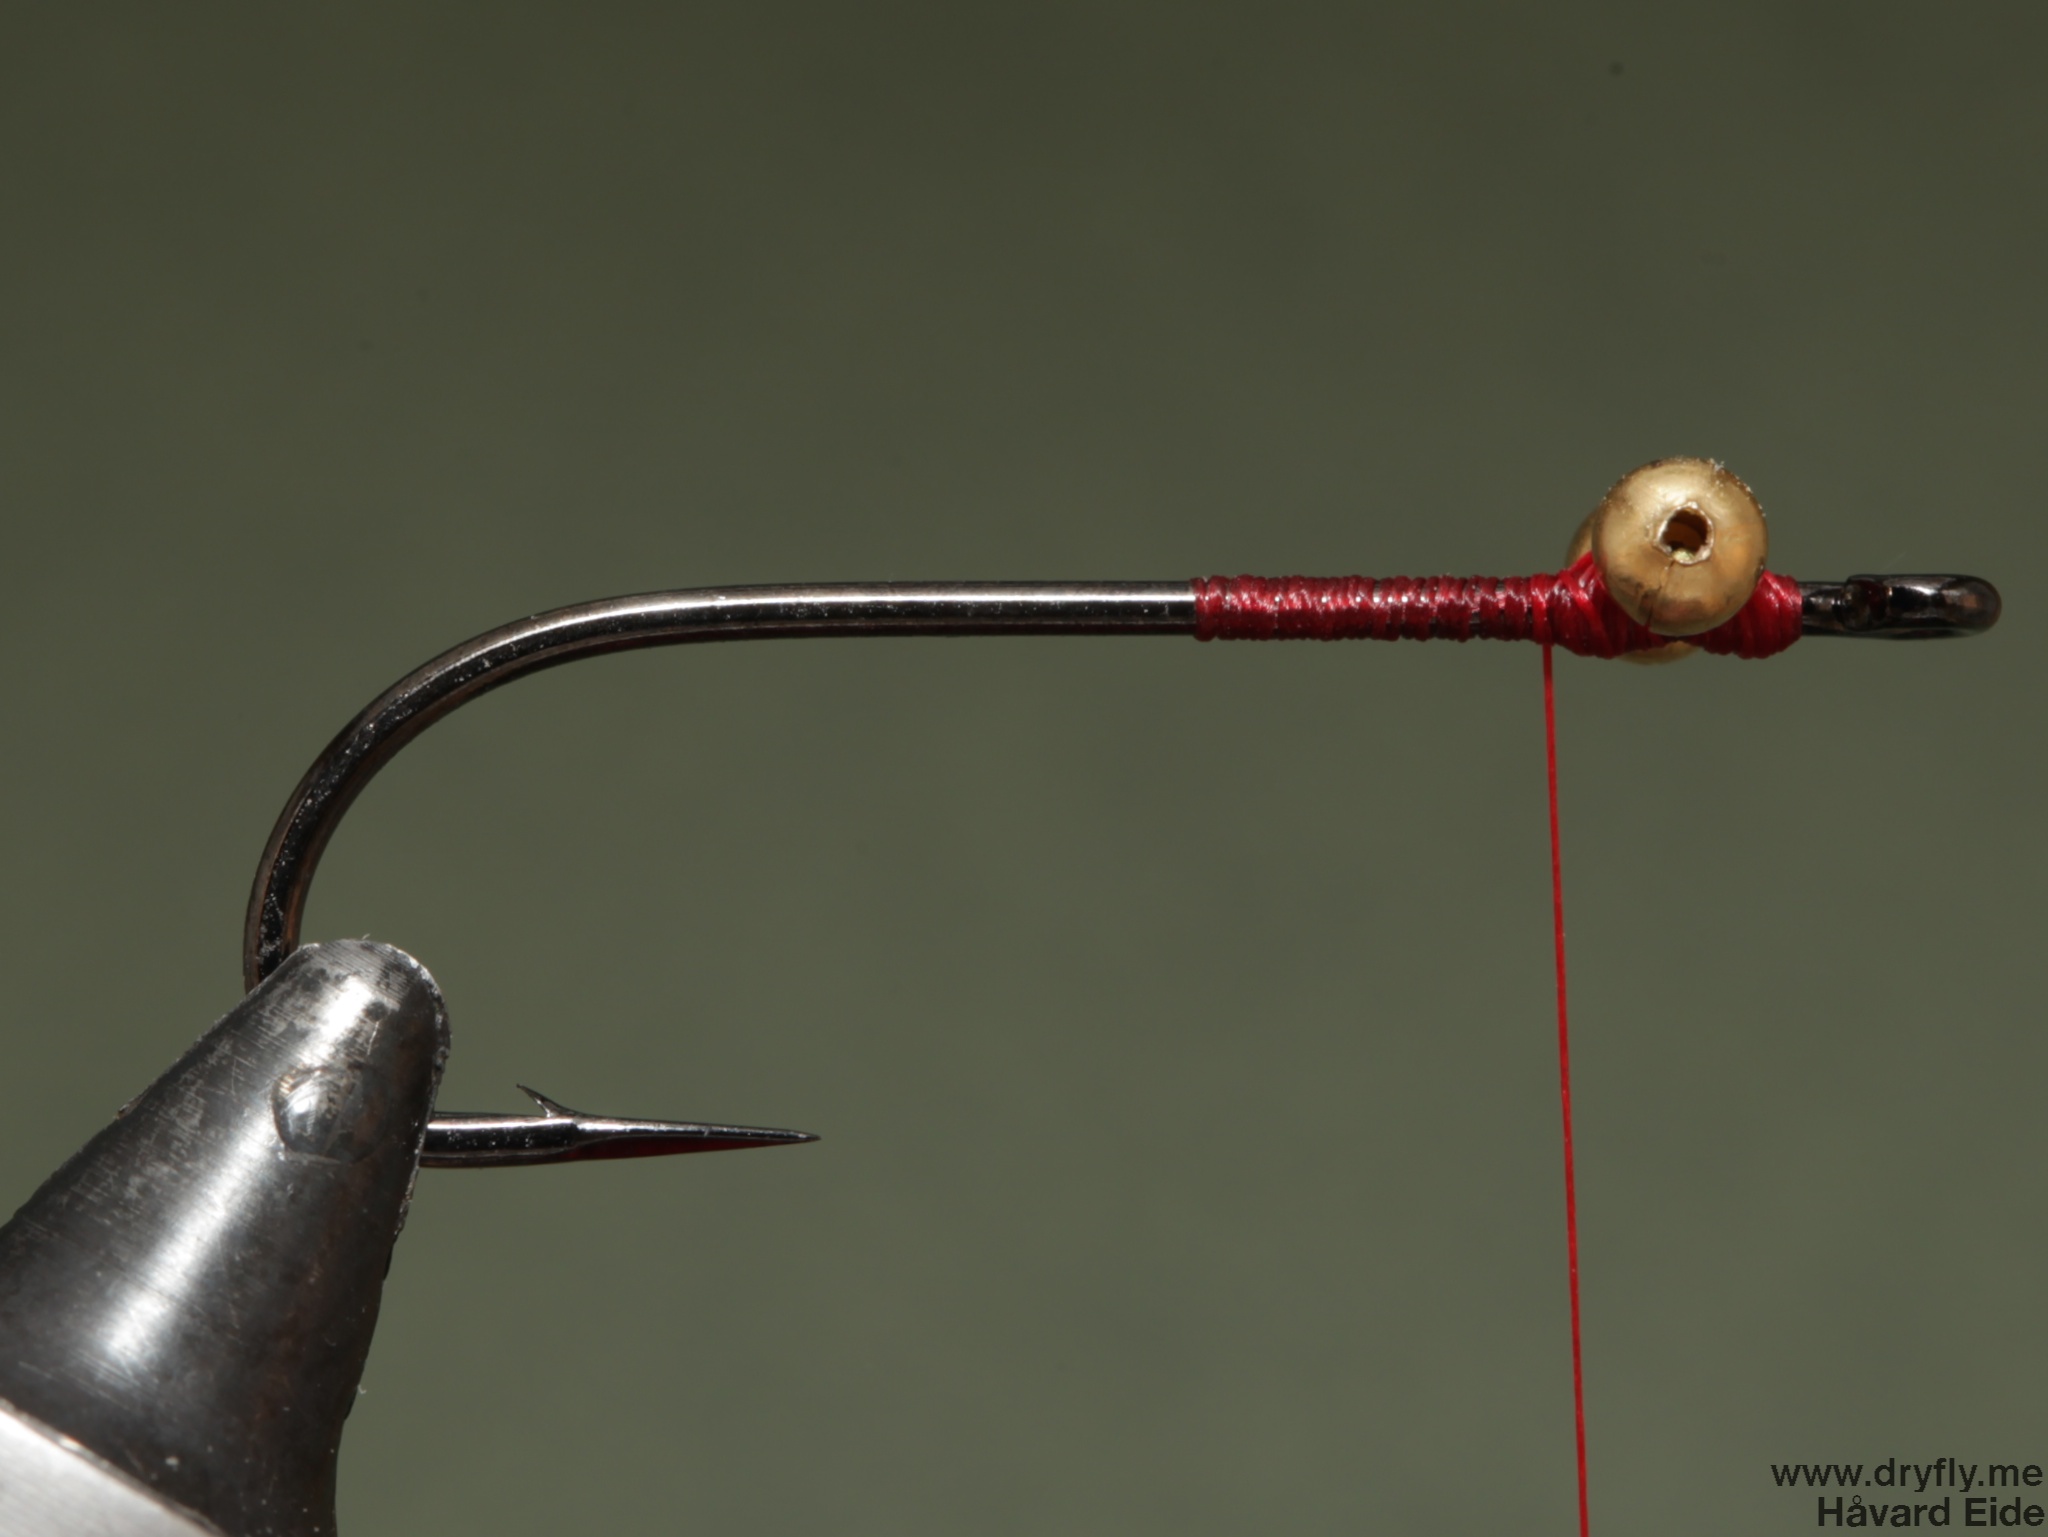
1. start with thread from the hook eye and add a layer back and then towards the eye again. Add a pair of bead chain eyes, here I have used a medium gold version, but can be substituted with different sizes and colors. You can also add the eyes on the underside of the hook

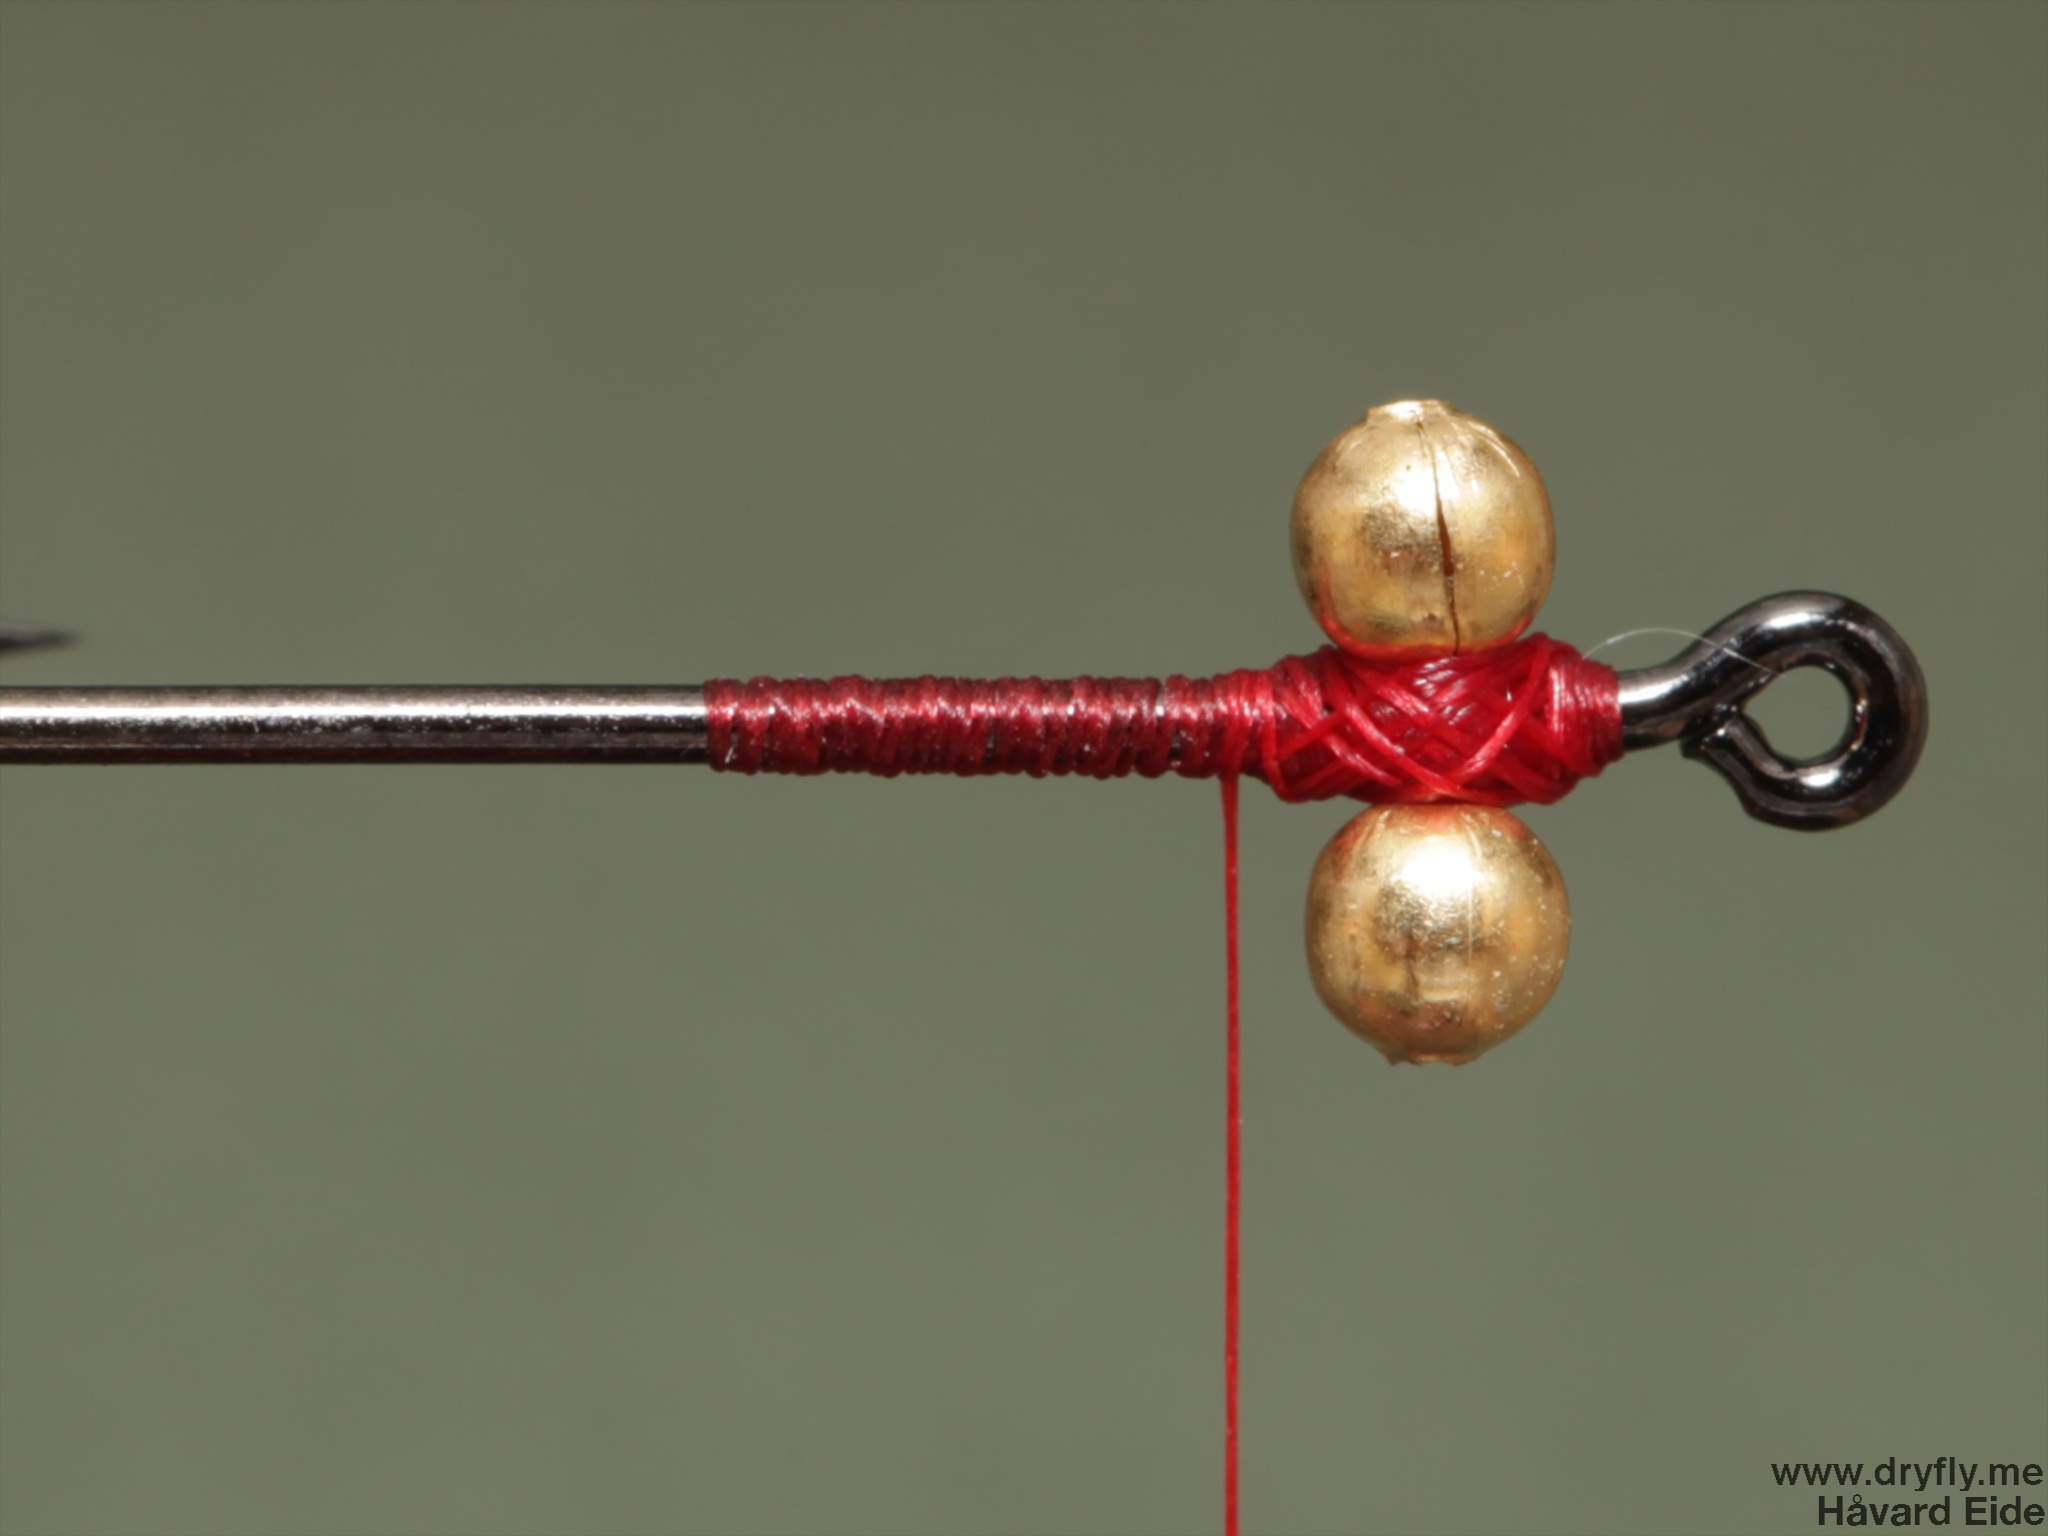
2. When tying in the eyes: wrap in a figure-eight around the hook to securely tie in the eyes, if not they can start to slip. Also make sure you apply a good amount of pressure on the thread here to secure the eyes, you can also add some superglue to the wraps when you are done to secure the eyes even more.

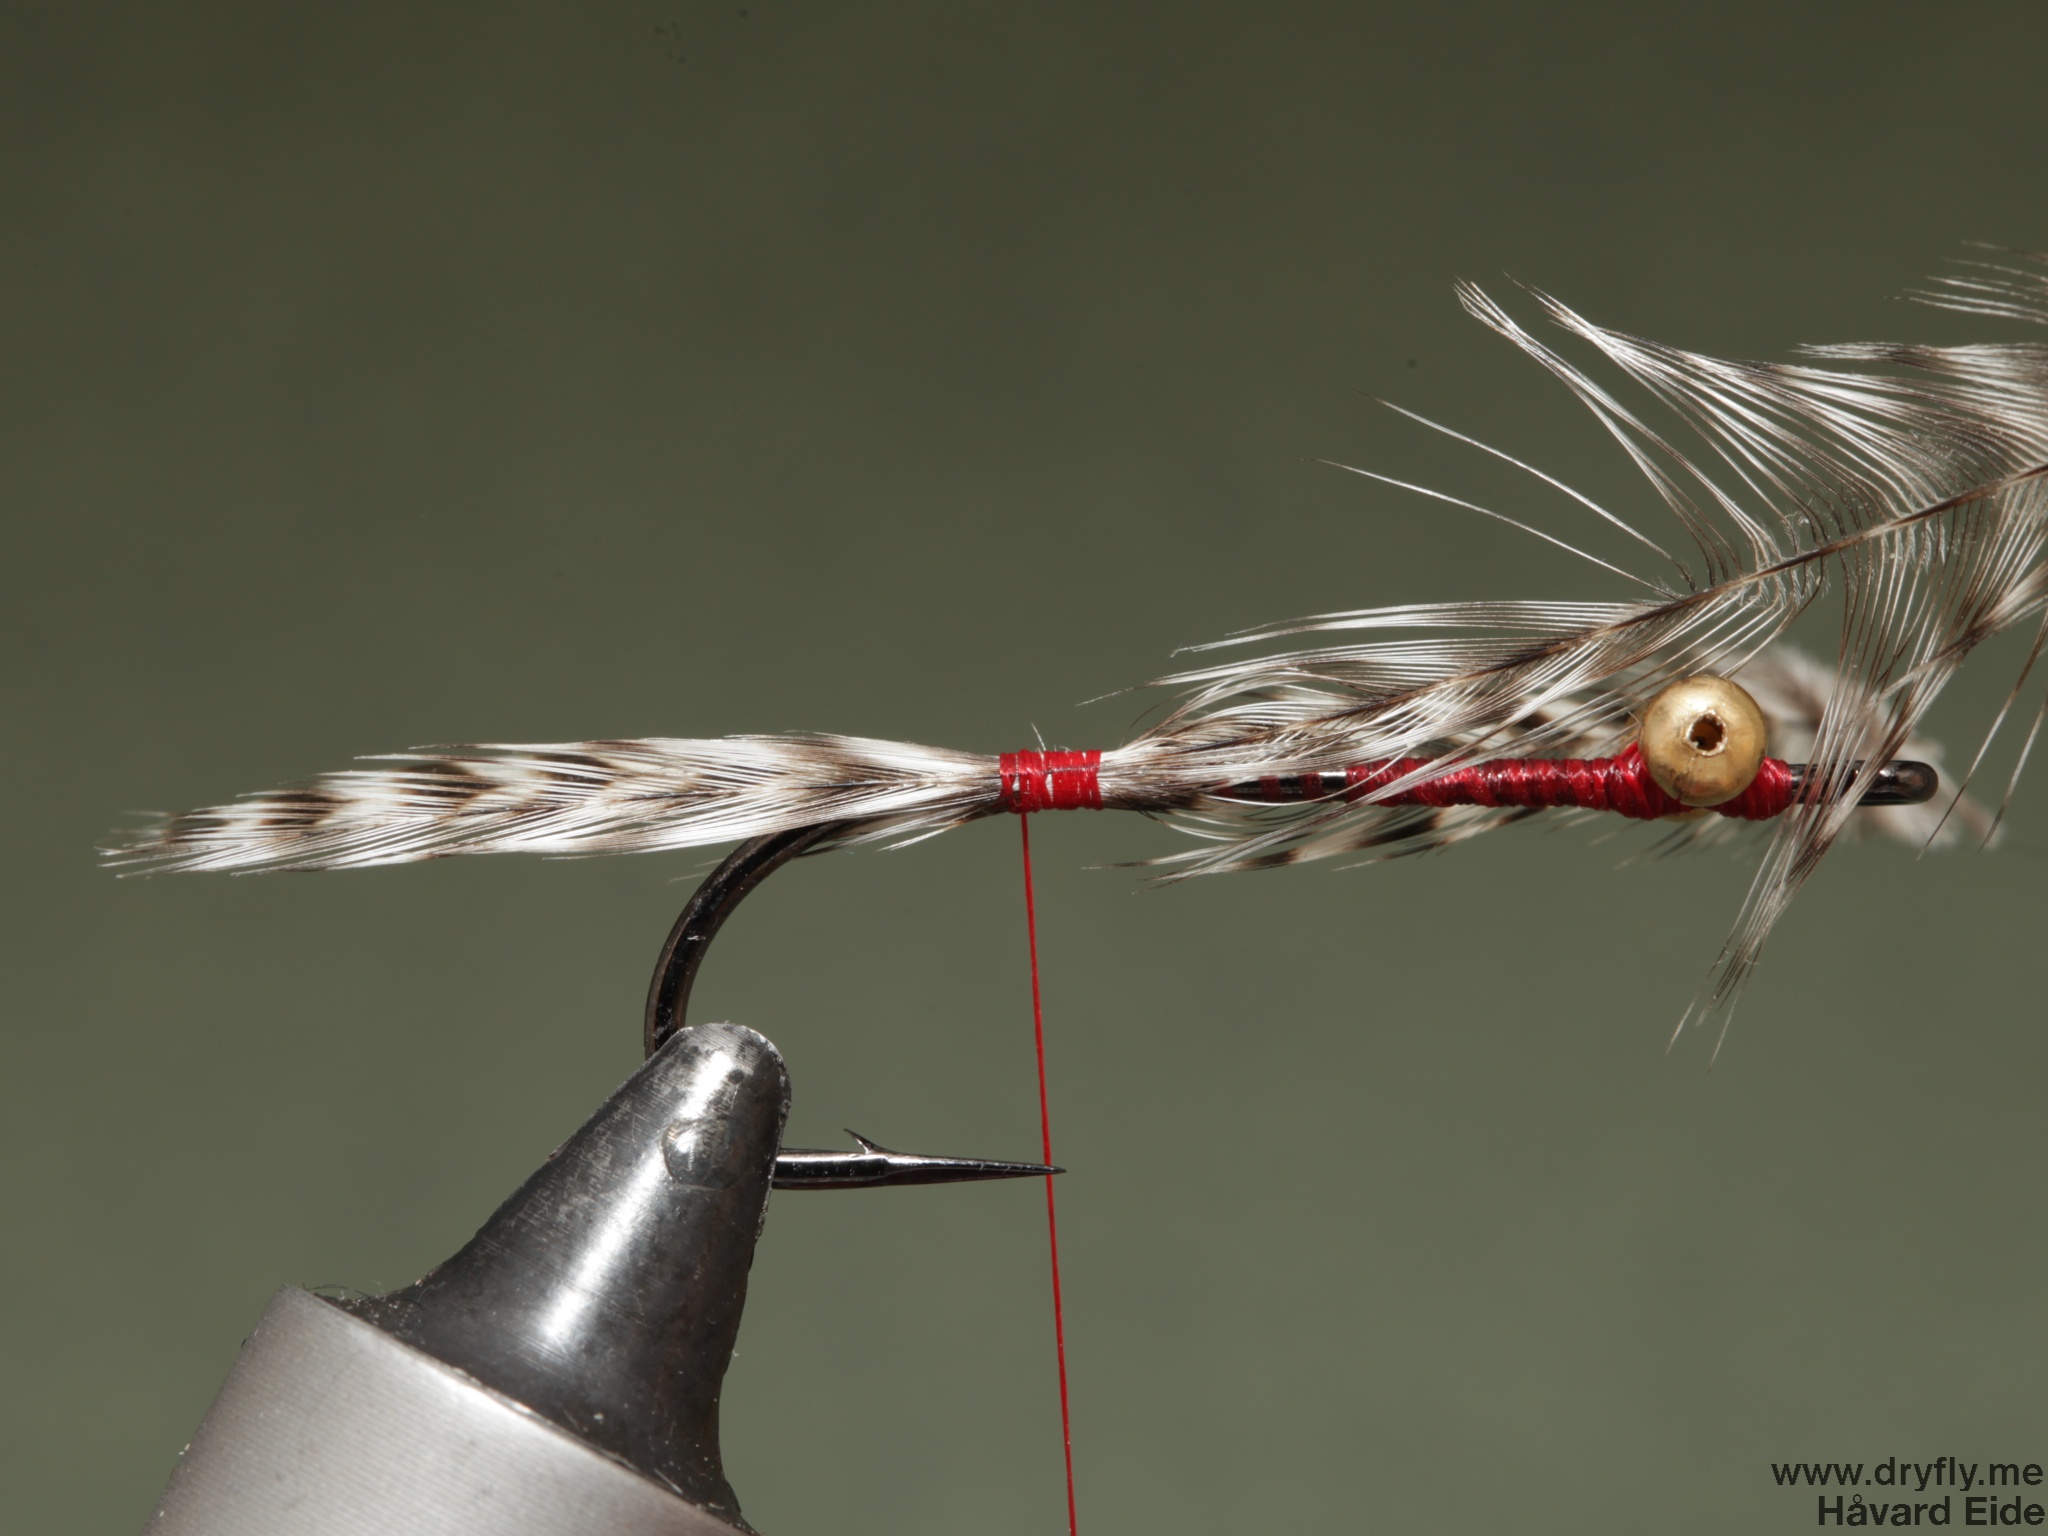
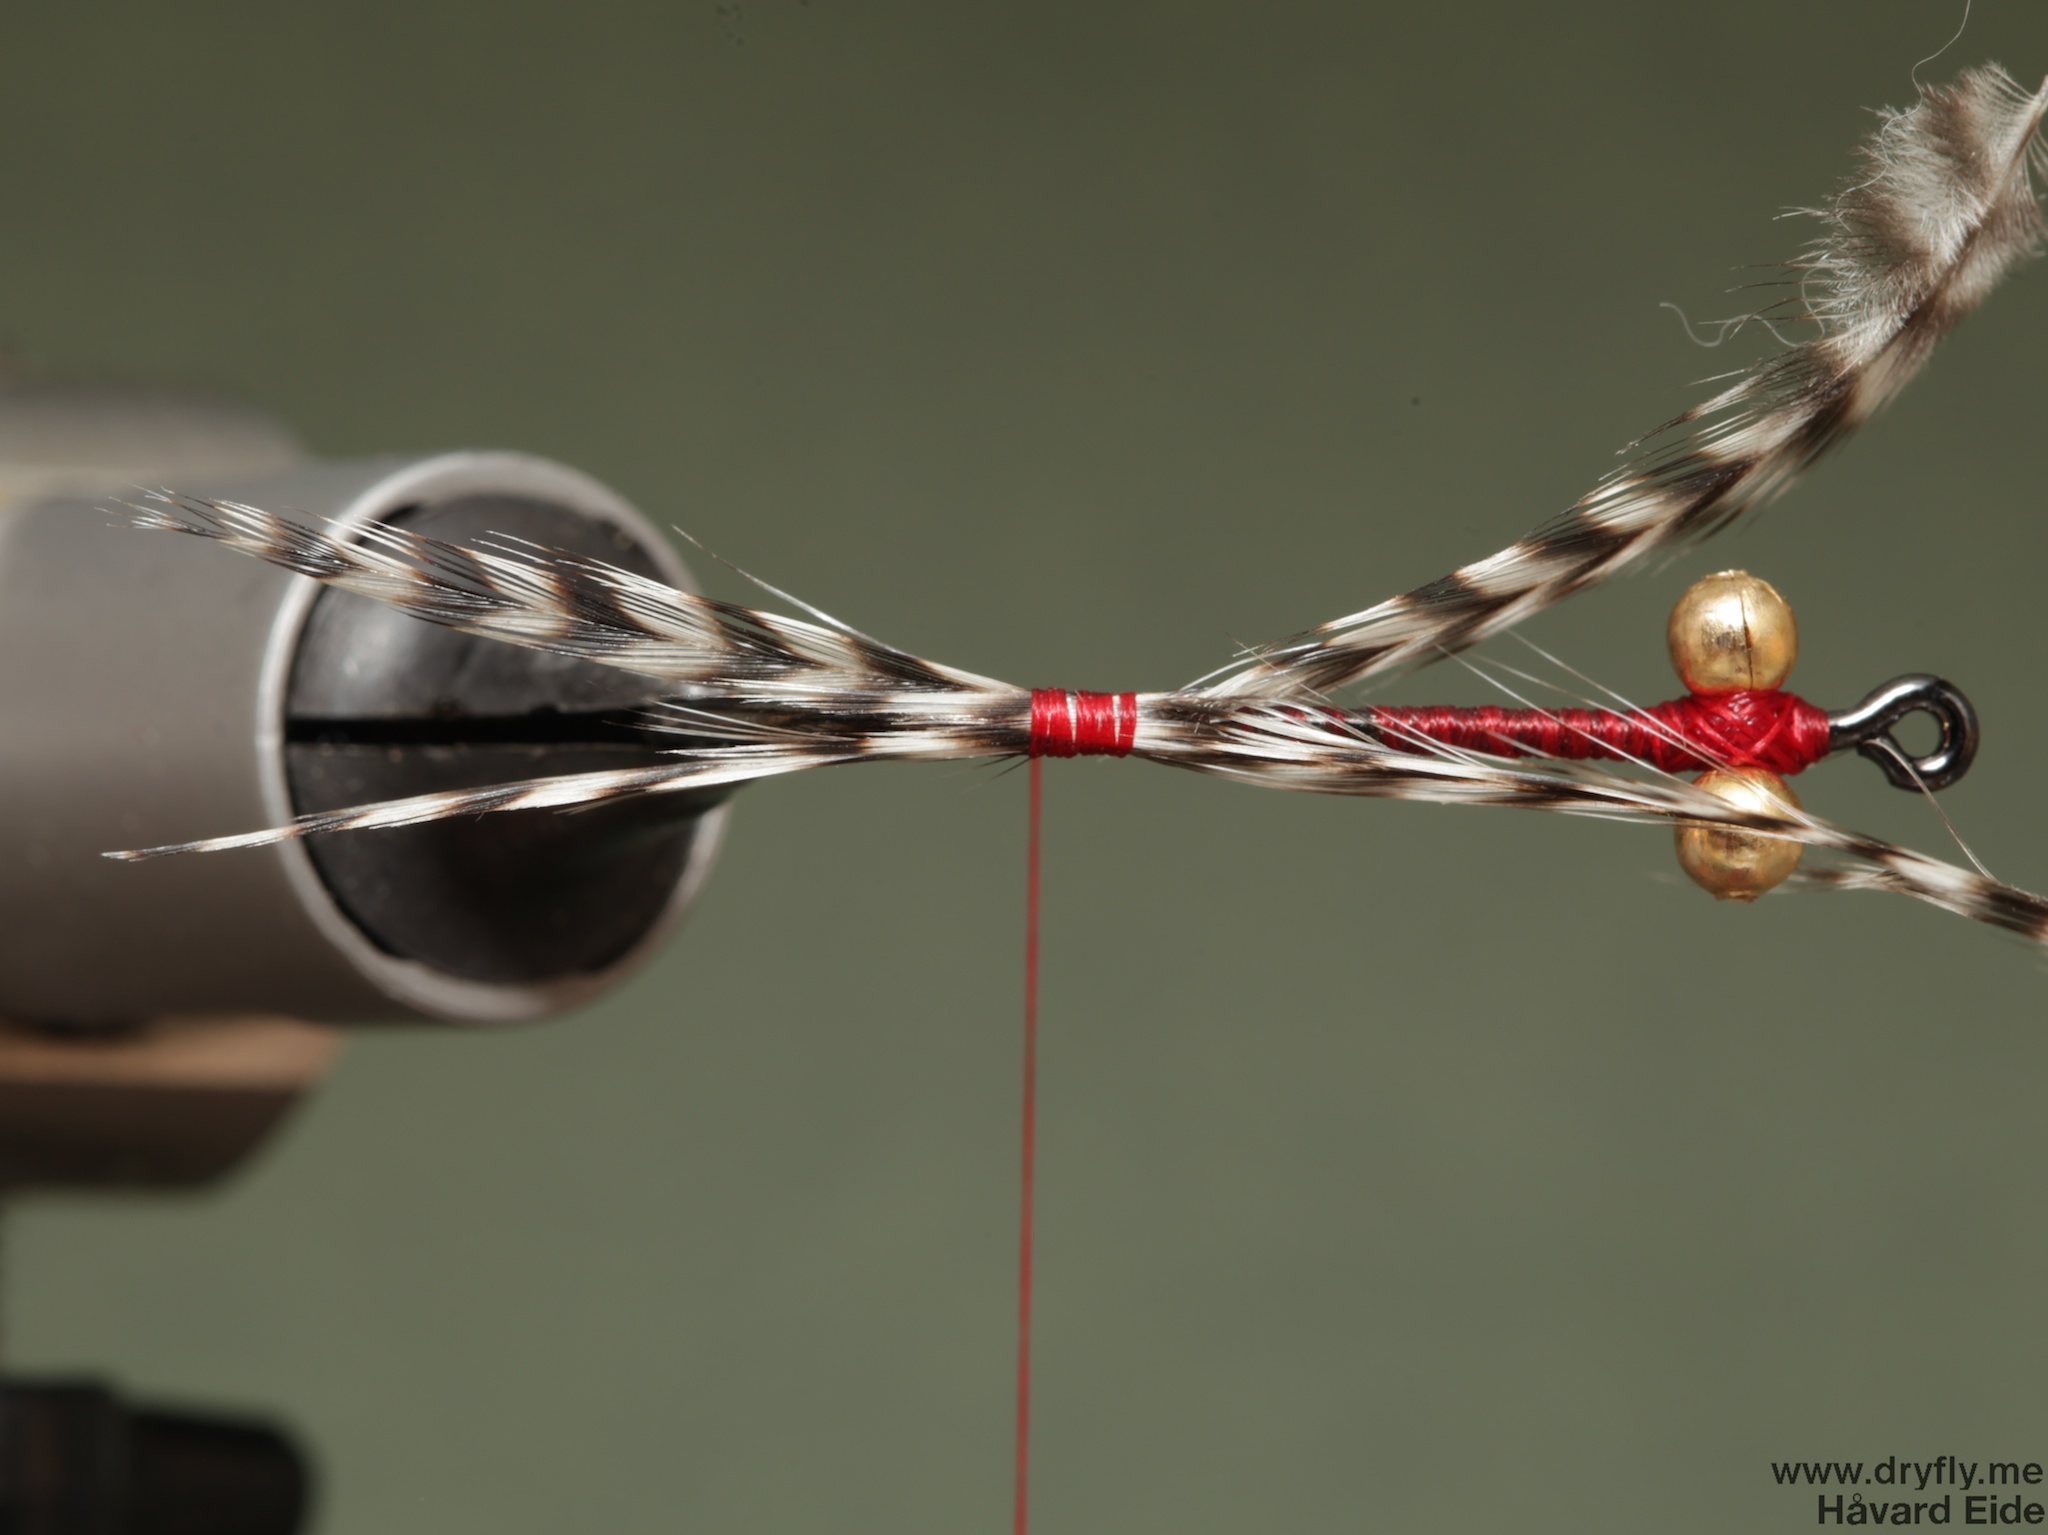
3. Find two hackle tips and tie them in around the hook point (or where the hook bend starts), tie them in on the side of the hook
4. The hackle tips should form a V going back
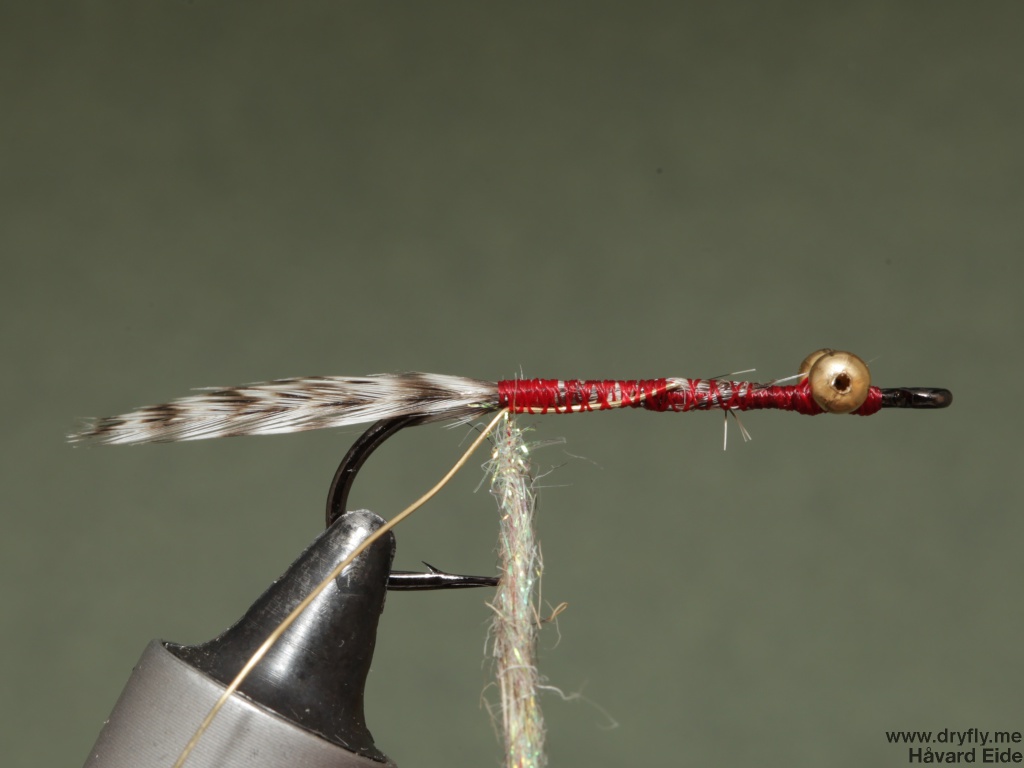
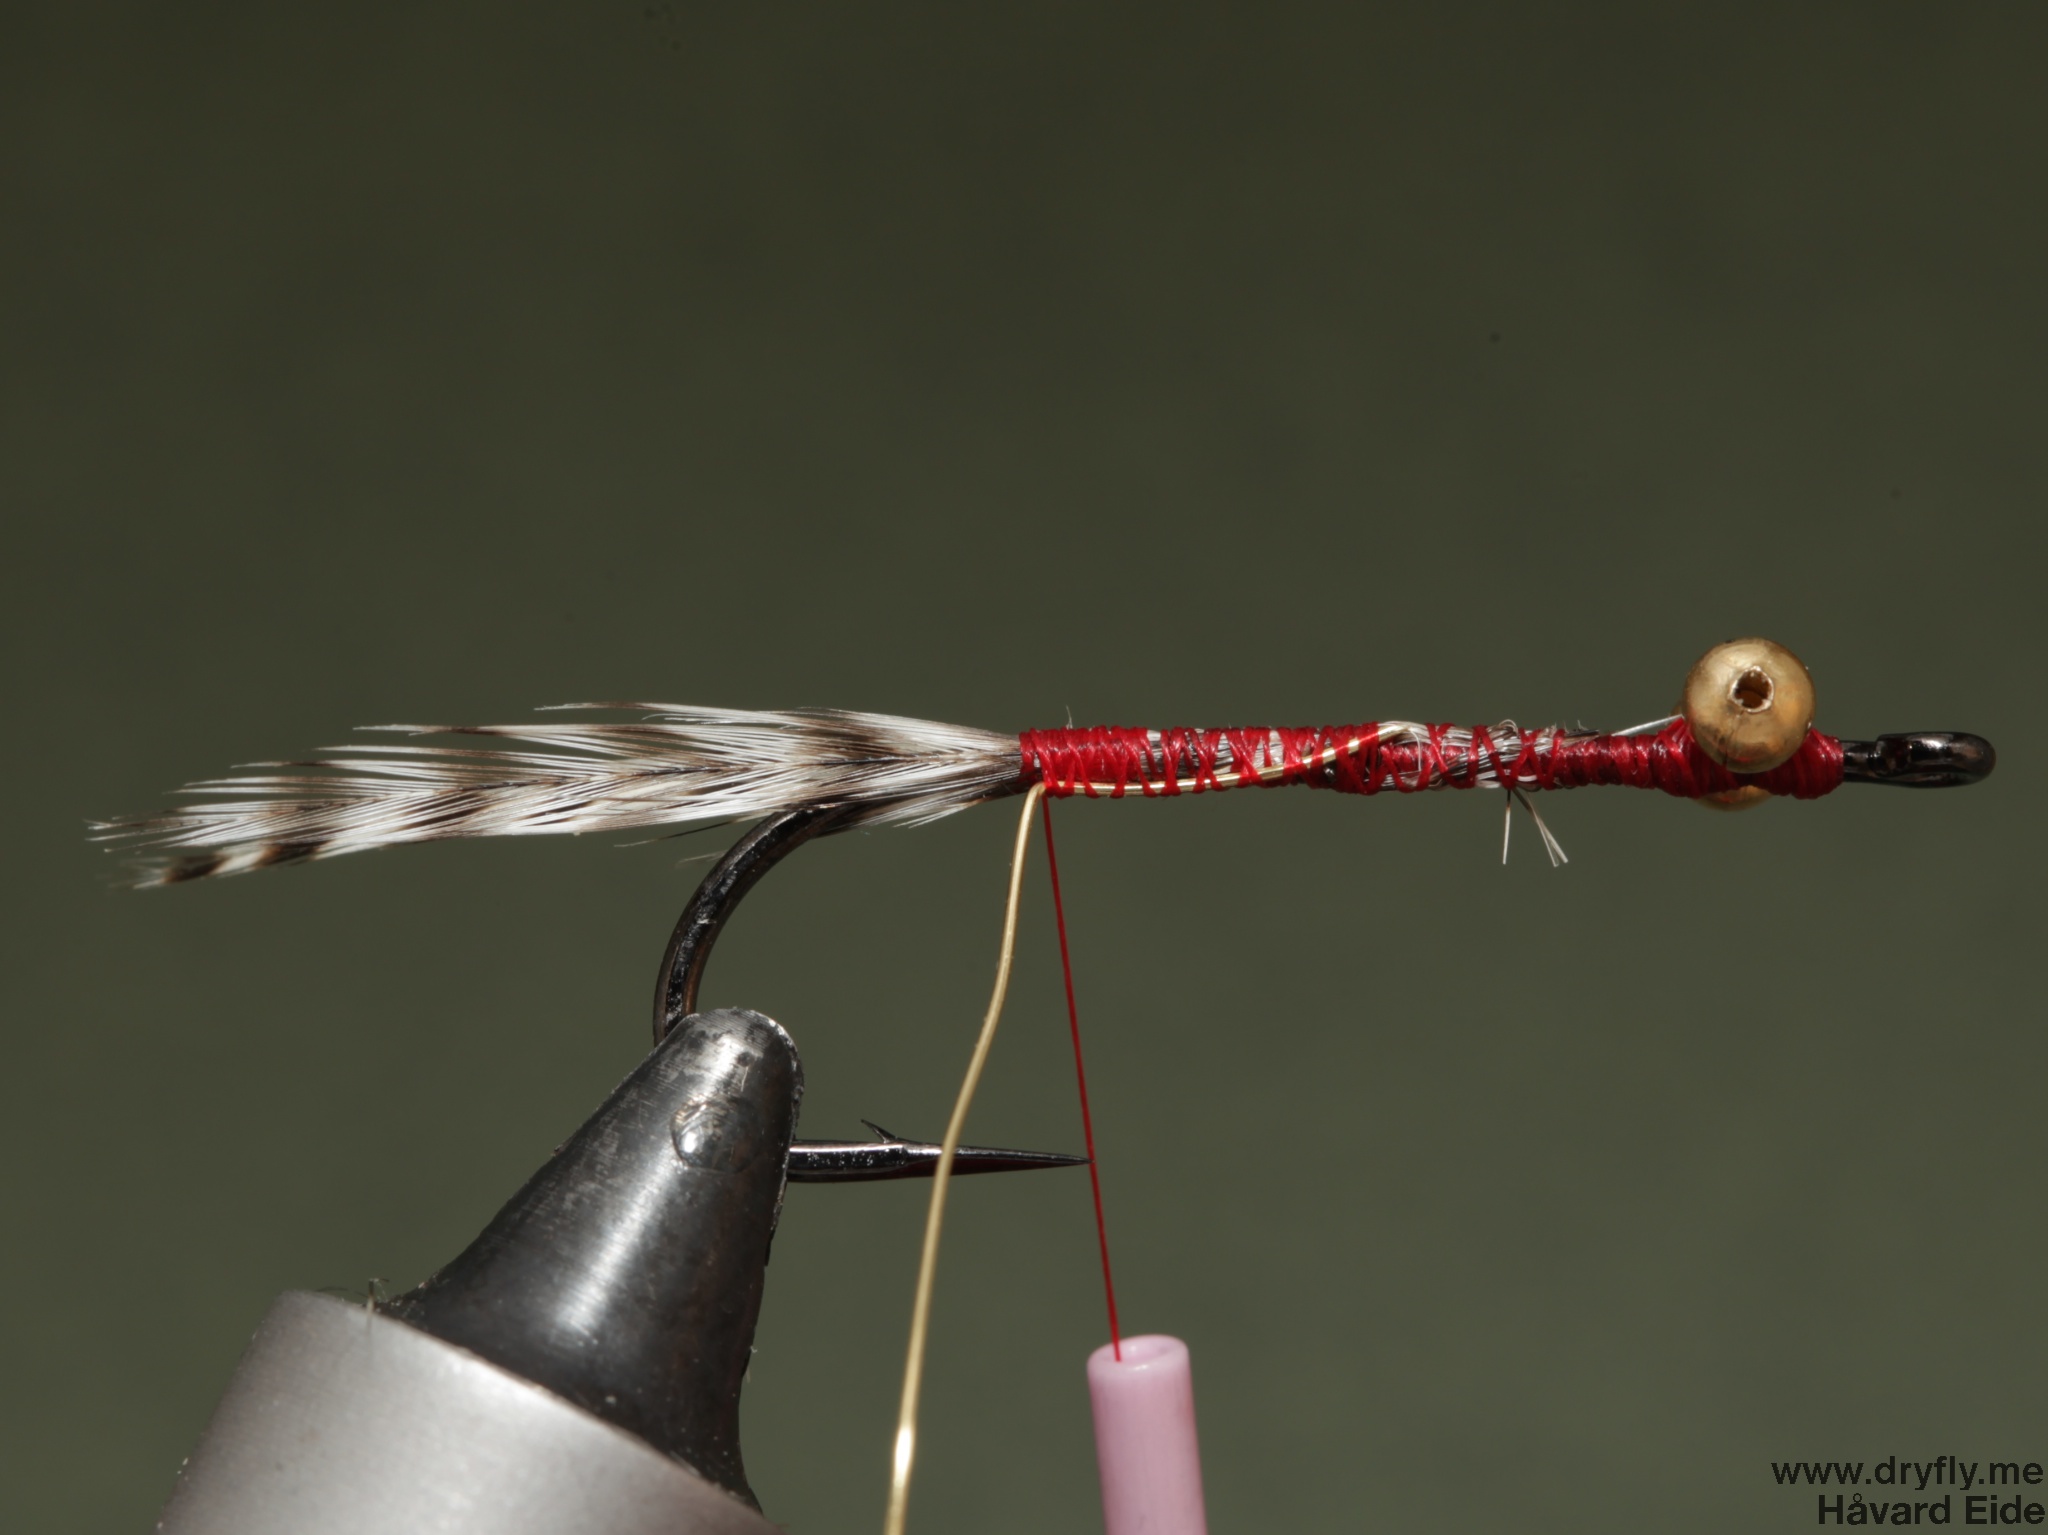
 5. Tie in the hackle and when going back add a copper wire

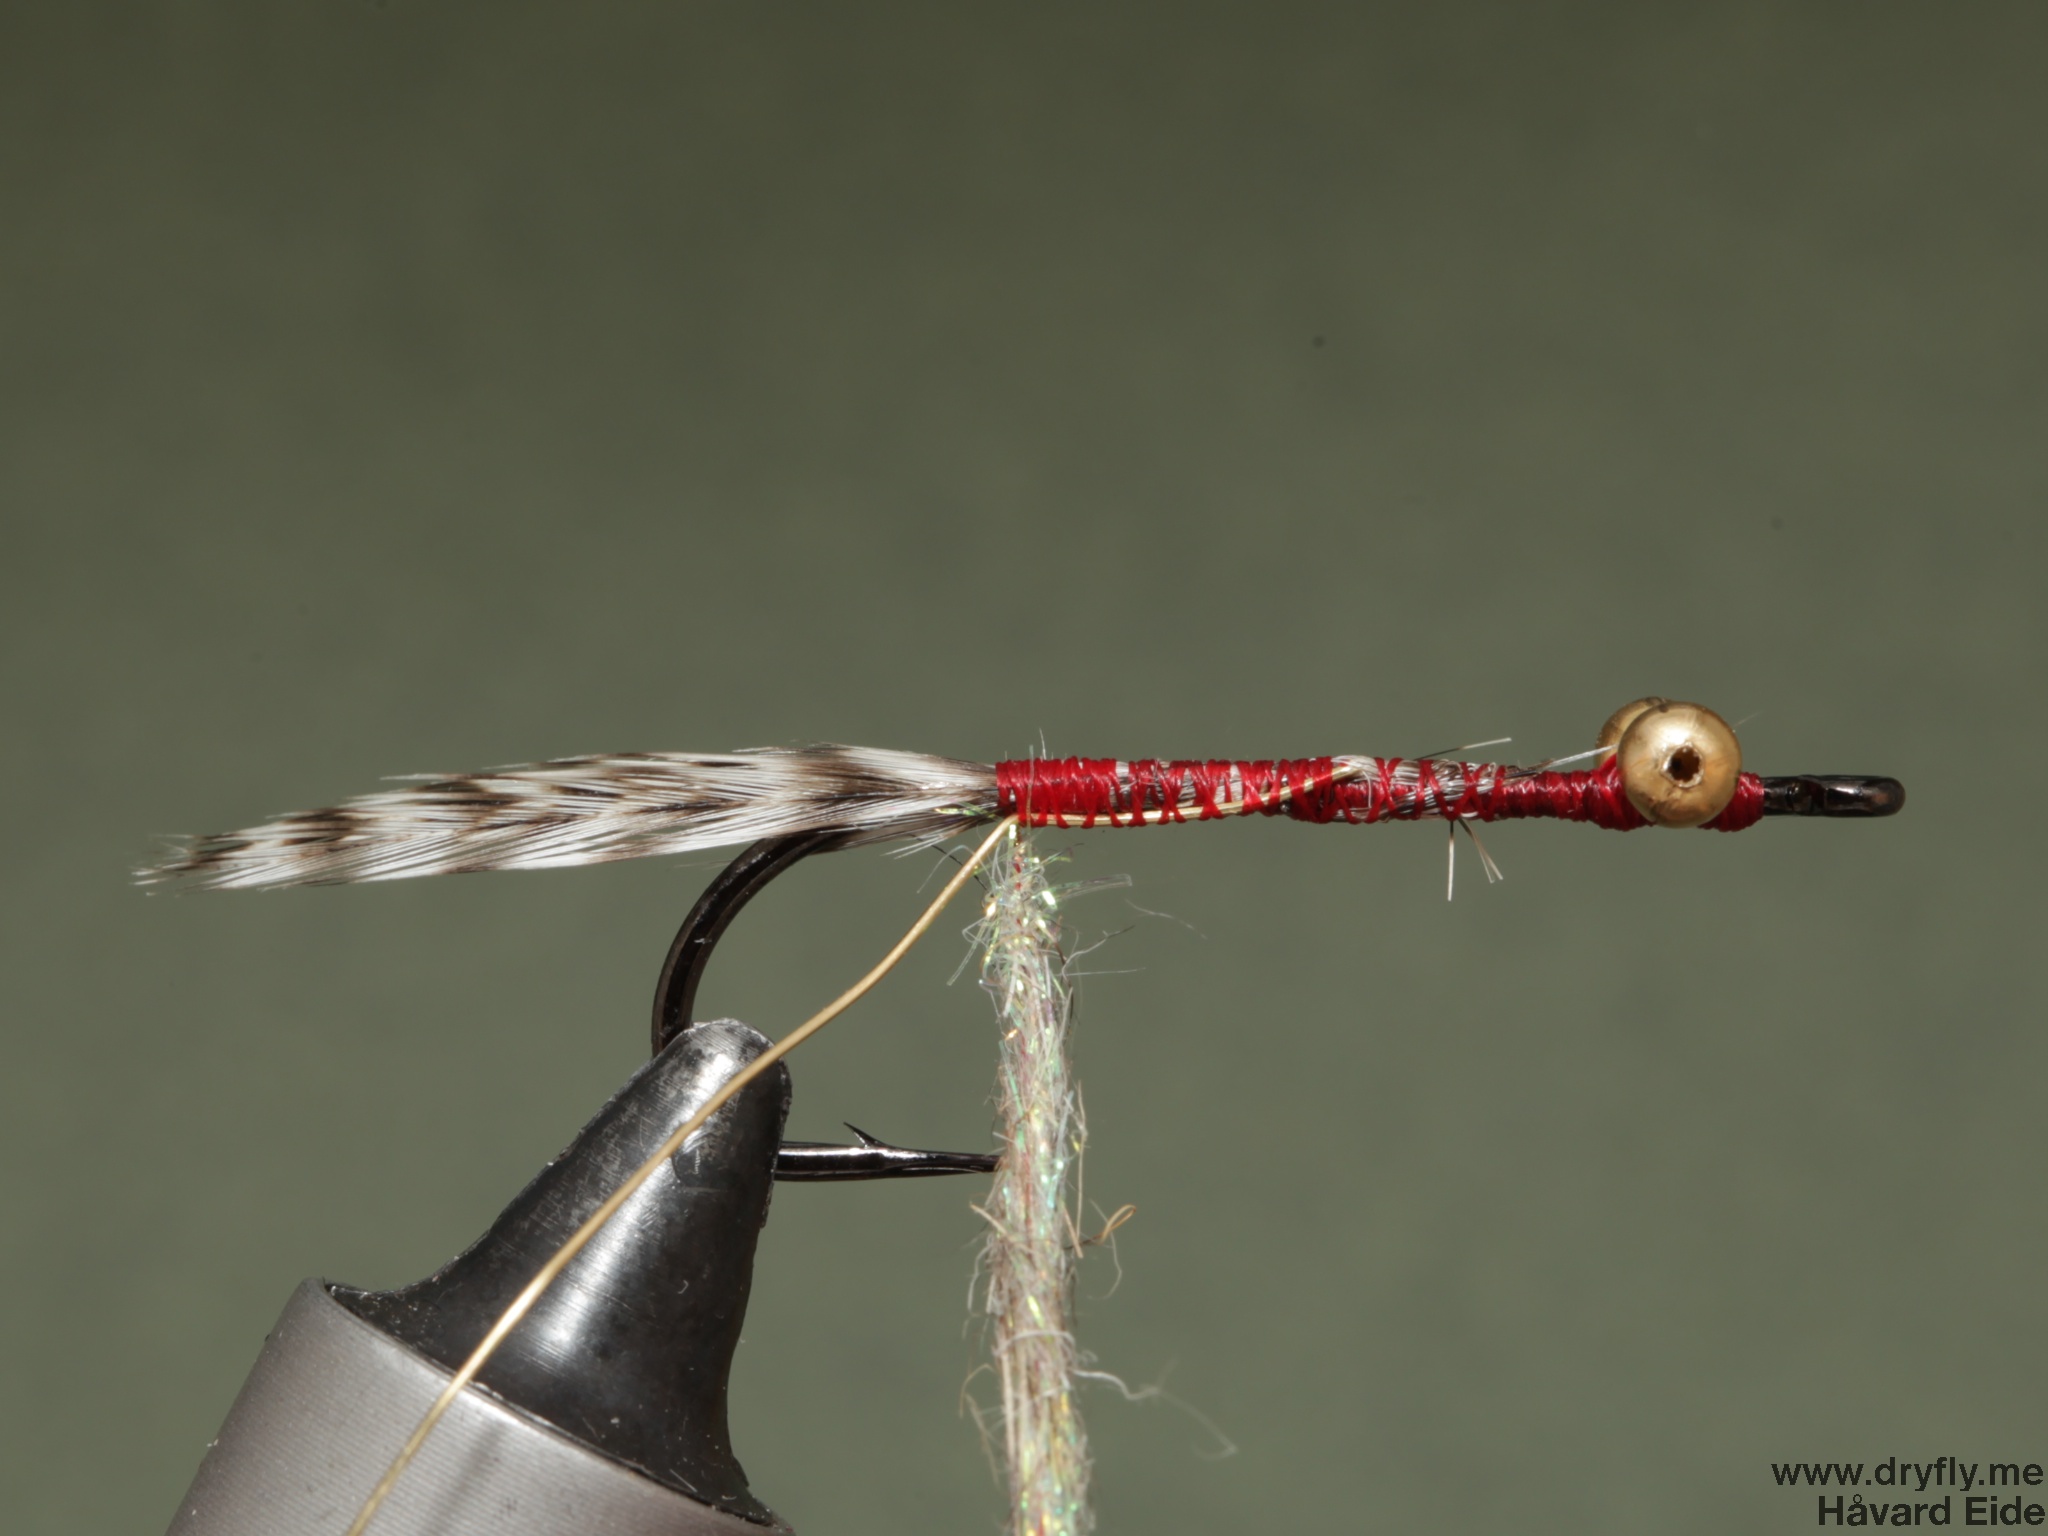
6. Add dubbing to the thread, this can be varied in different colors and variants but I like the Ice Dub on this fly
7. Dub the body but stop a little bit before the eyes: you want to have room to tie in the hackle
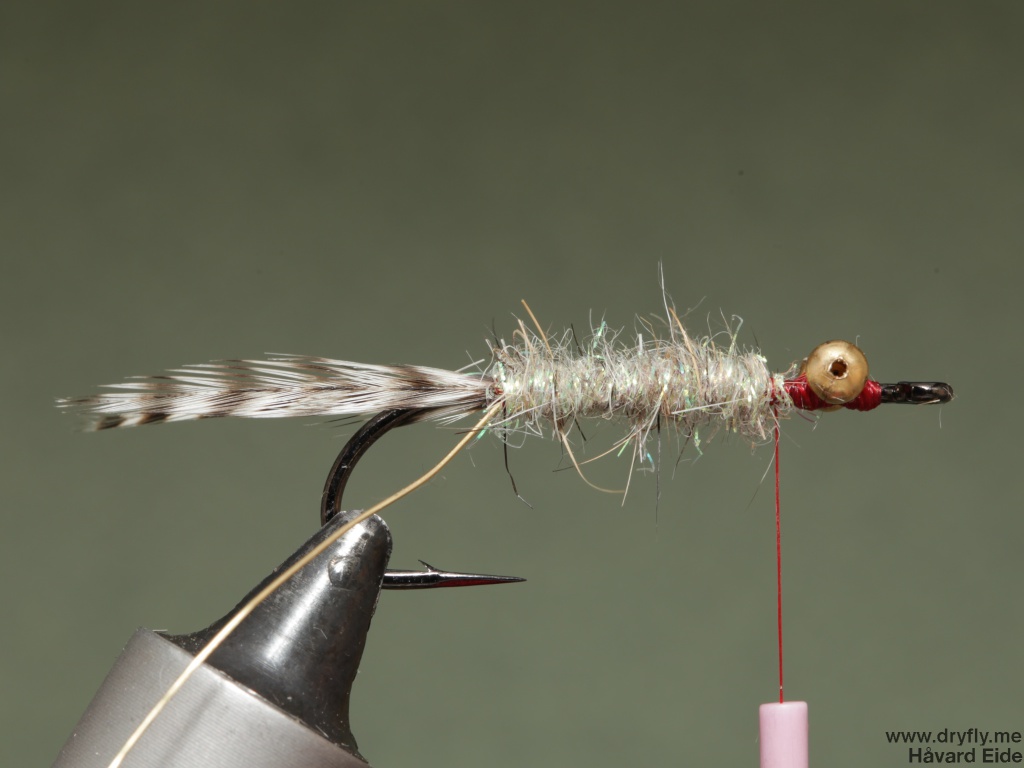
8. Tie in the body hackle, this can again be varied: short or long, and be added in short or longer turns around the hook, this depends on how you want the final fly to appear
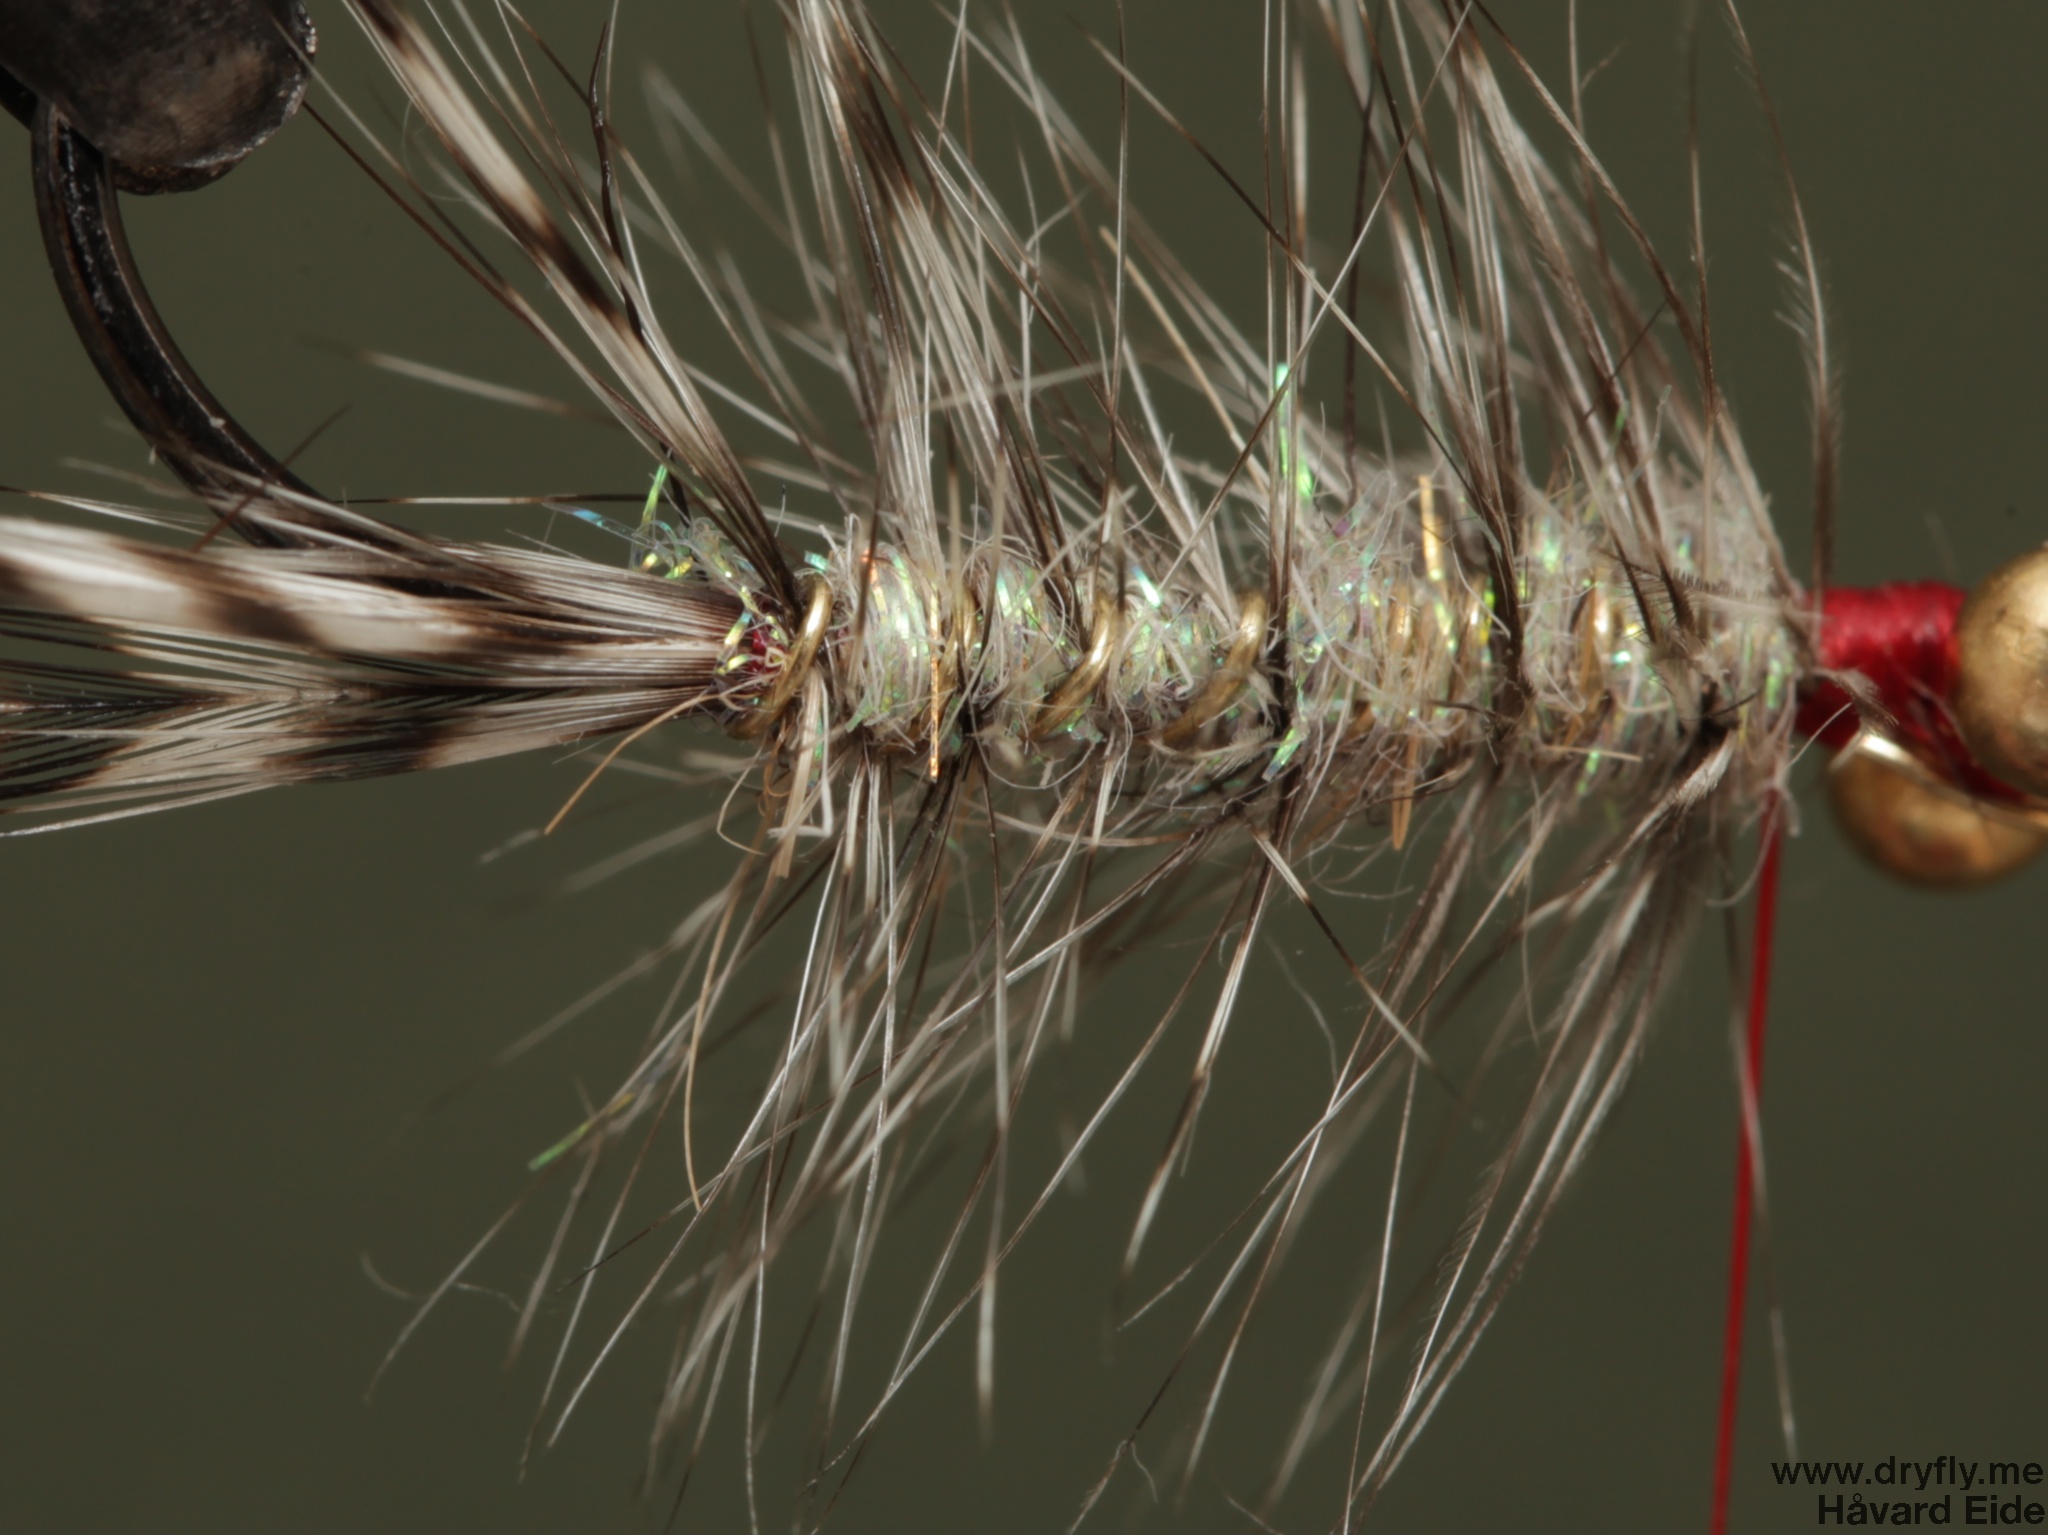
9. When you reach the end of the dubbing make sure to keep the hackle tight while you counter-wrap the copper wire around the body all the way to the front of the dubbing

10. The first copper wrap here is keeping the hackle down and secures it in place. Make sure to not get the wire above the hackle so that it is trapped

11. I have ribbed the fly with a lot of turns here, this will make sure the fly is durable and will add a little bit of extra weight to it as well

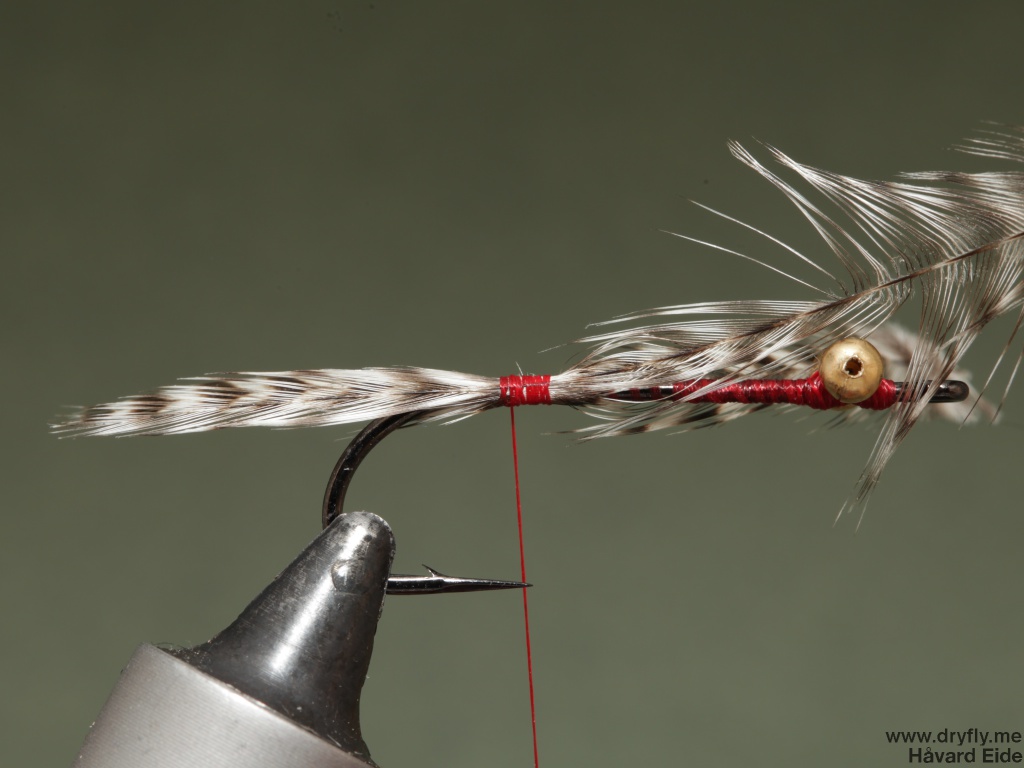
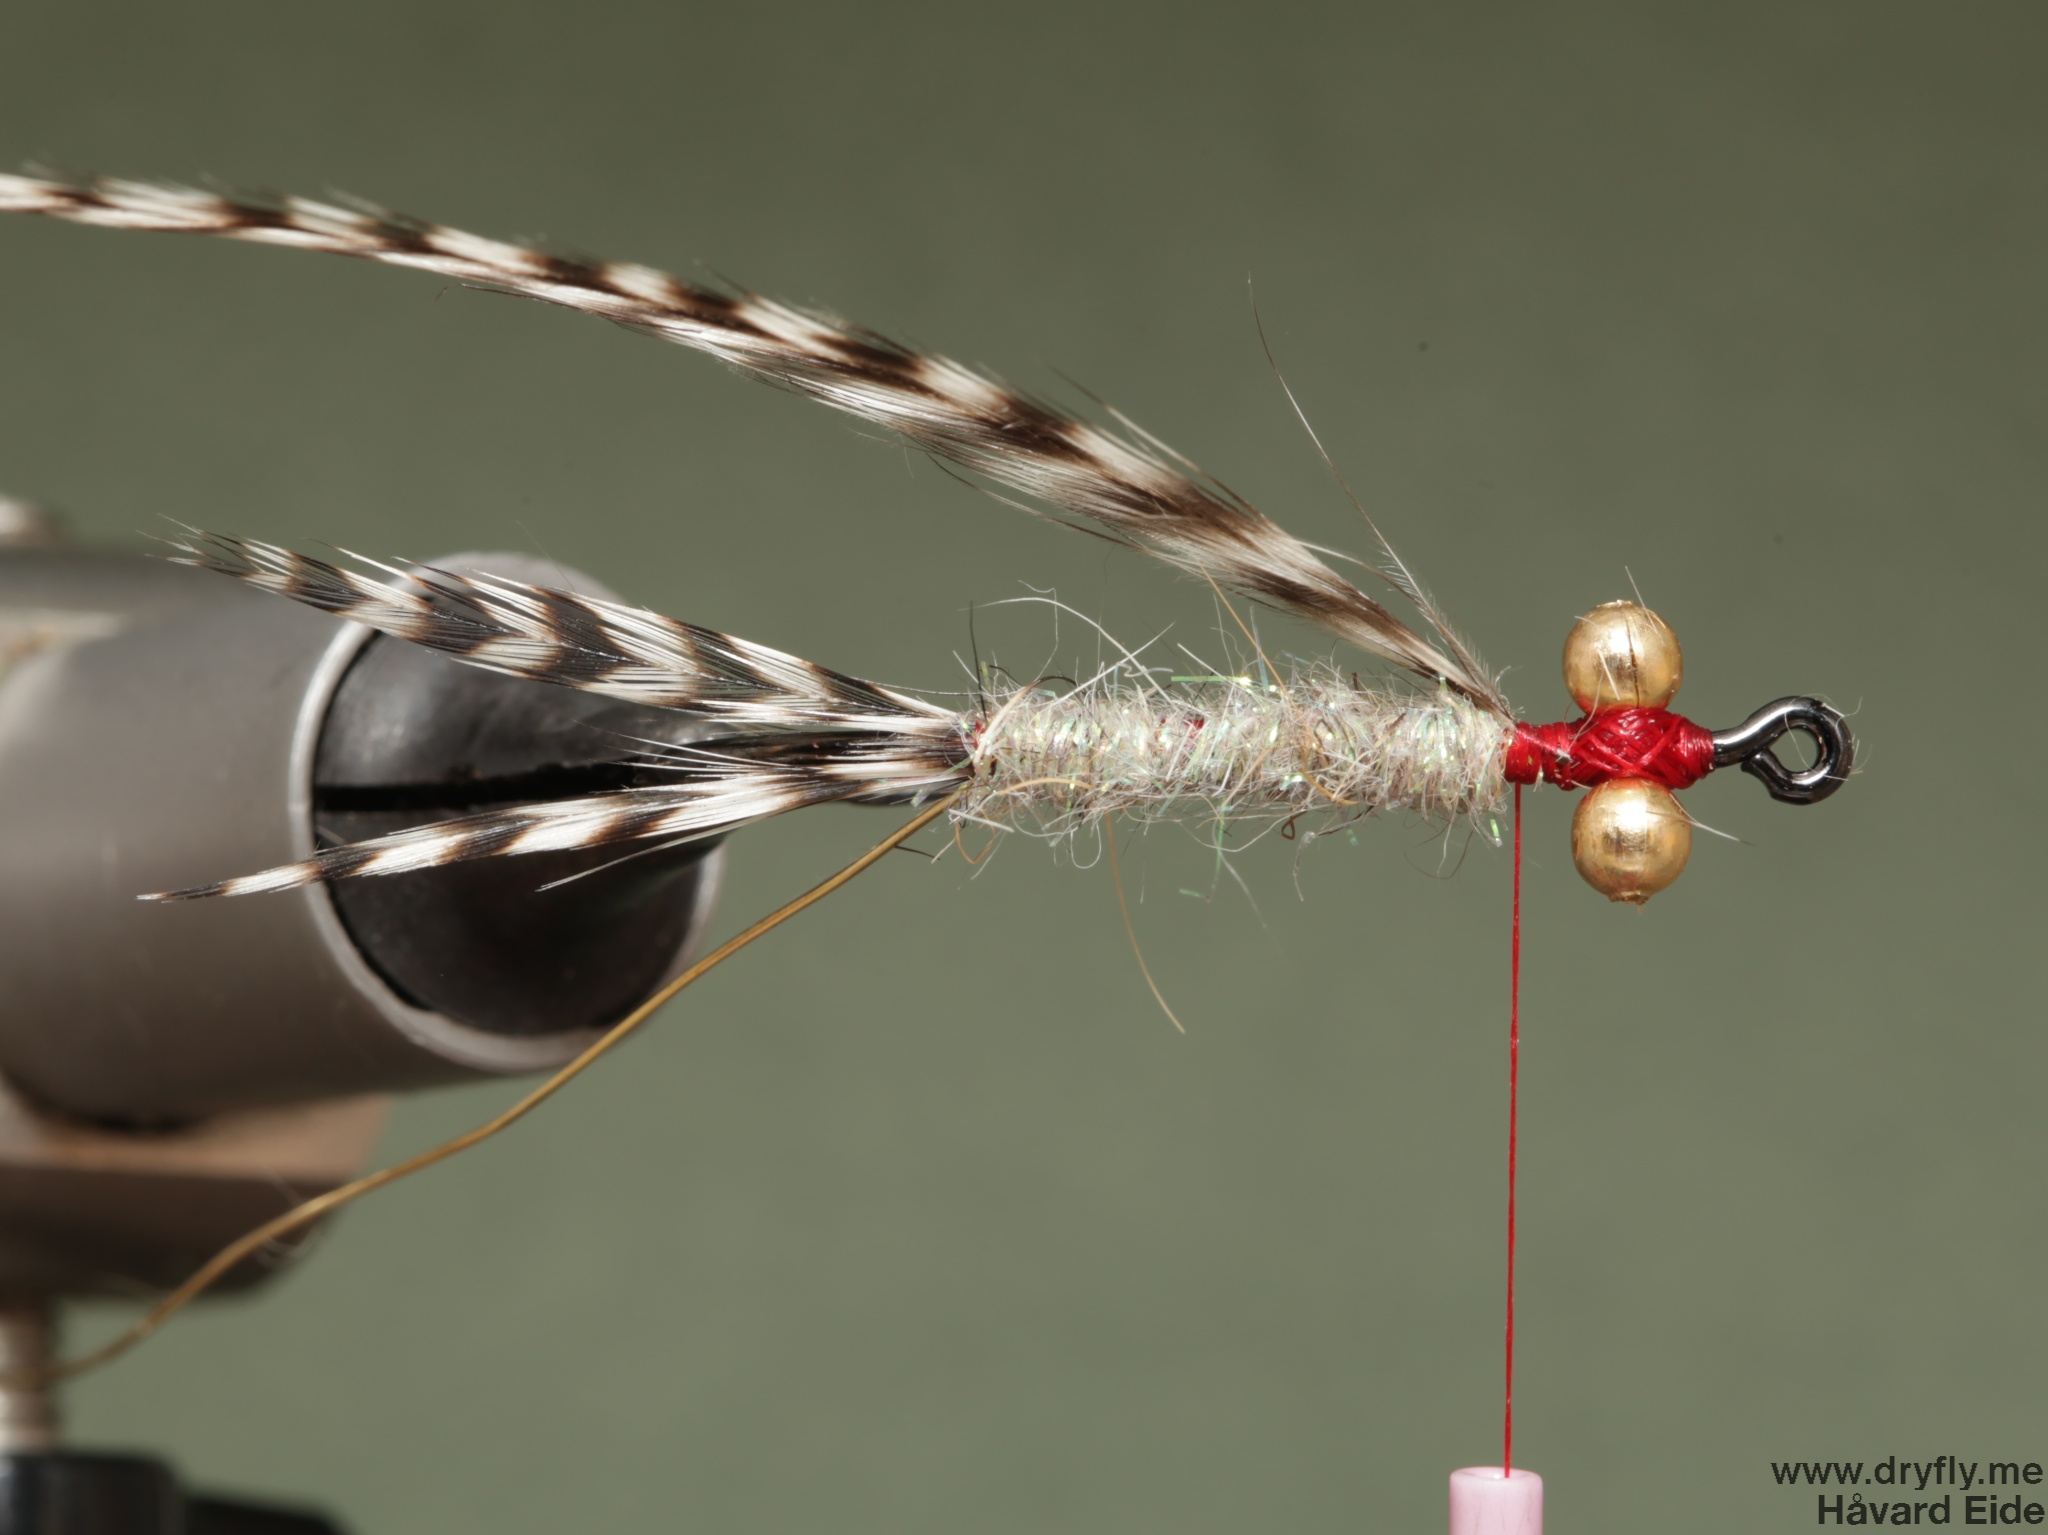
12. After cutting away the hackle tip (keep it to make more tails on other polar magnus!) and the wire tie in a red (or pink) hackle

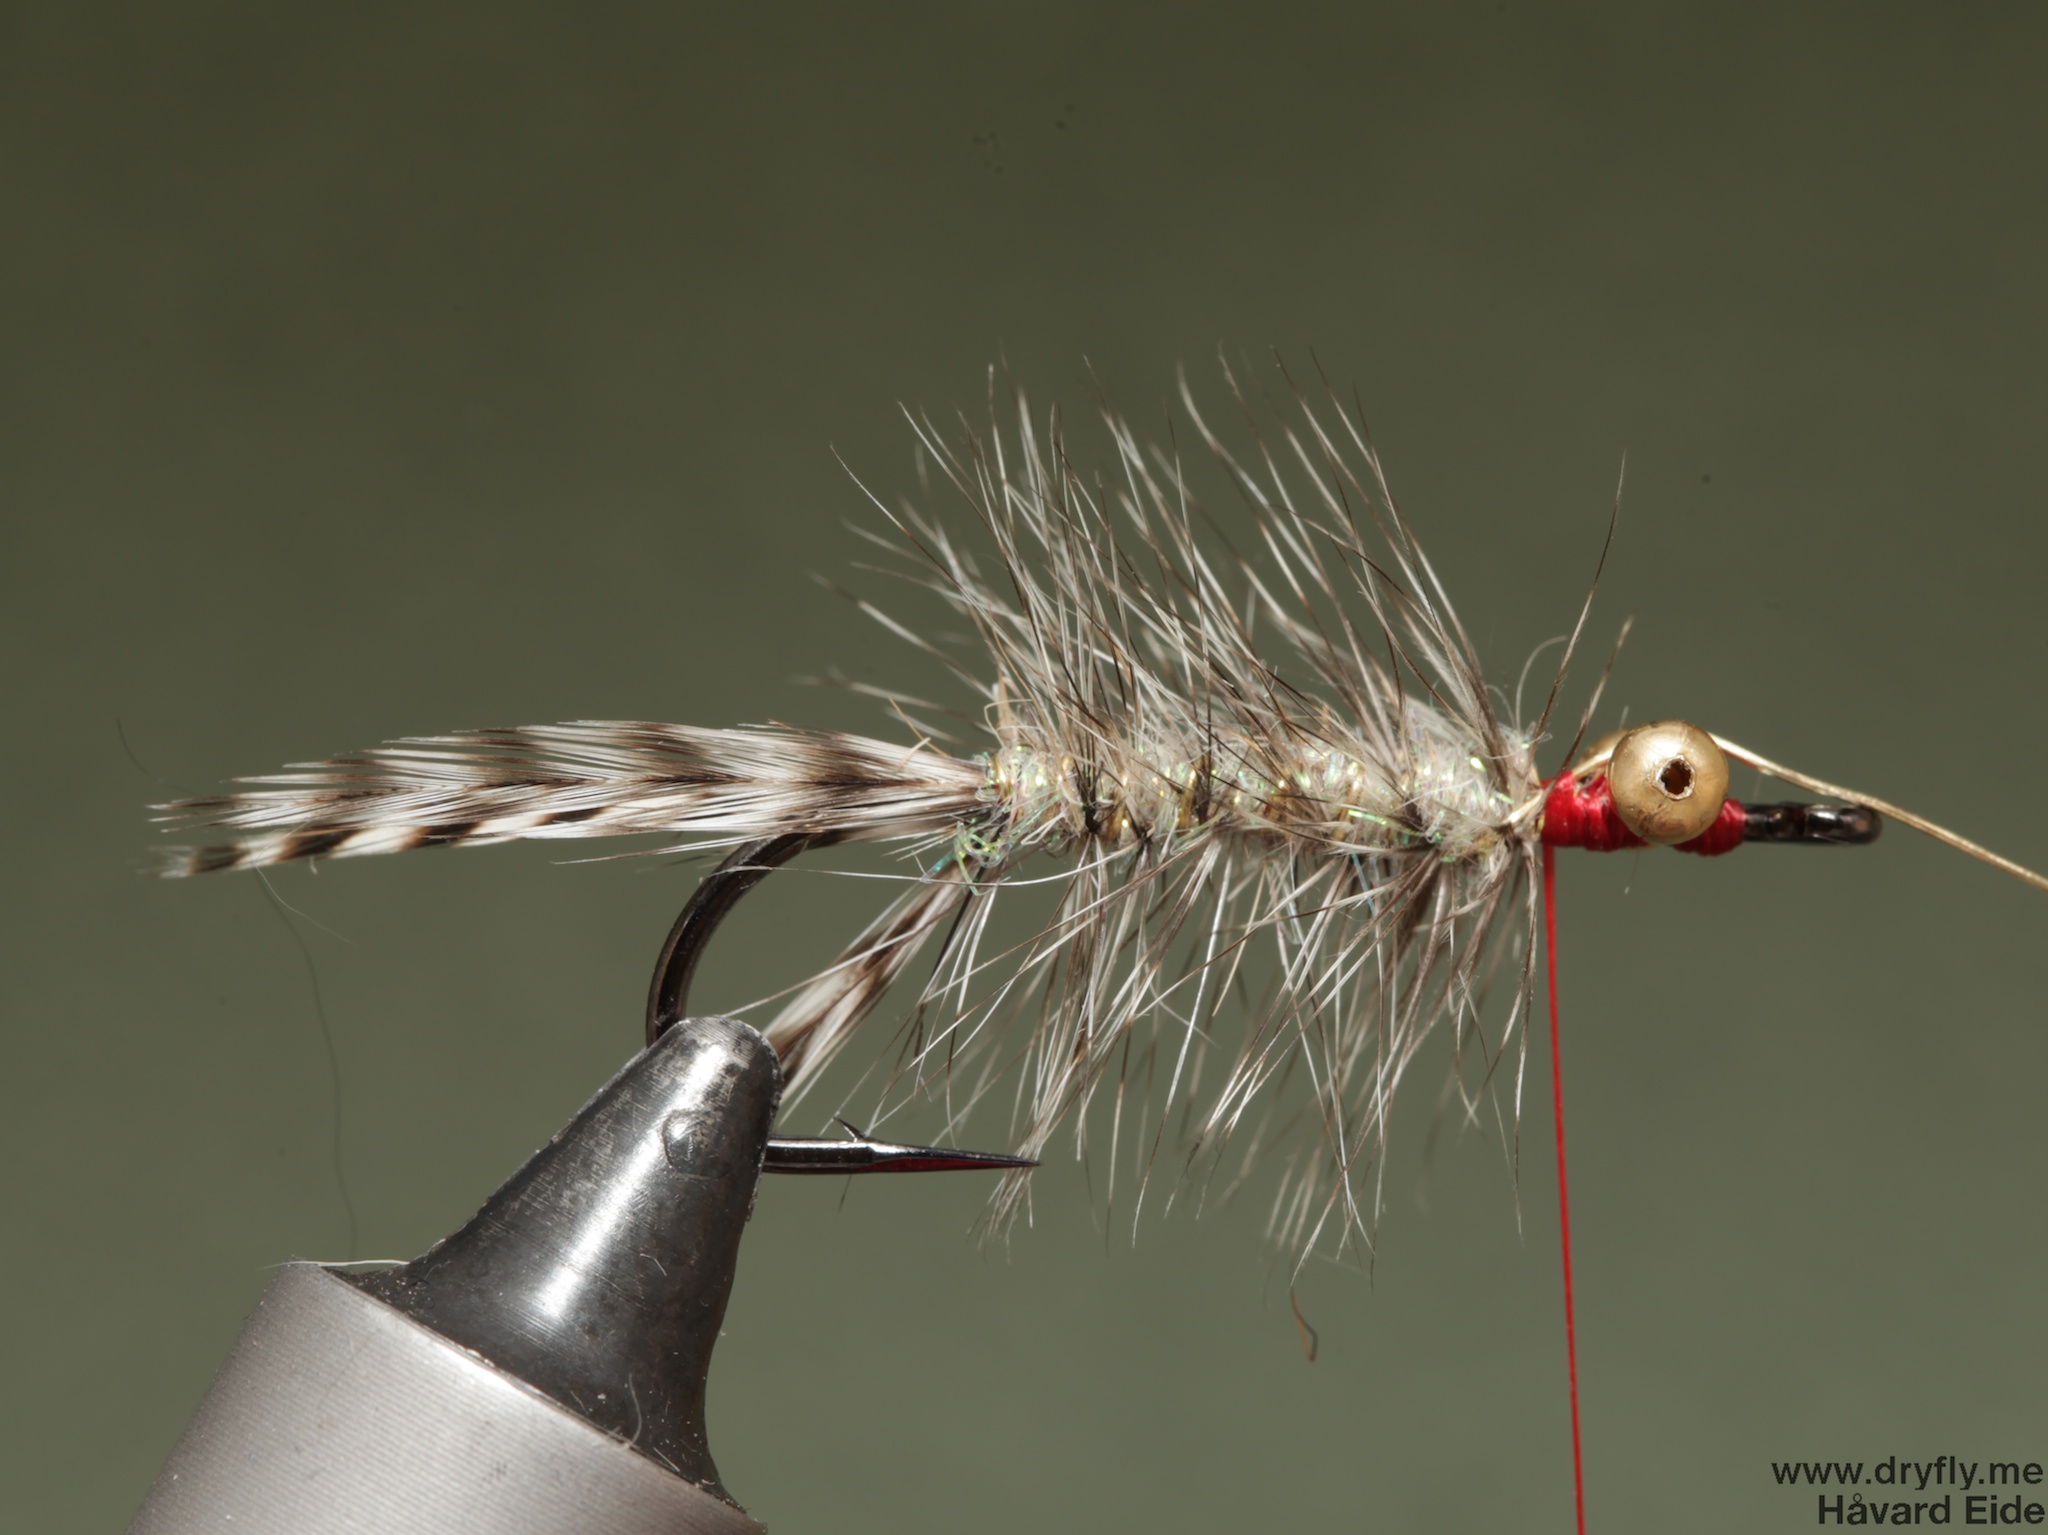
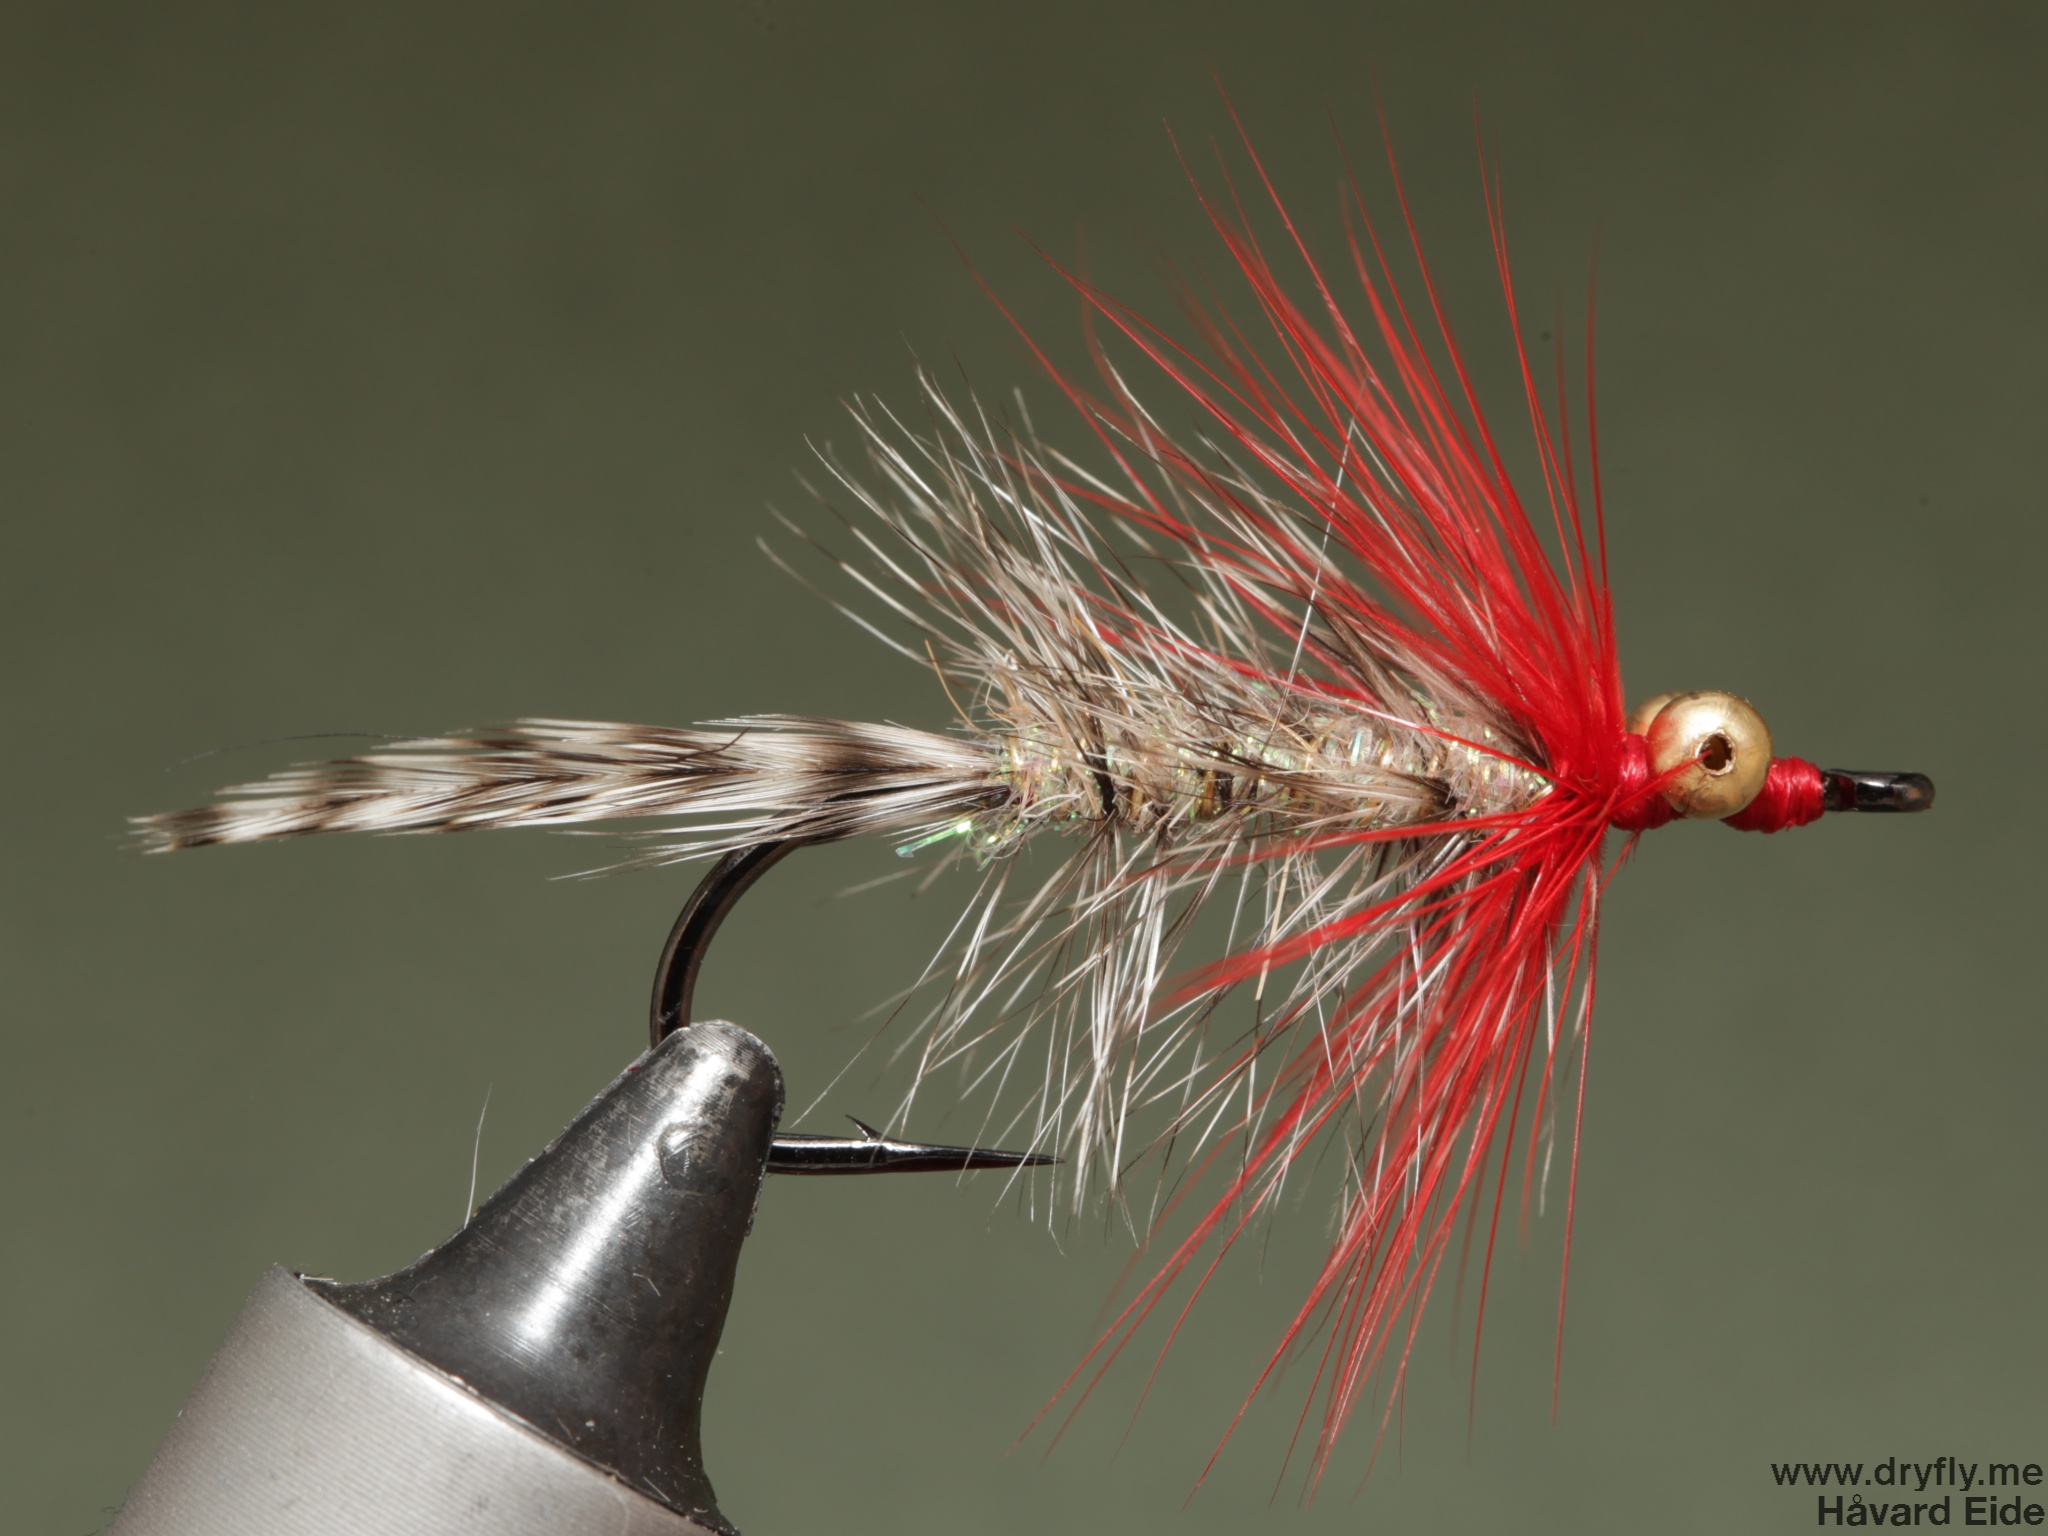
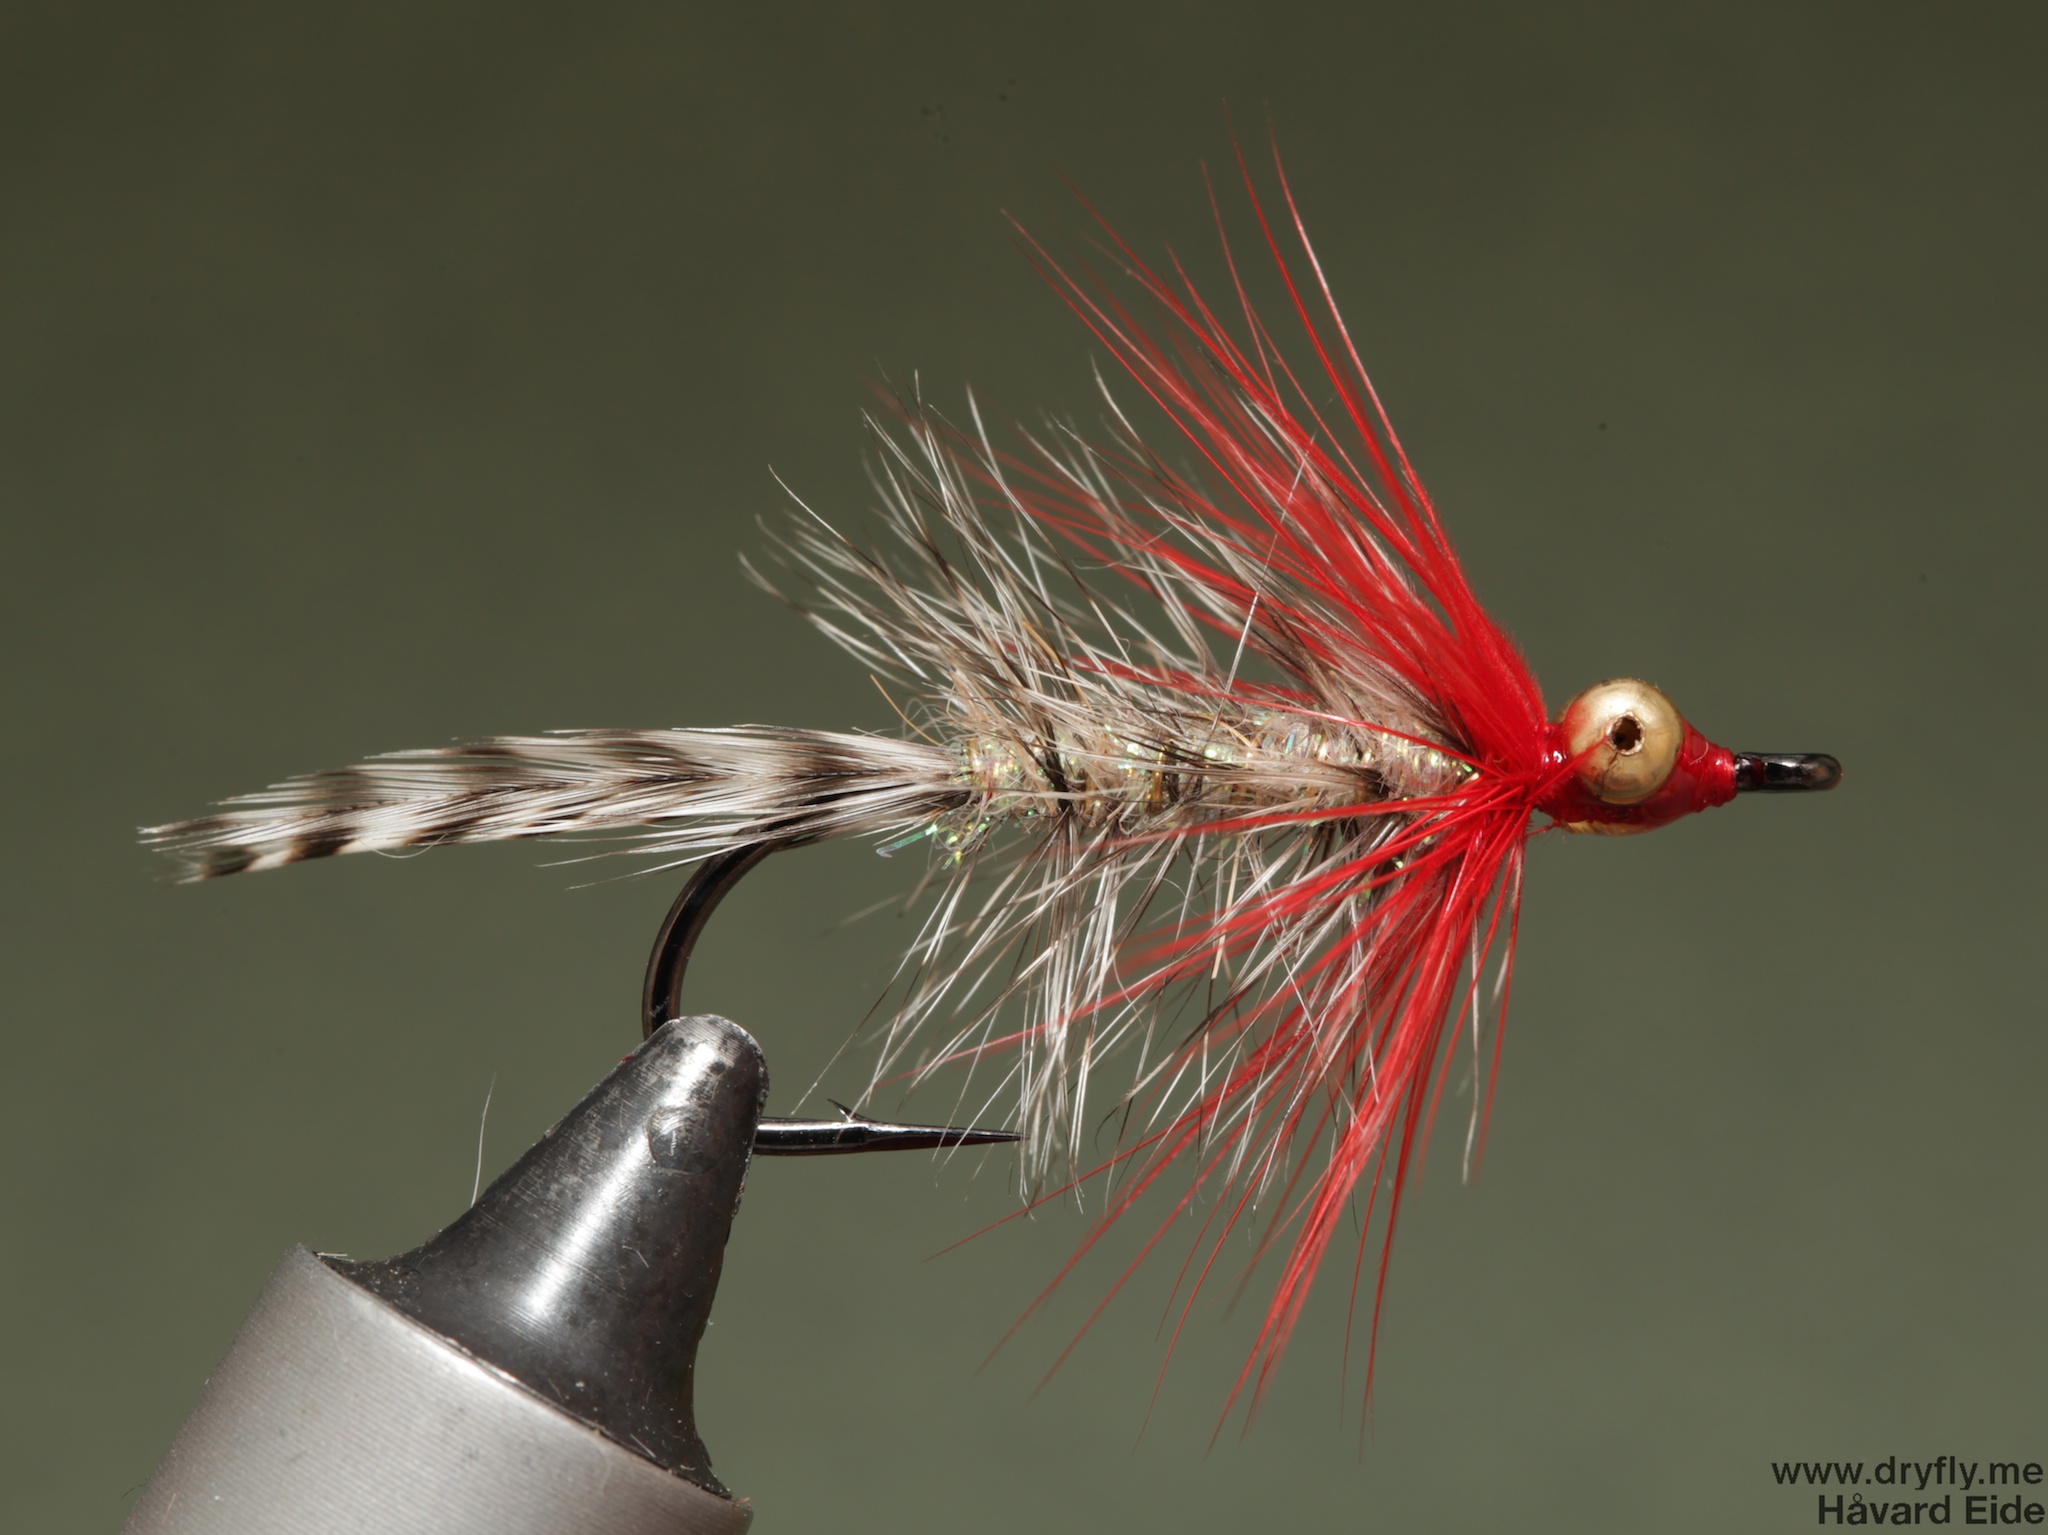
13. Wrap the hackle 2-3-4 times (depending on how much hackle you want and the profile you want the fly to have) and tie it in just behind the eyes. Secure the thread with a whipfinish and you have the final fly:

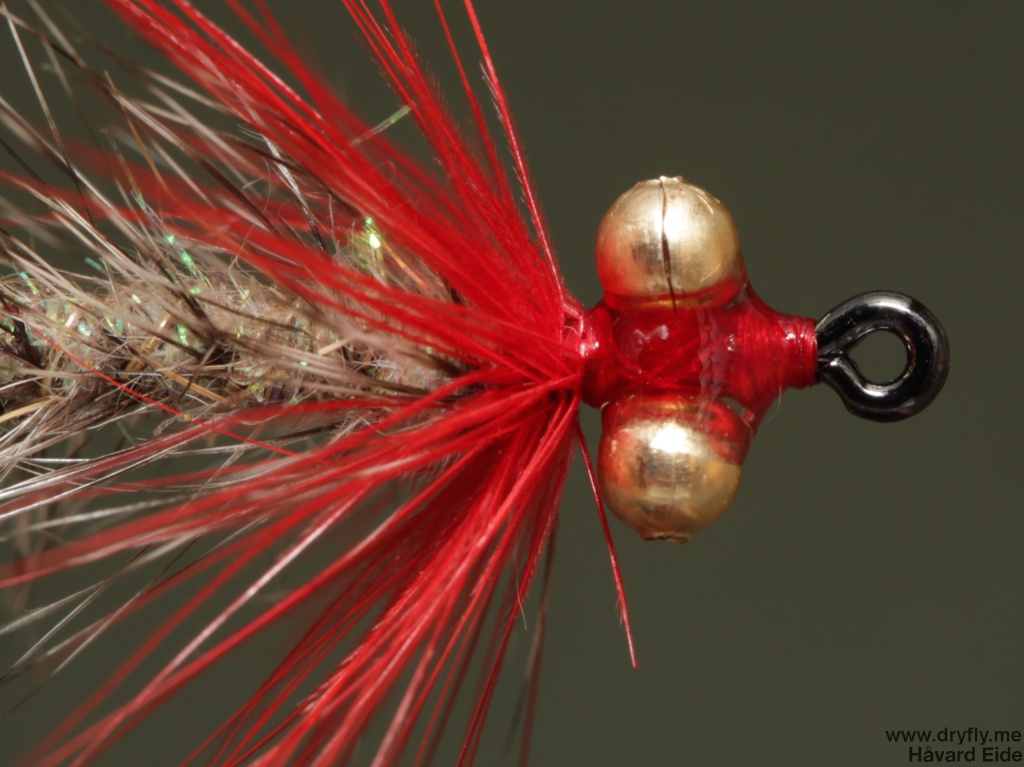
14. To make sure the fly is even more durable and will endure everything that happens to it I add some Bug Bond above the thread between the eyes and cure it with UV

15. The Bug Bond keeps the eyes securely in place, but make sure that you don’t cover the hackle in it
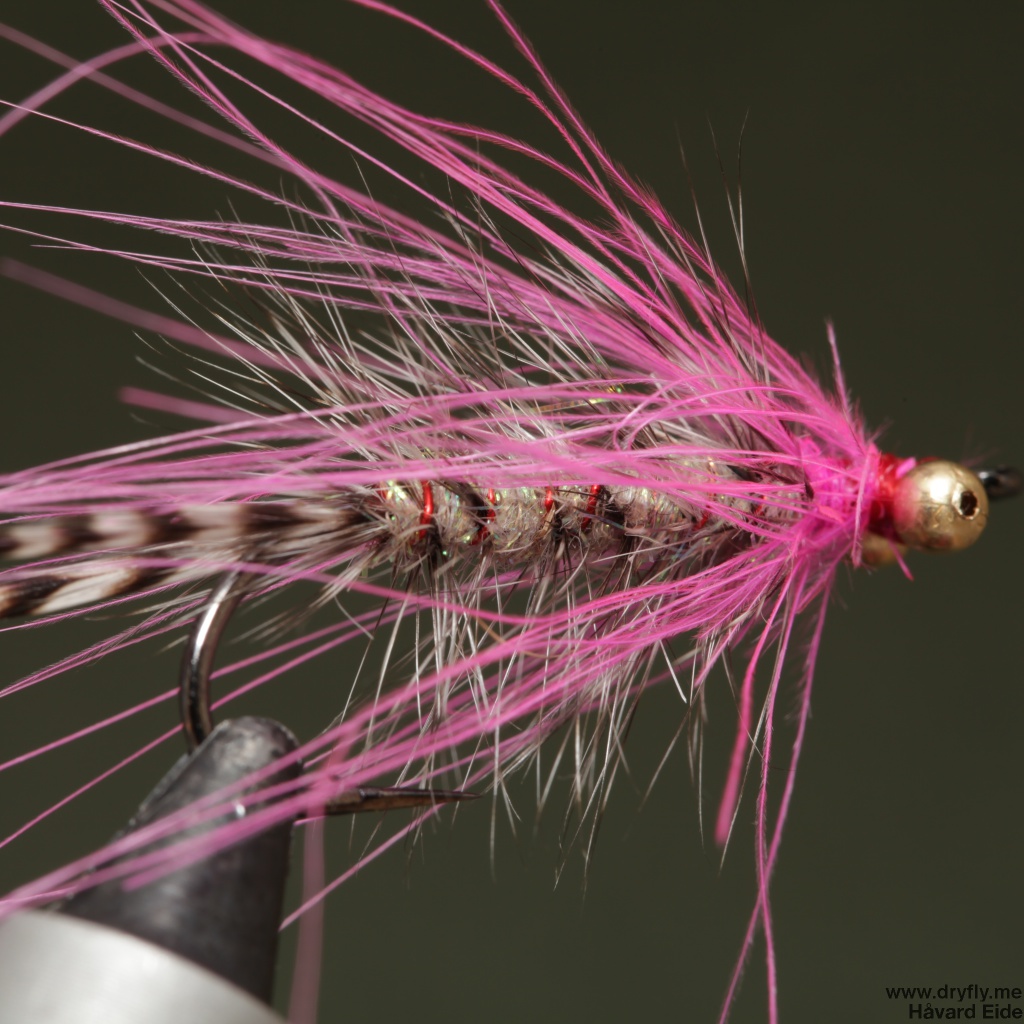
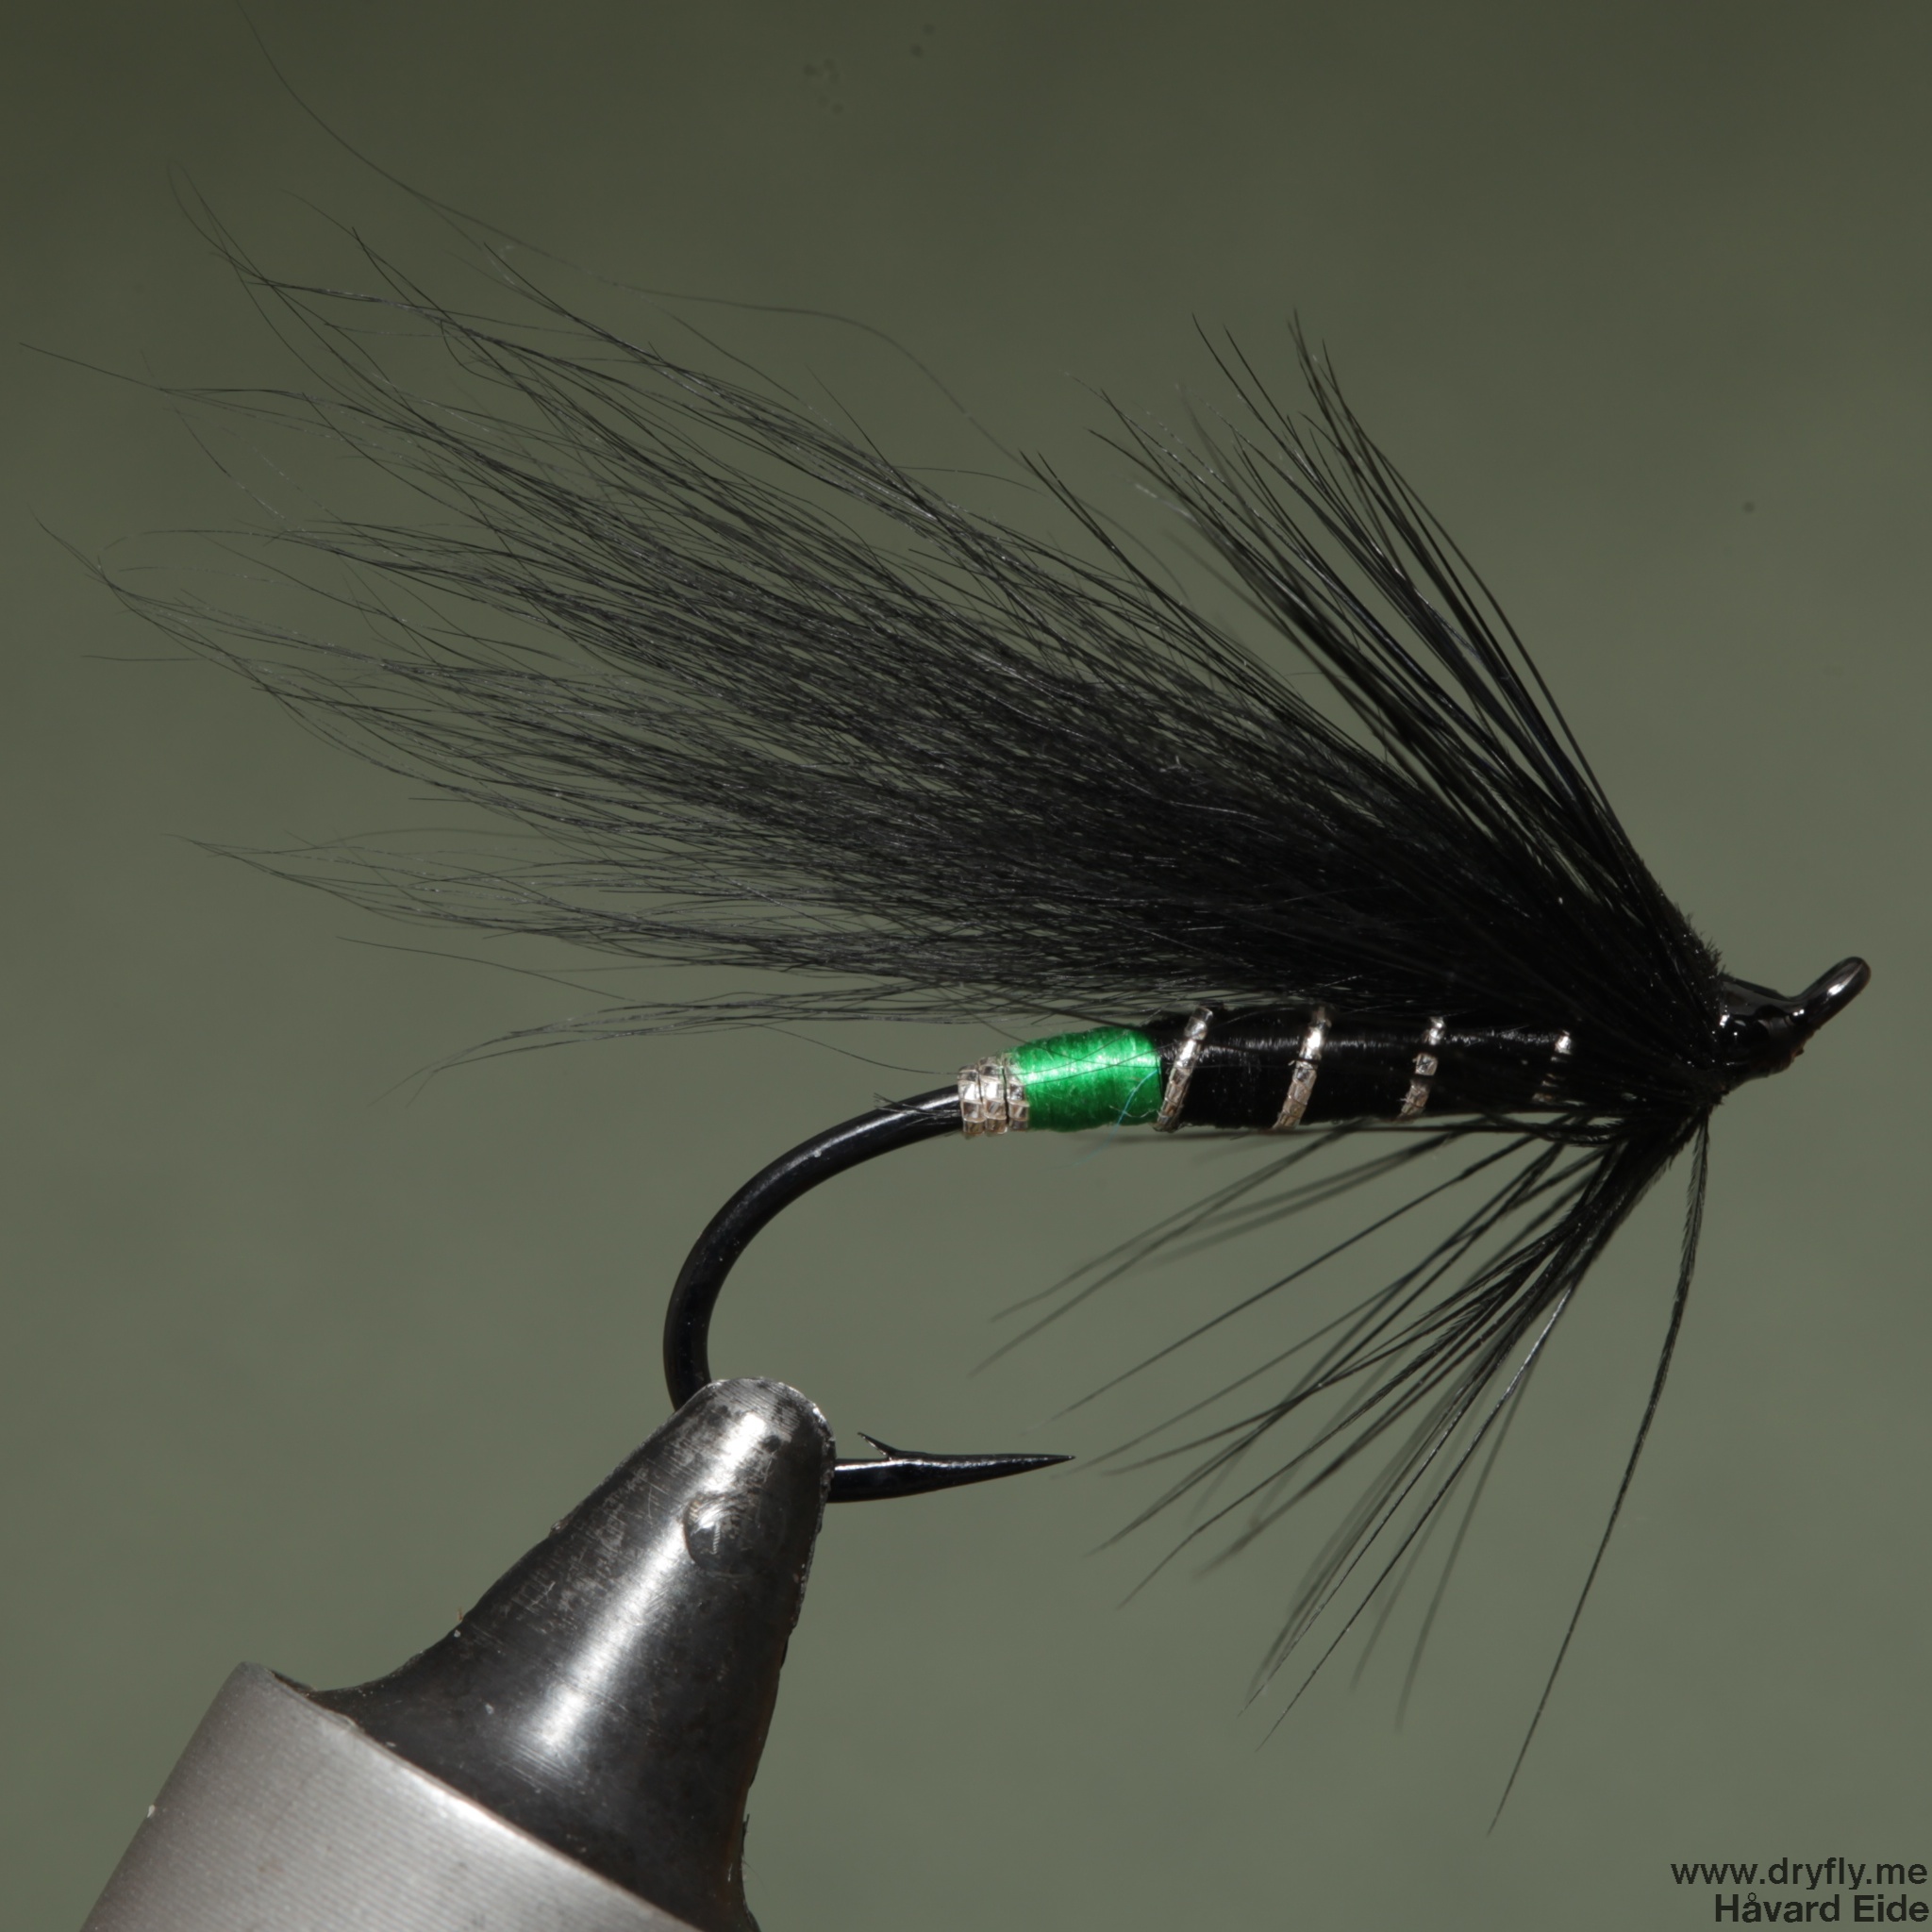
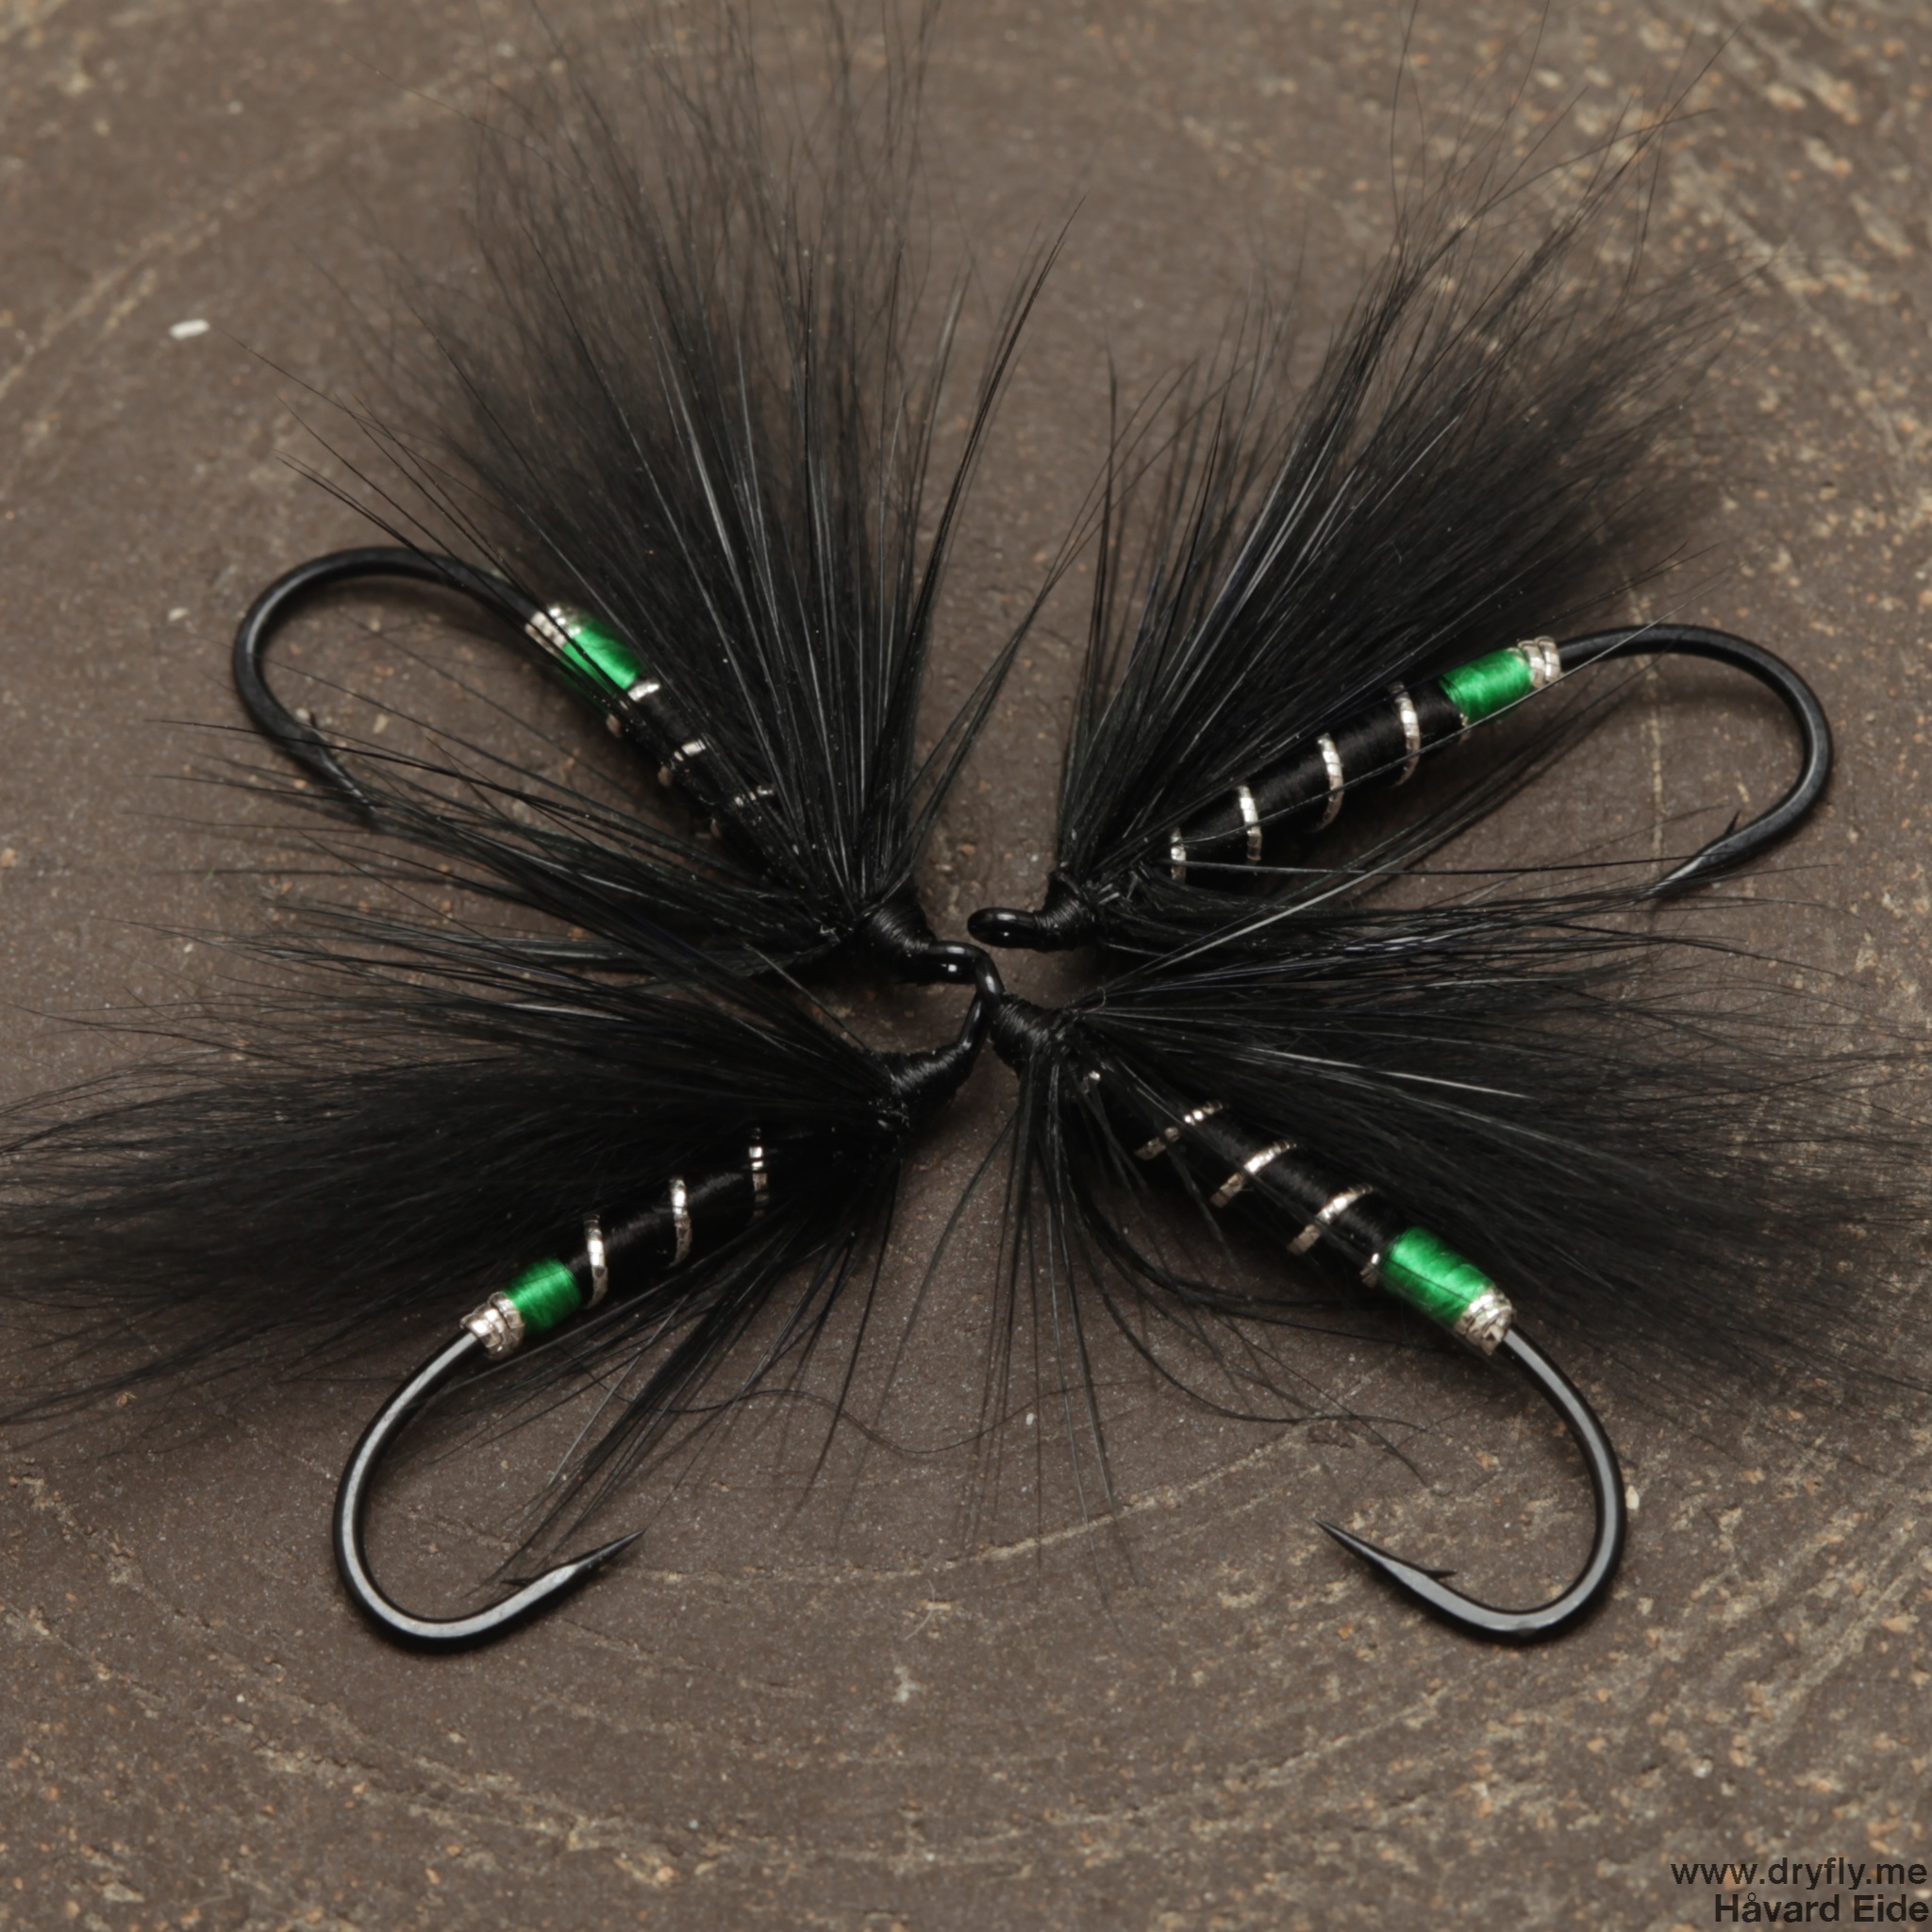
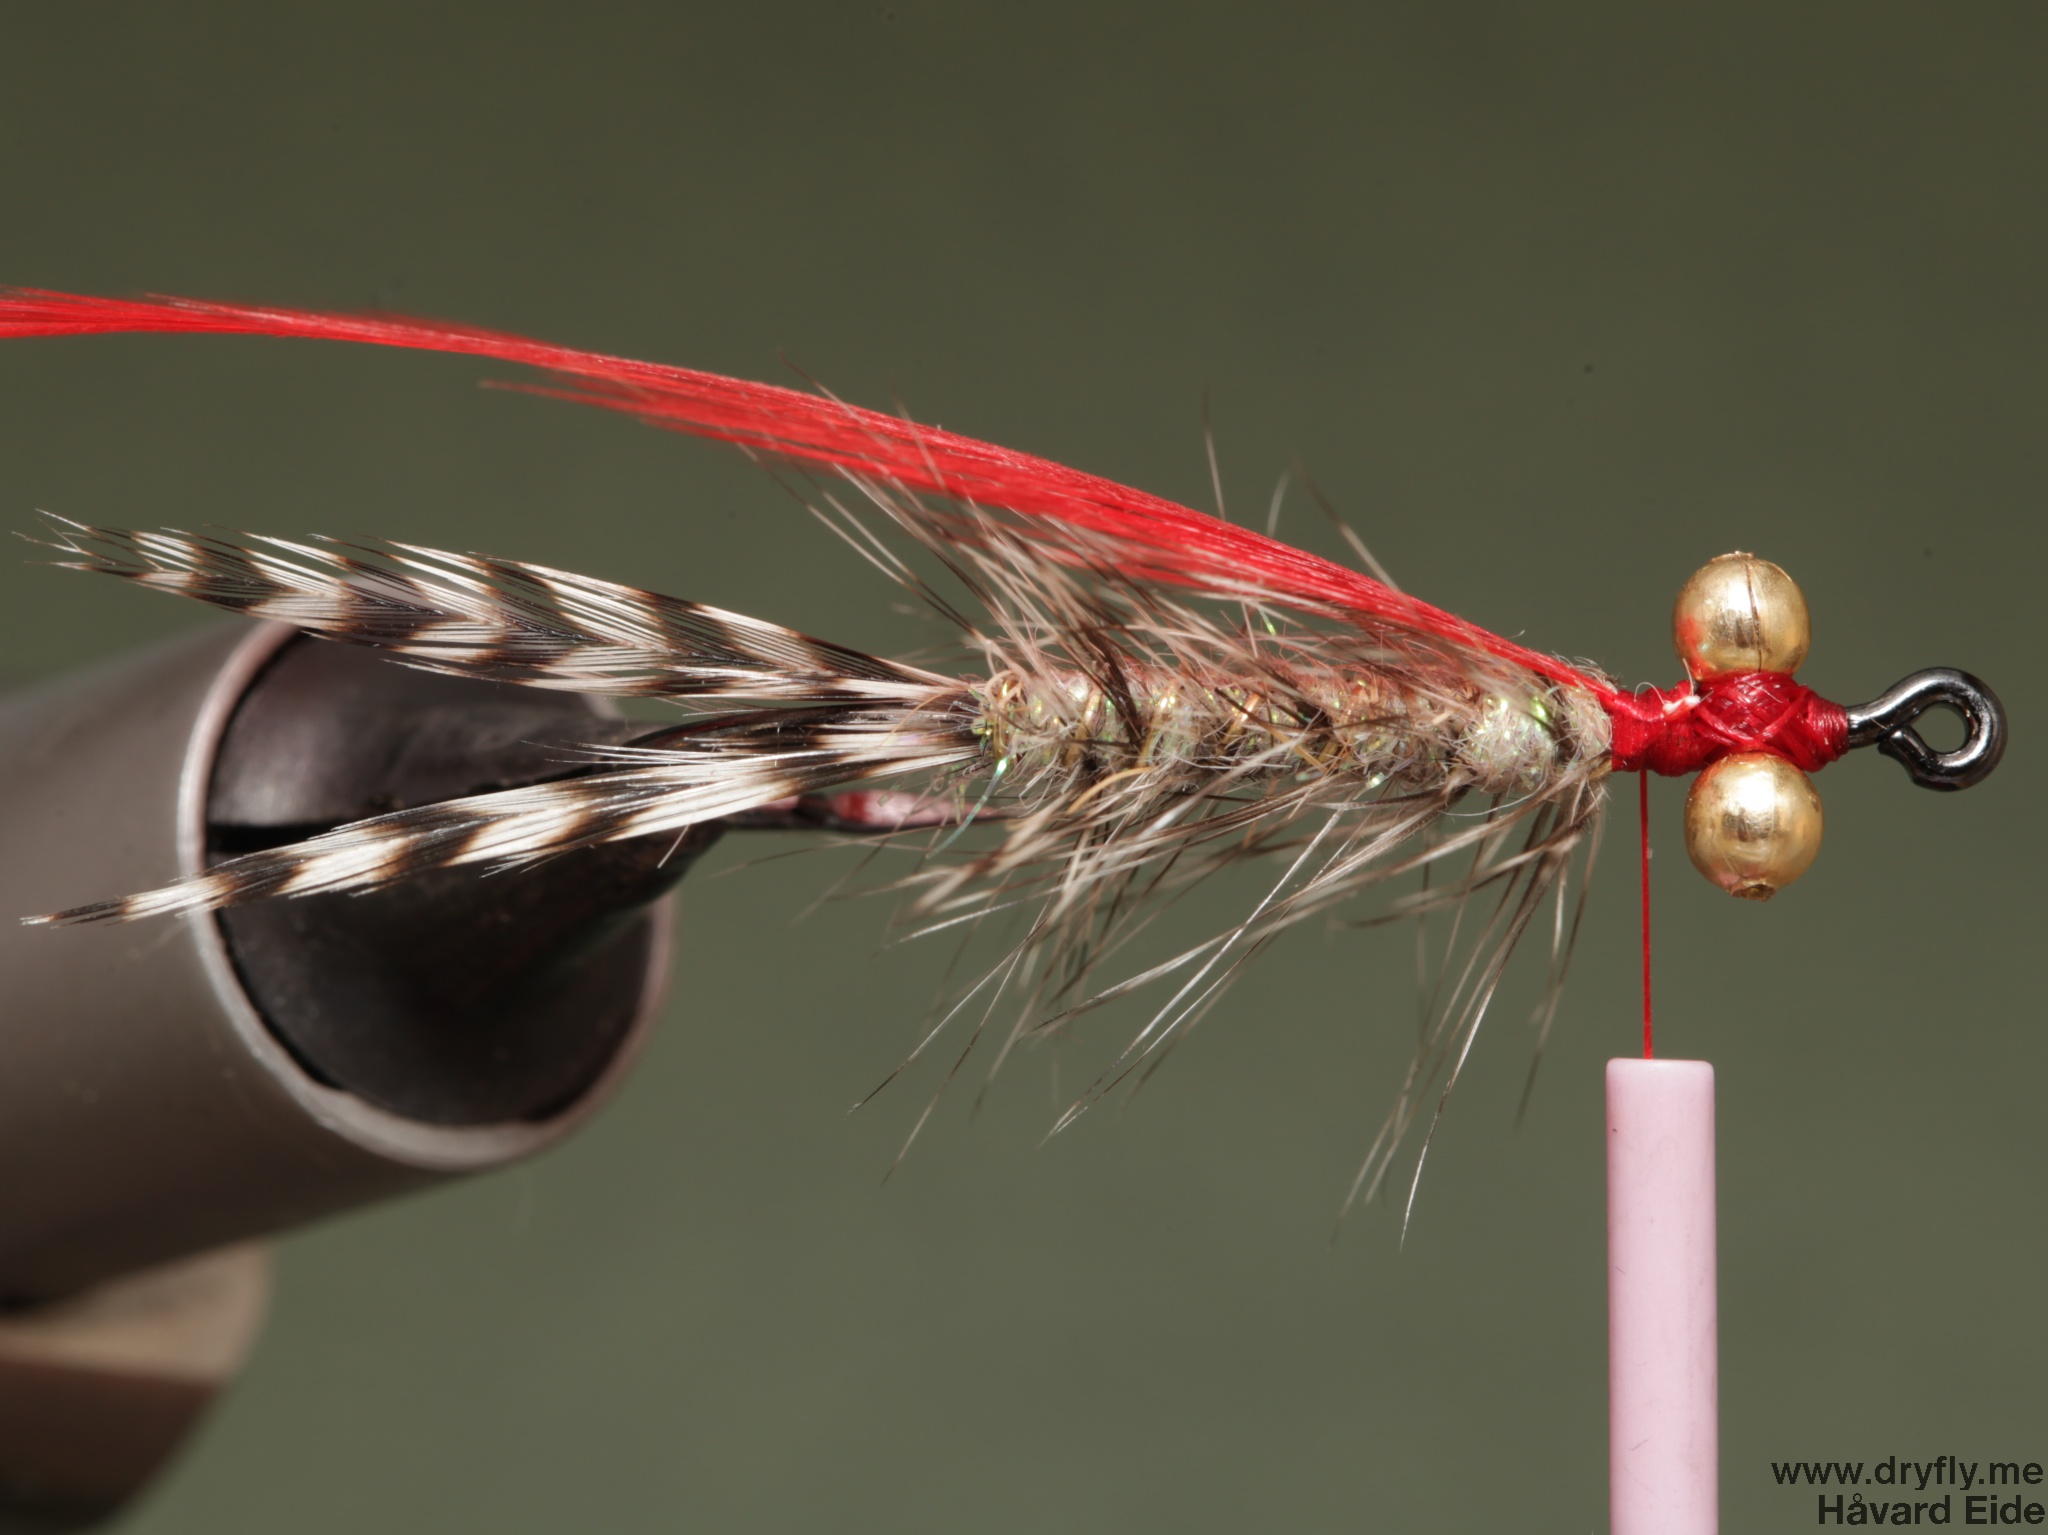
16. A alternative Polar magnus with red copper wire and pink spey hackle, just to show how you can mix this pattern up
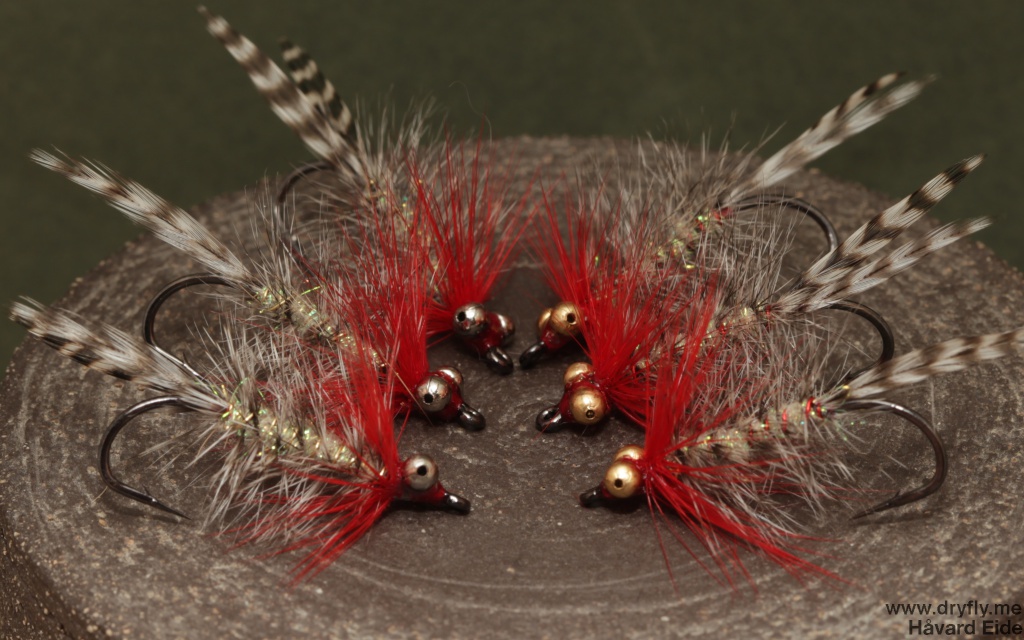
A batch of Polar Magnus done and ready to fish:
 Hook: Partridge Bomber #2
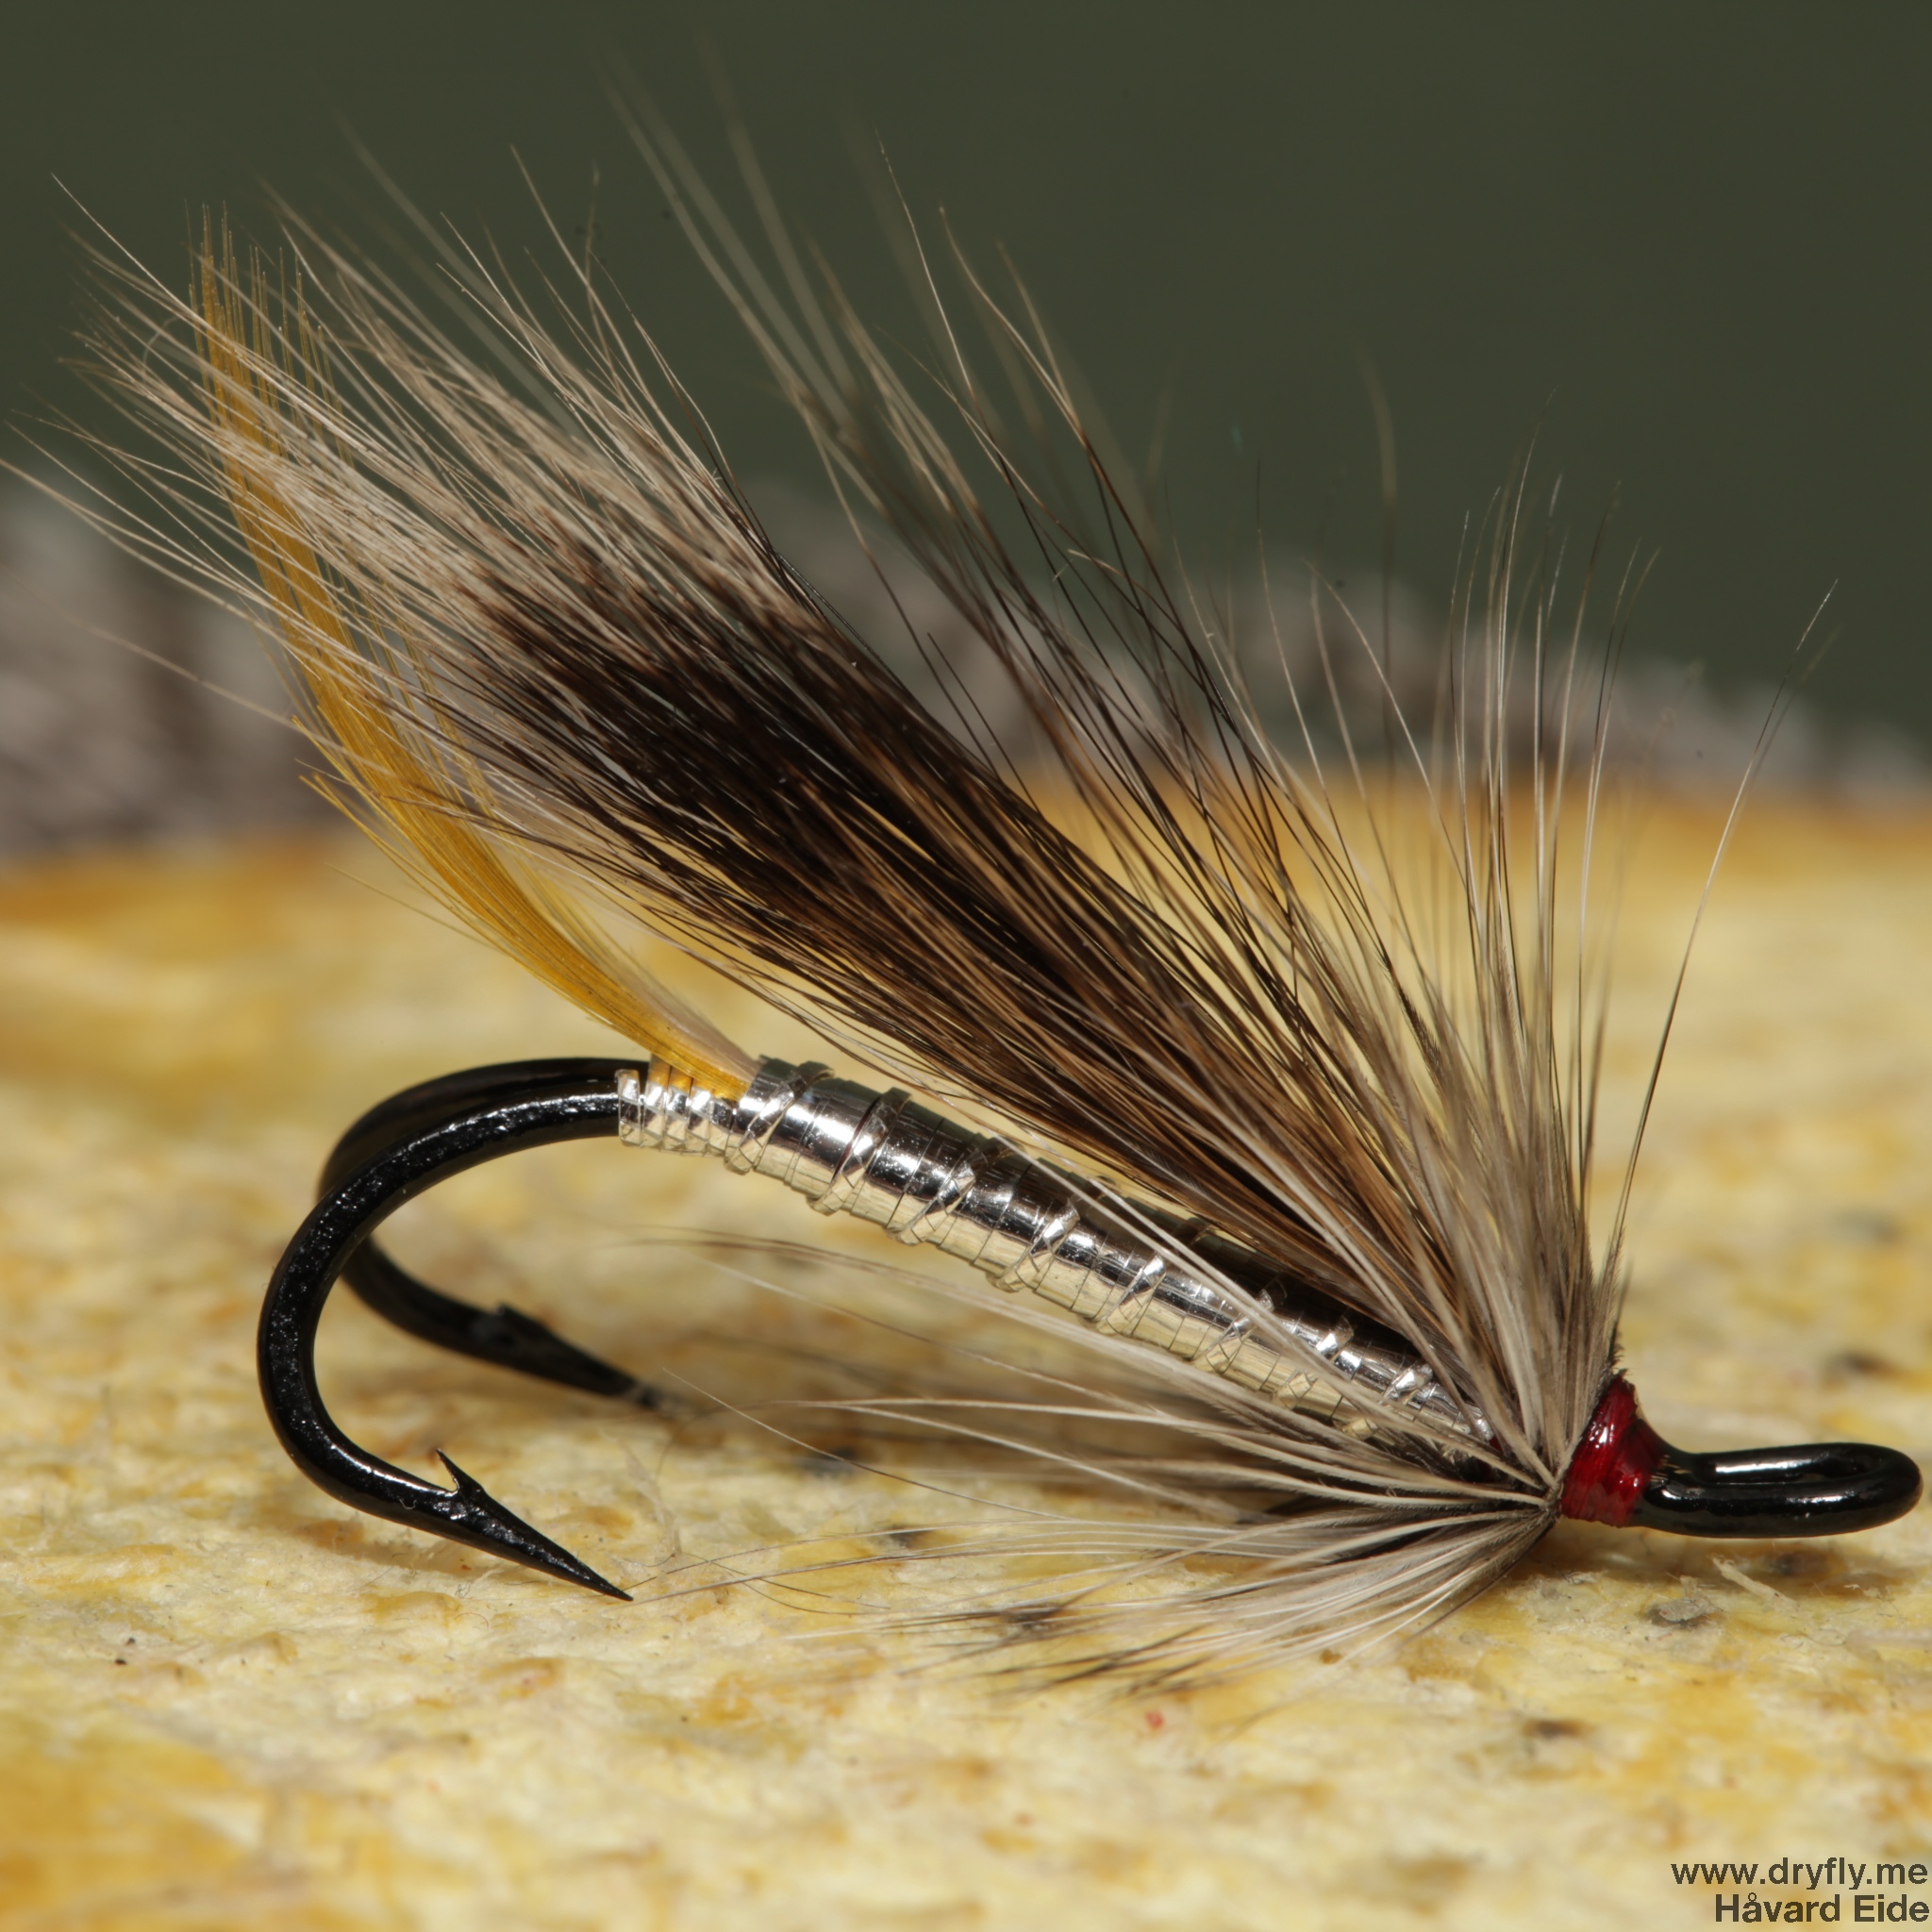


Recent Comments