I haven’t done many SBS yet here on dryfly.me, but I posted the hatching caddis family on the fly fishing community over at google+ and got a request for a SBS on this pattern so I thought I would give it a try.
Hook: Partridge Klinkhamer X-treme #14
Thread: UNI 6/0 Black – make sure it is tough enough to tie in deer hair
Body: Hareline Hare’s Ear Plus DubbIn Dark Olive
Wing: Deer Hair Olive , 2mm foam white, CDC Olive
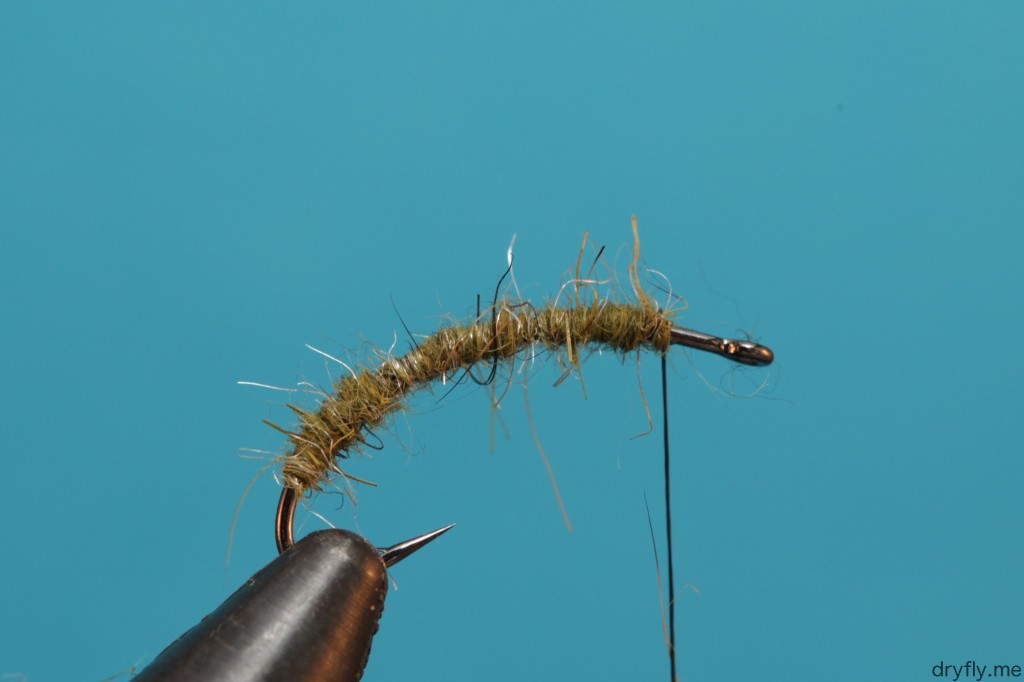
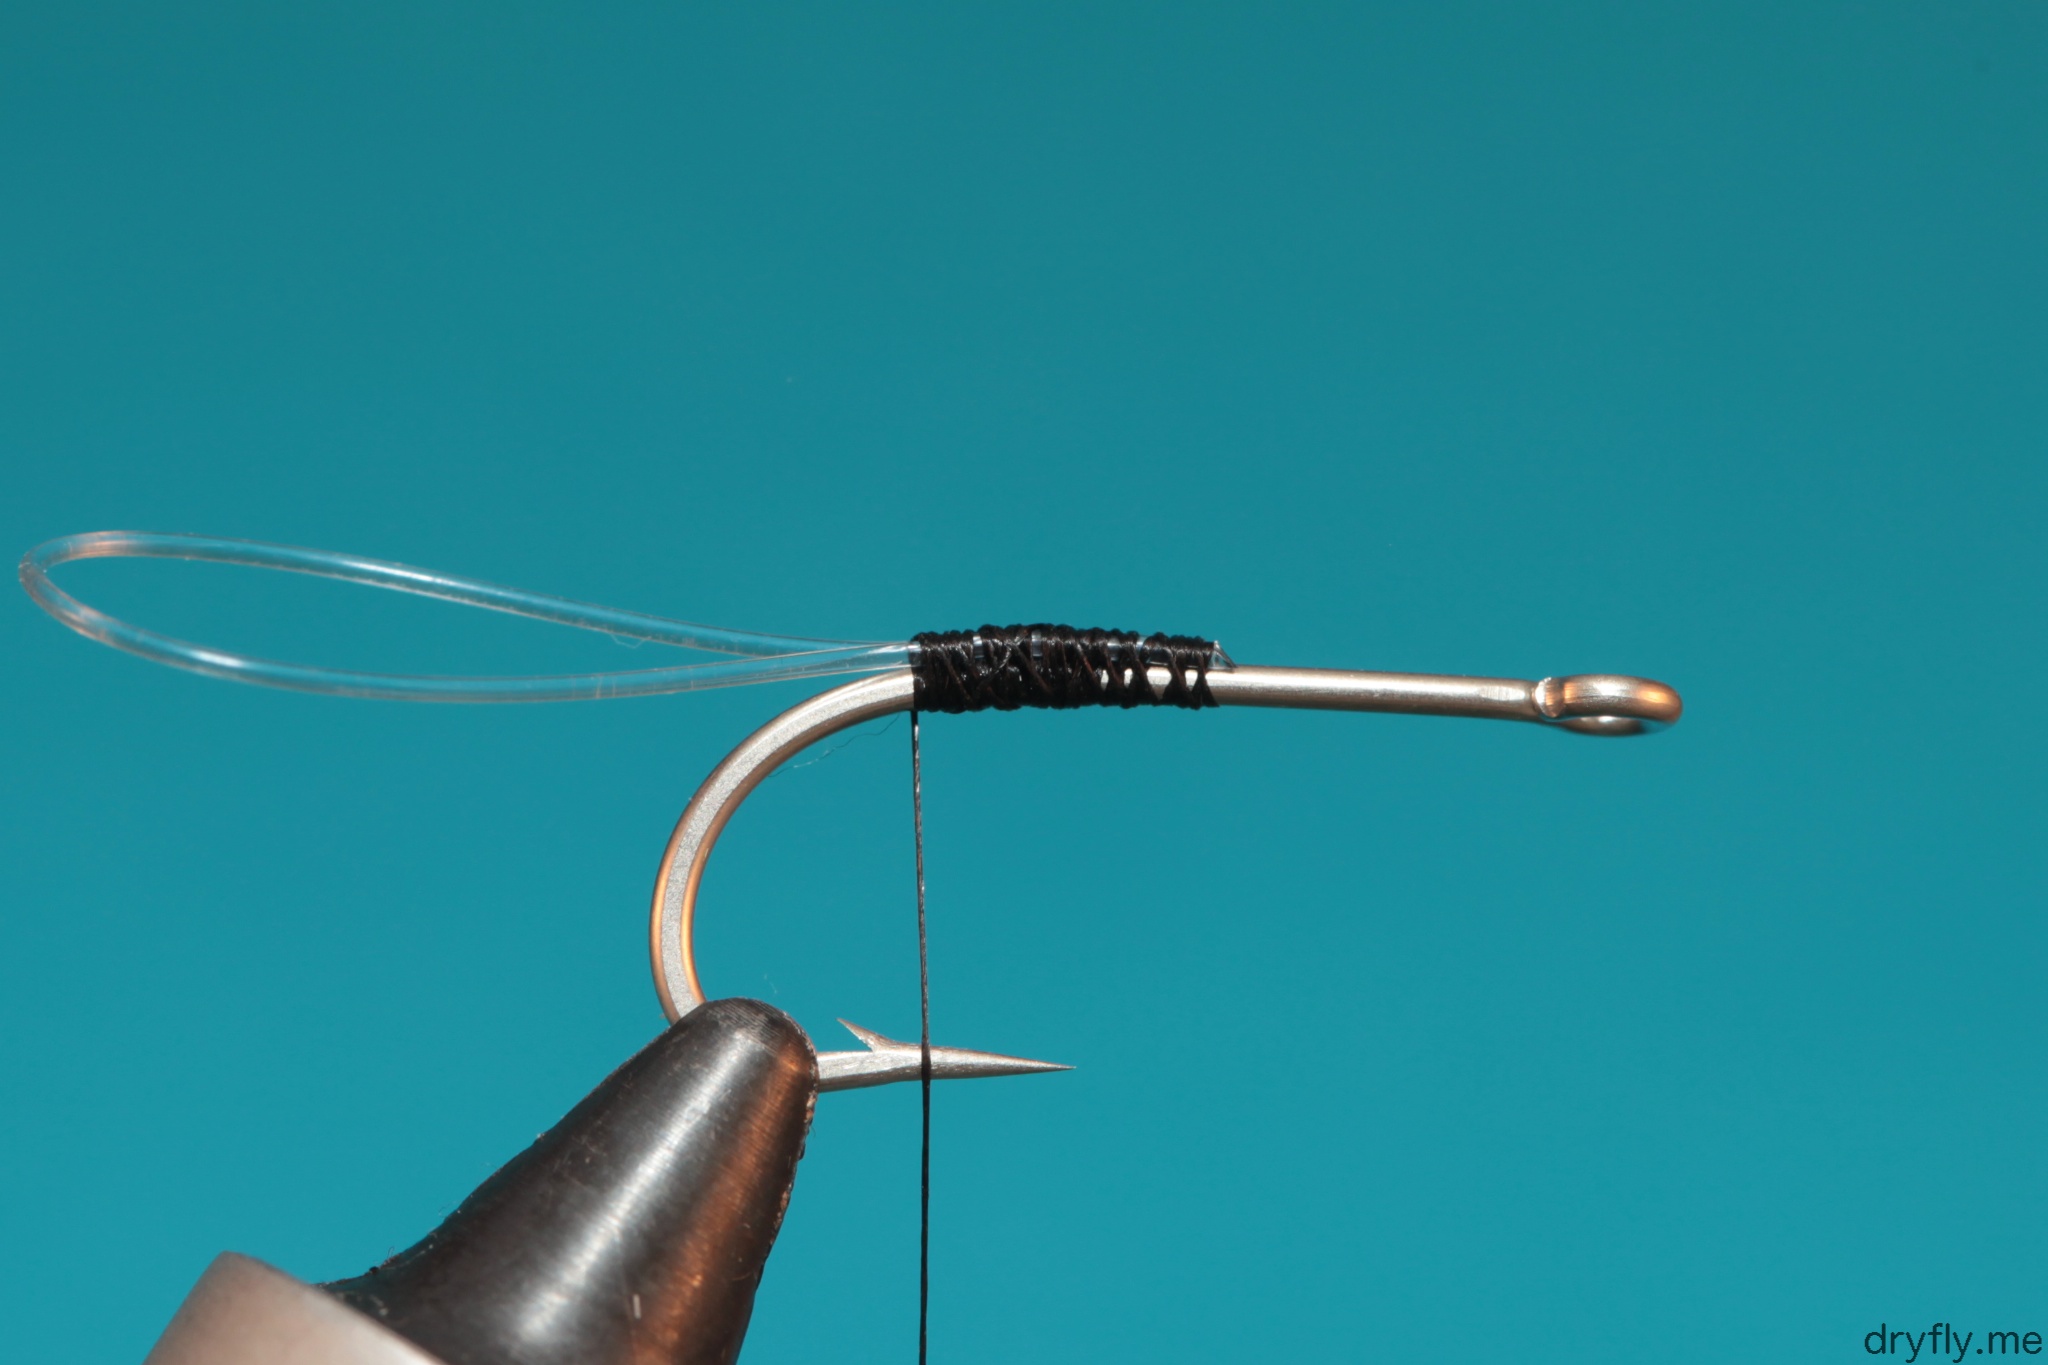
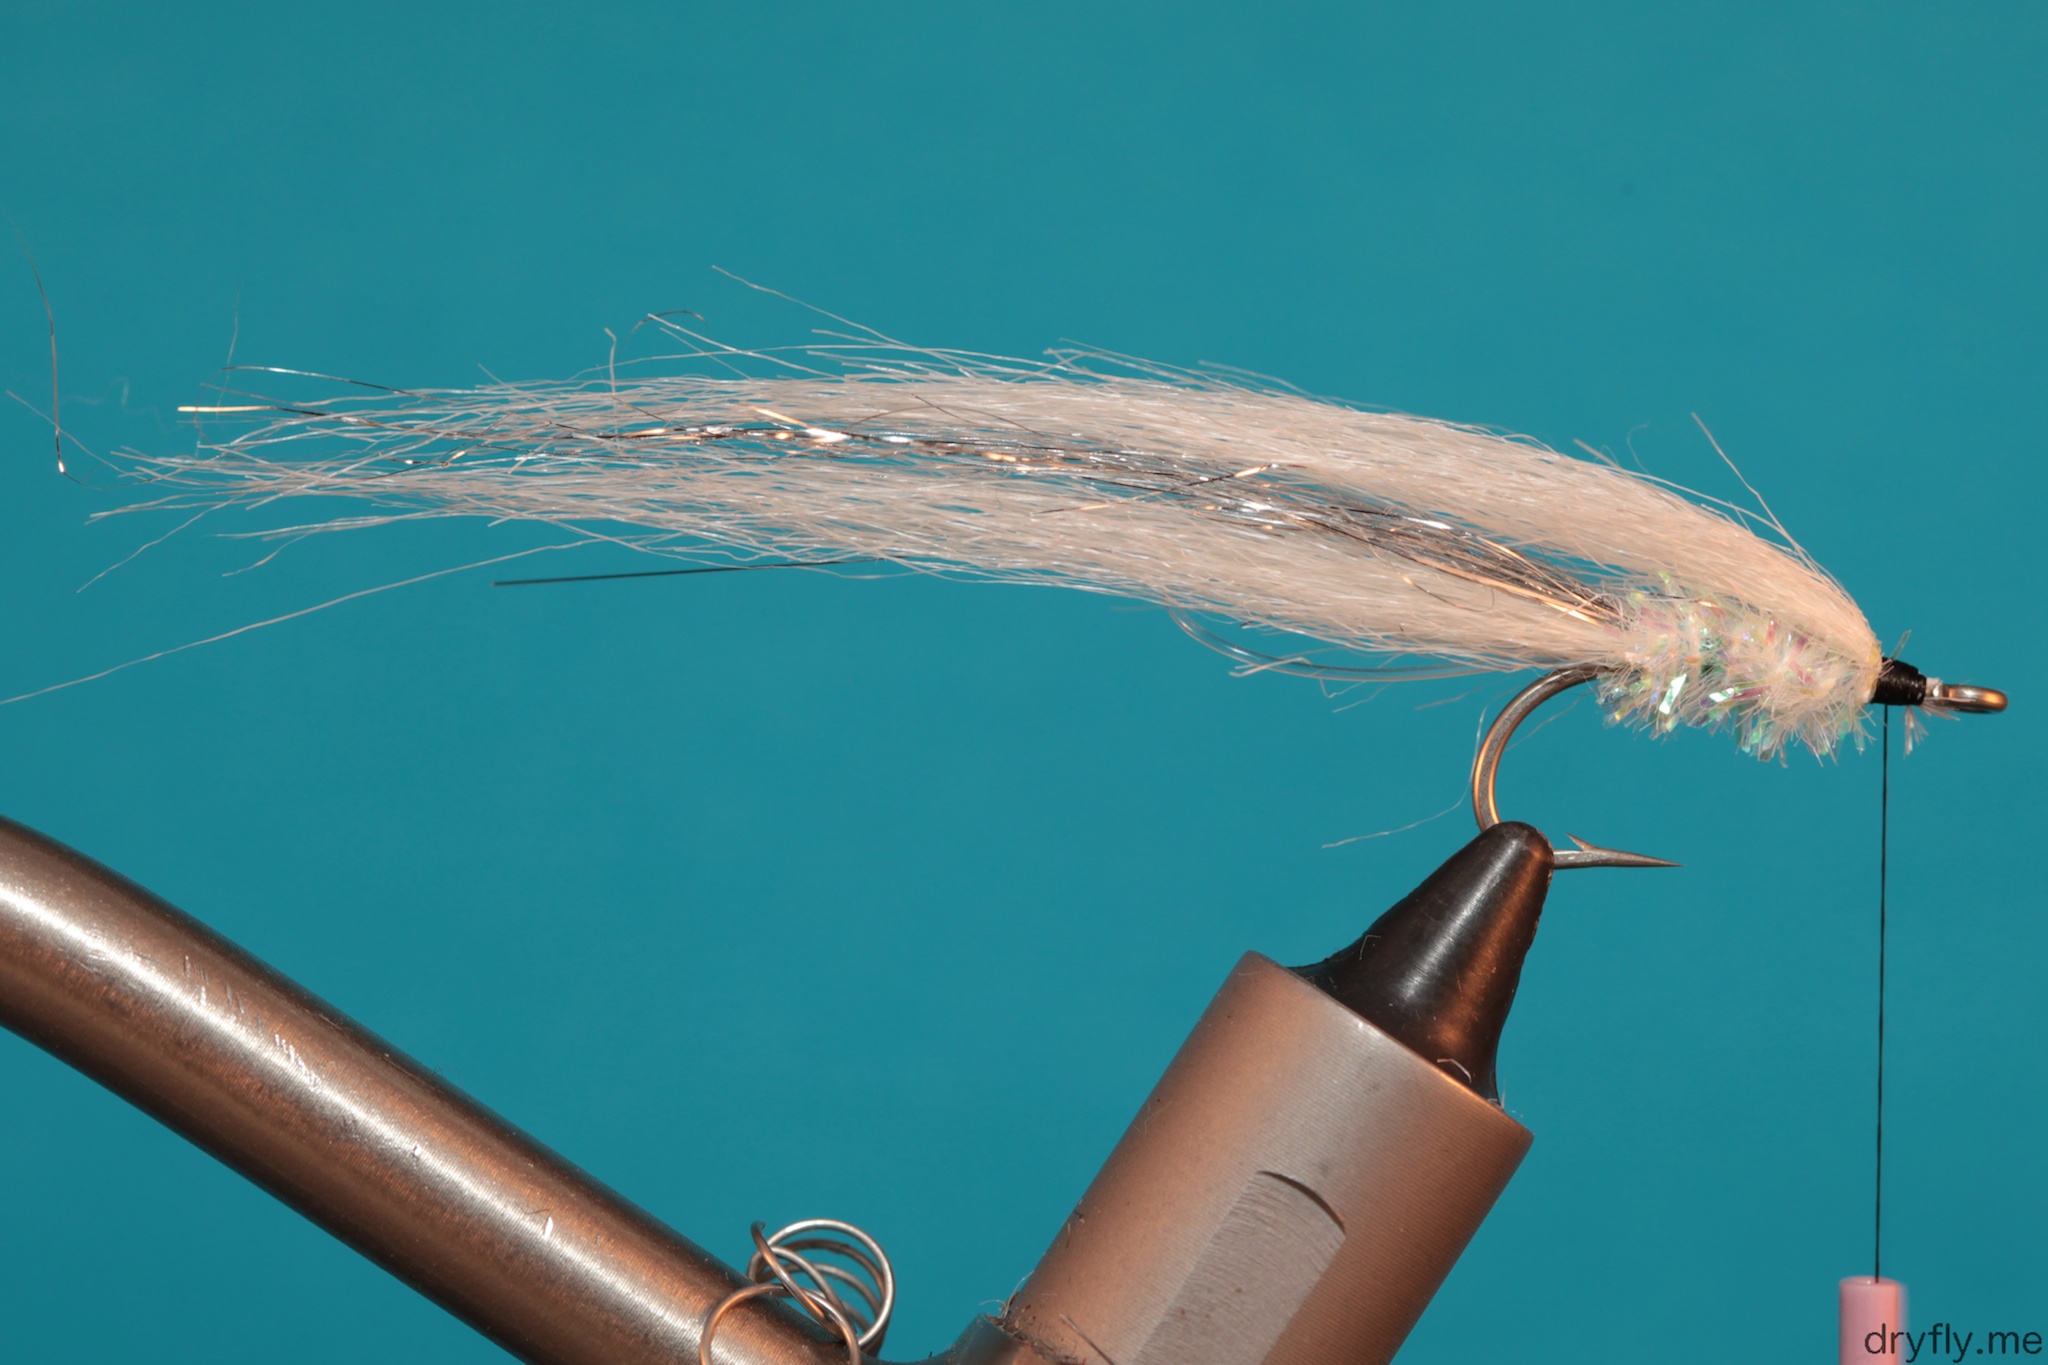
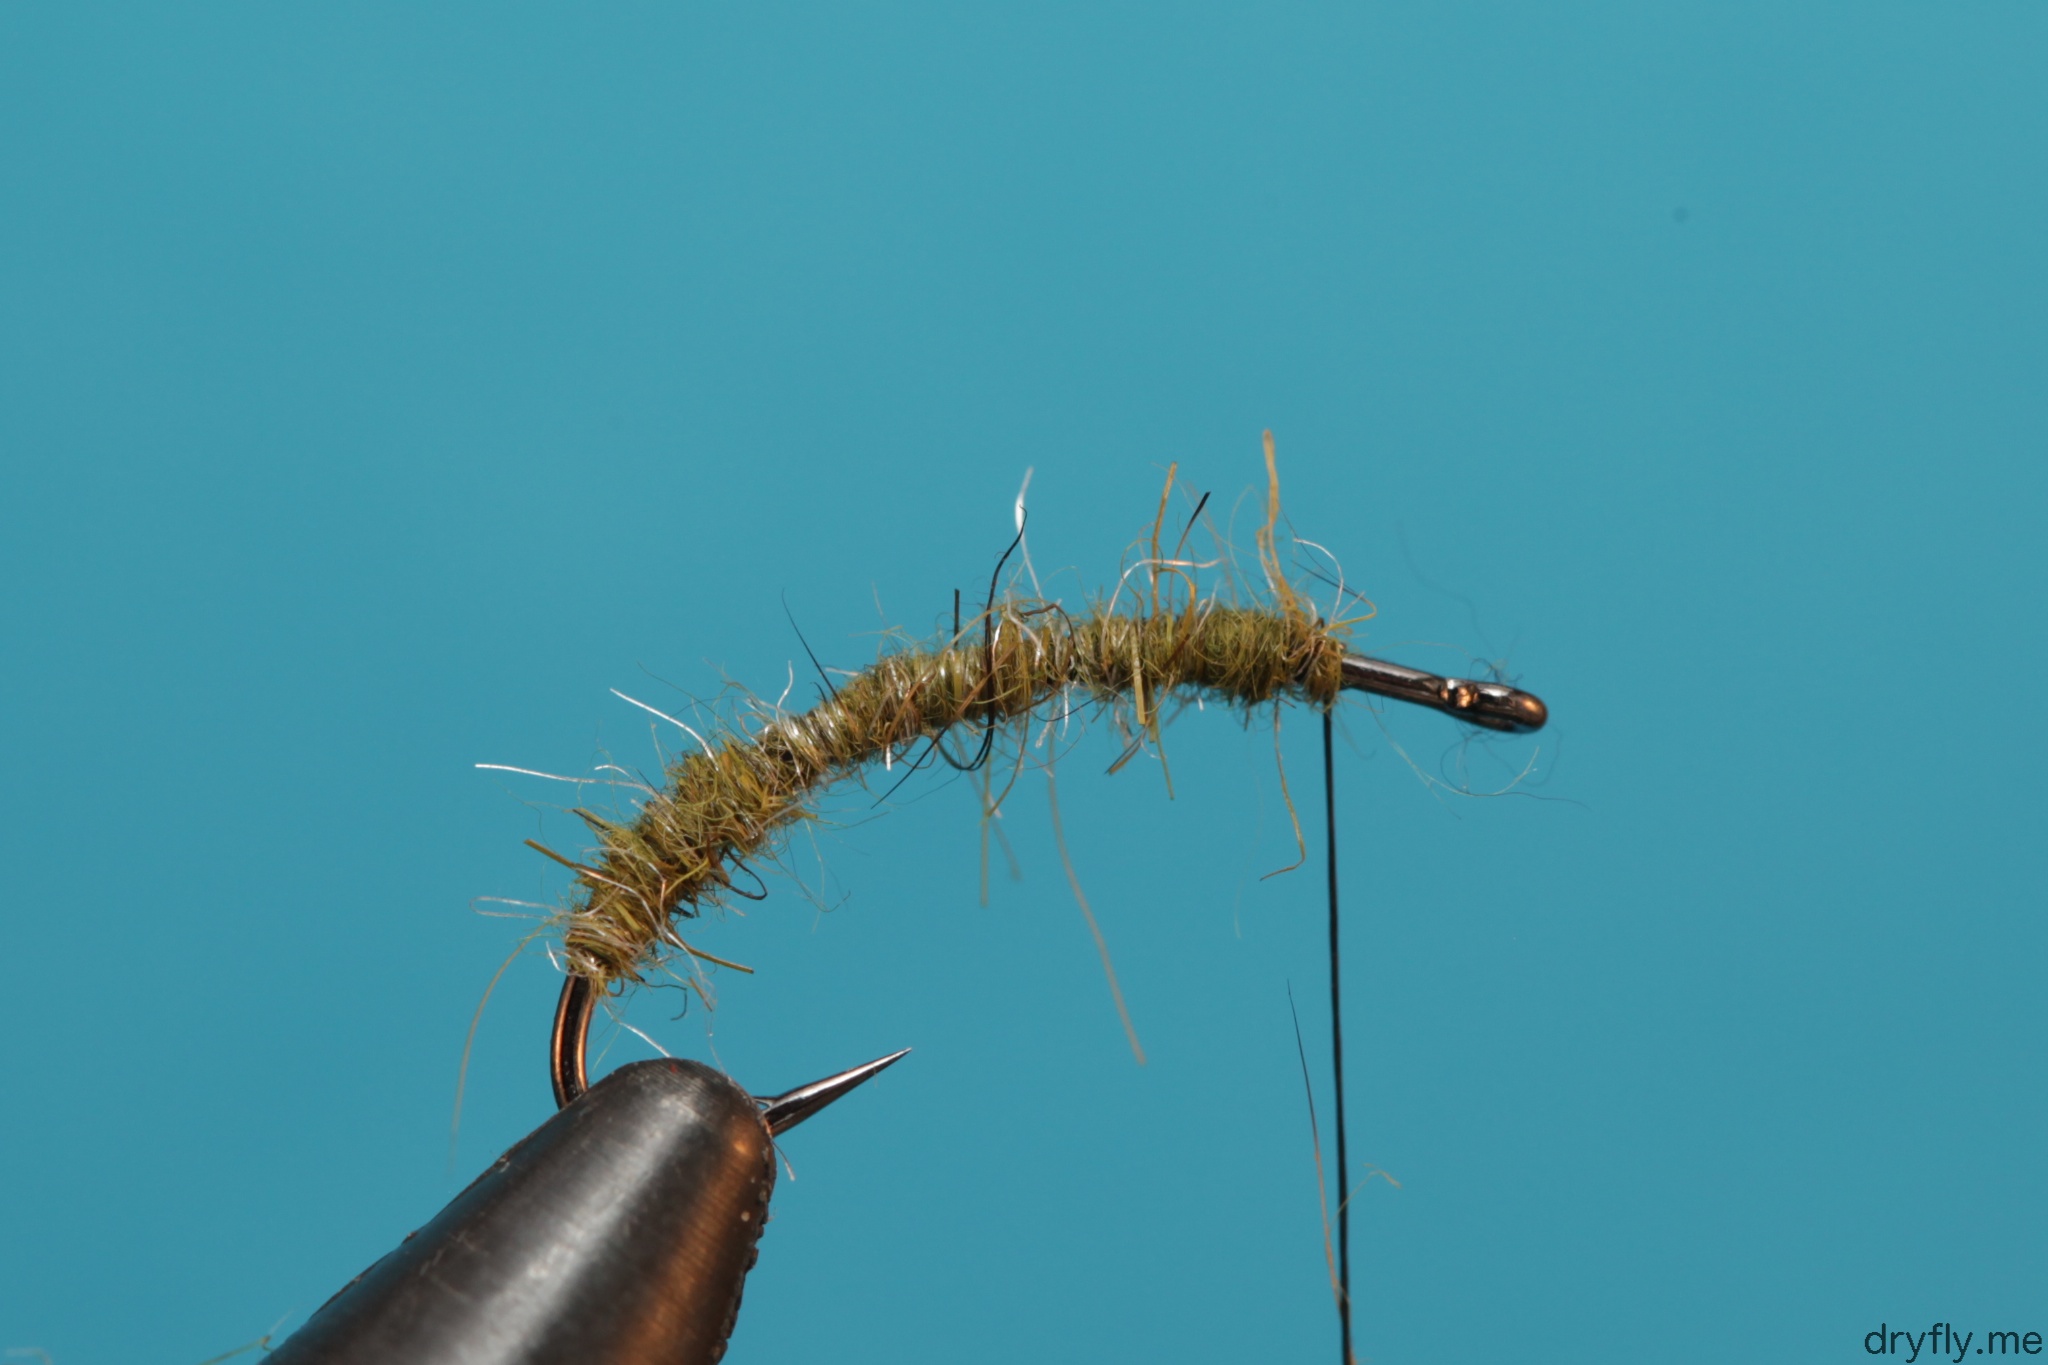
1. Dub the hook with color of choice, I think the Hare’s Ear gives life to the body
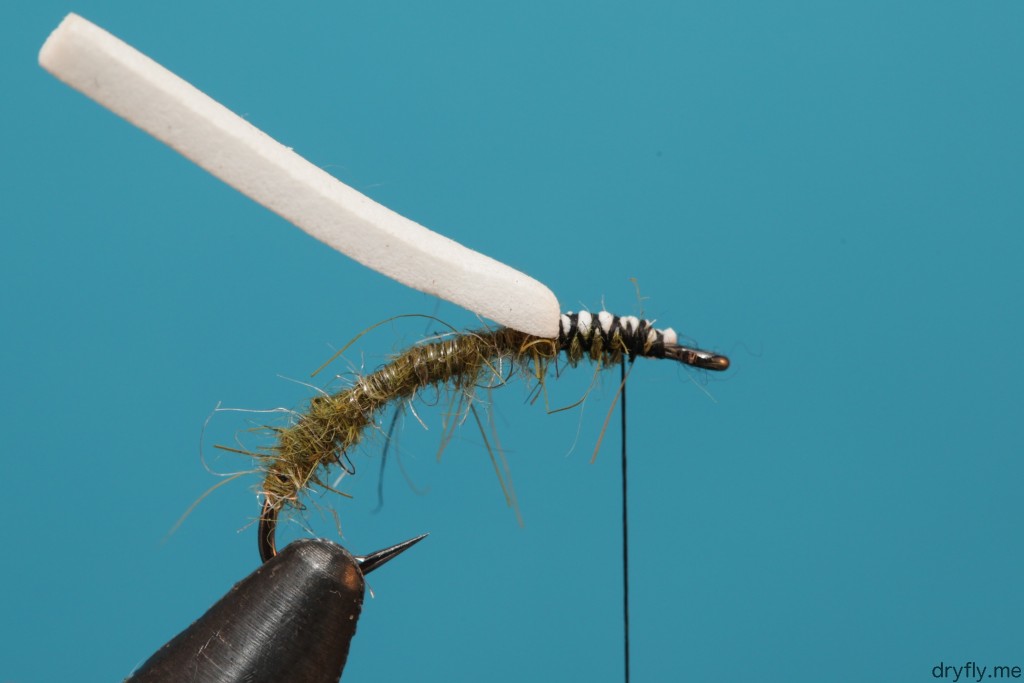
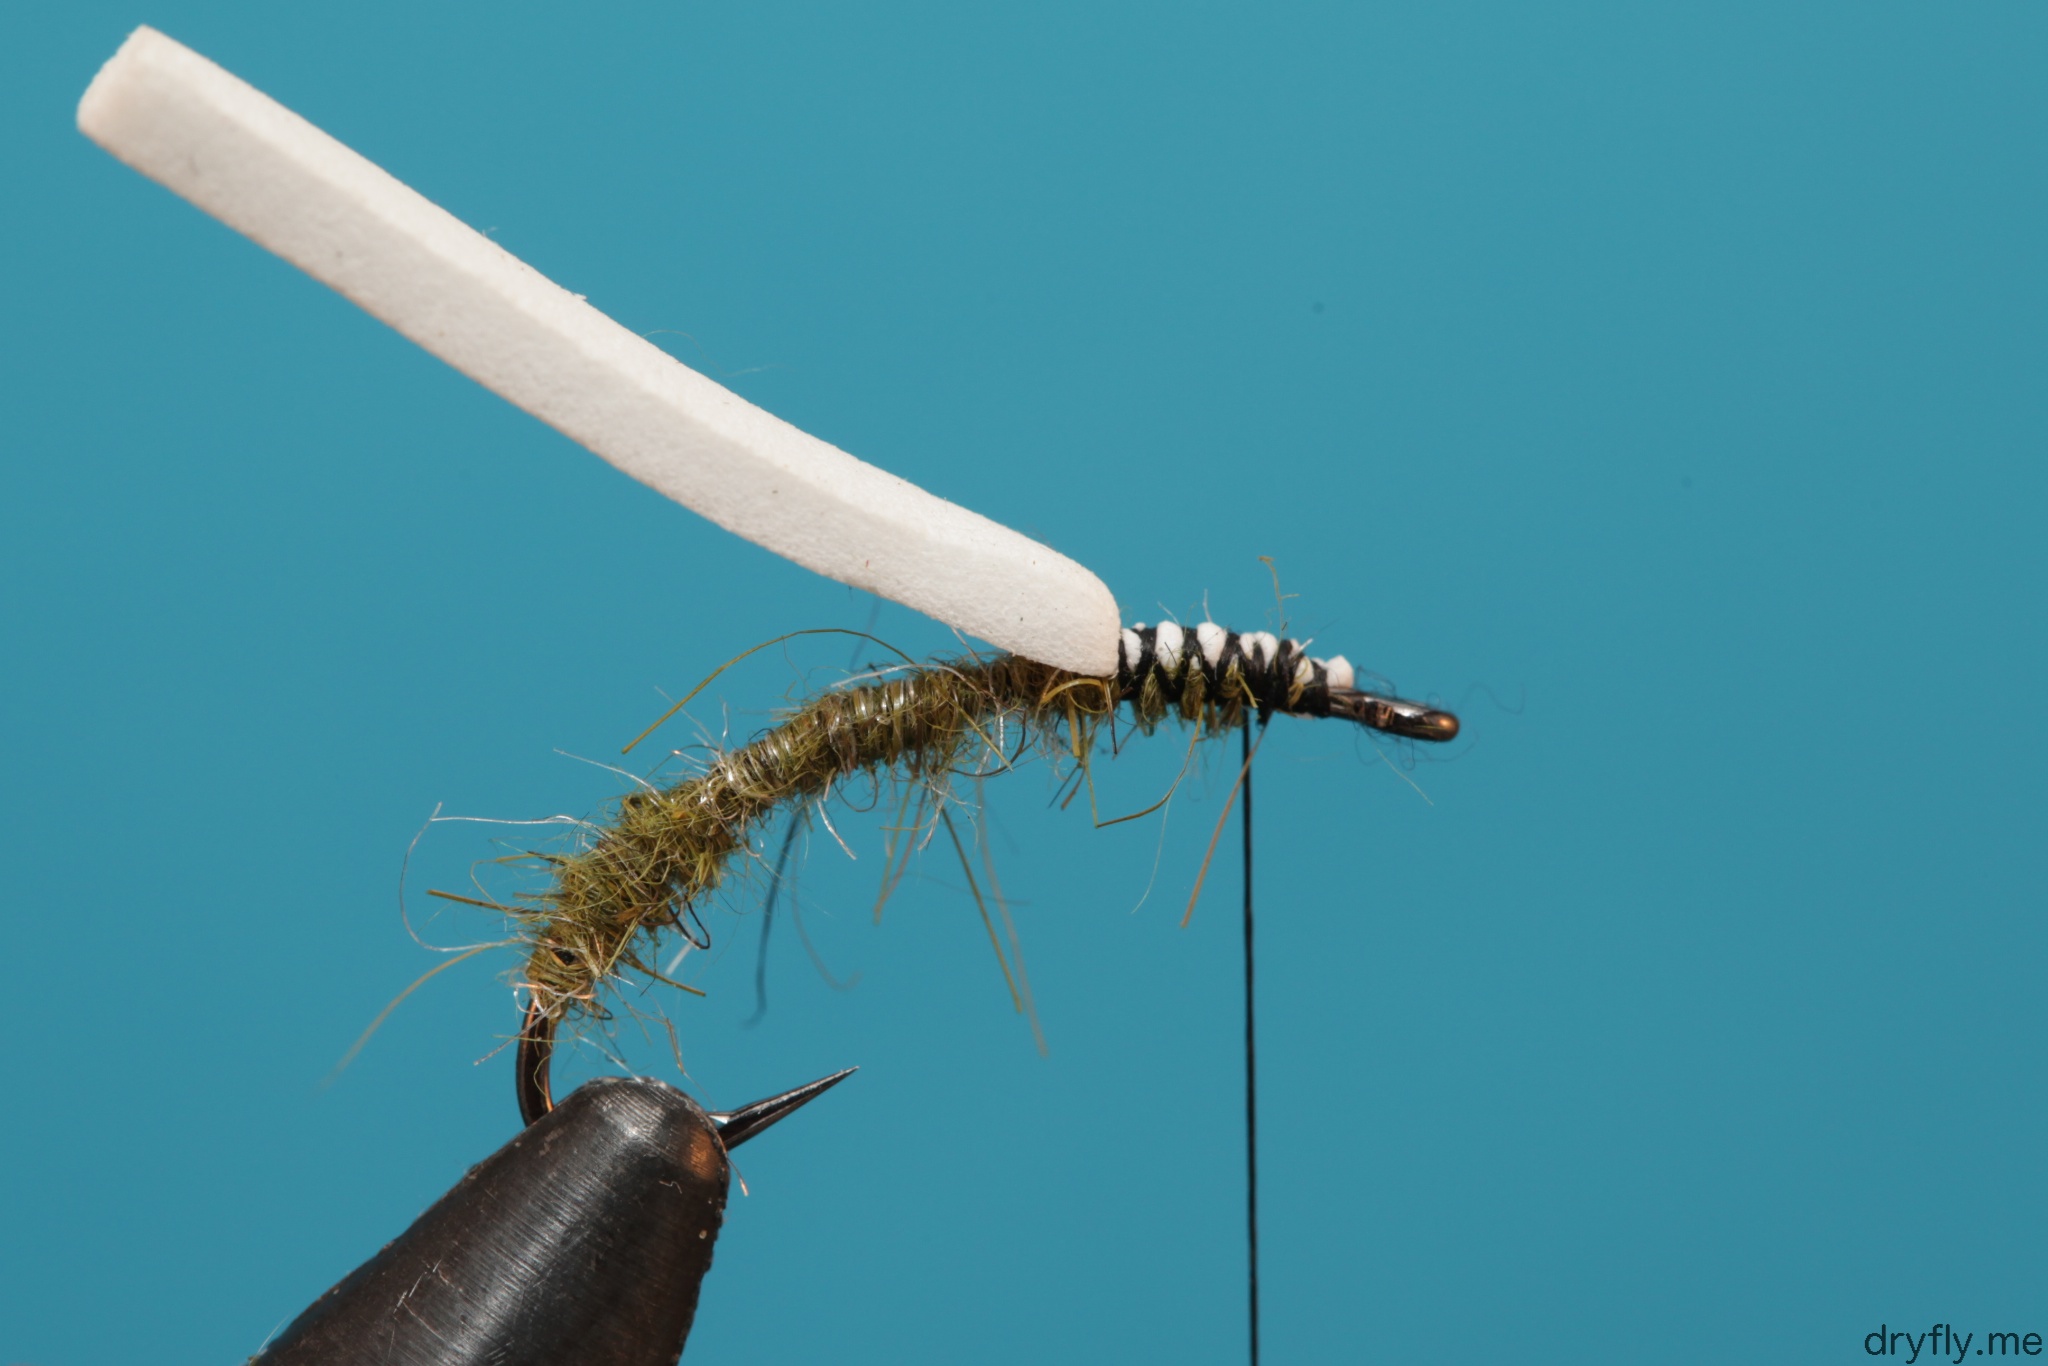
 2. Cut a strip of foam and tie in, remember to leave enough room behind the eye to tie in both the deer hair, the cdc and the foam. If you don’t have foam use any material that will be able to split the wing and secure it: pheasant tail for example
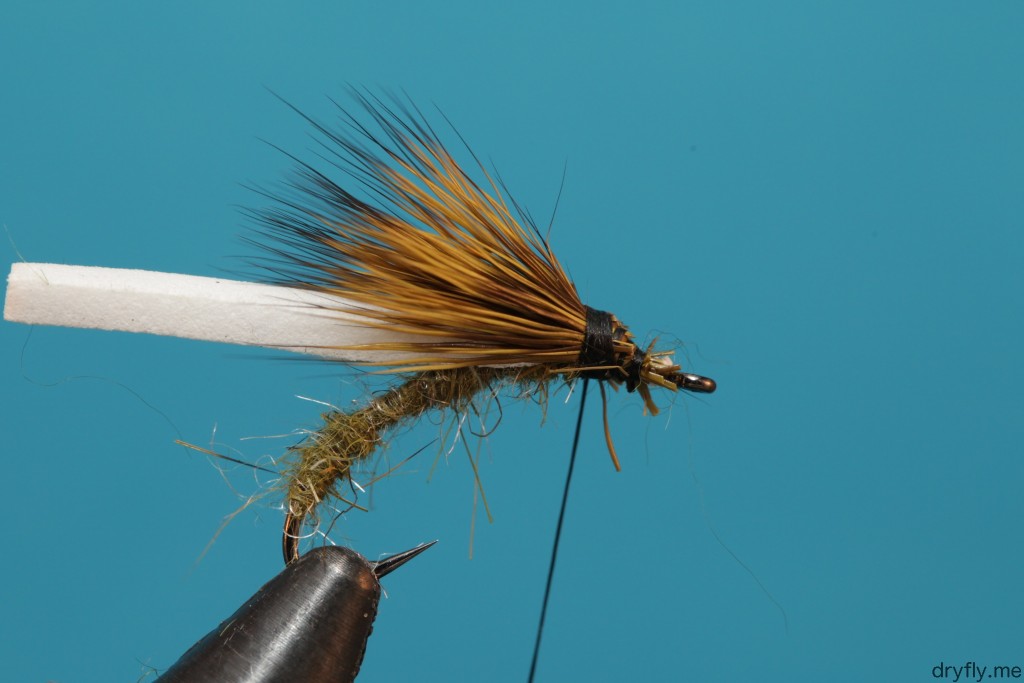
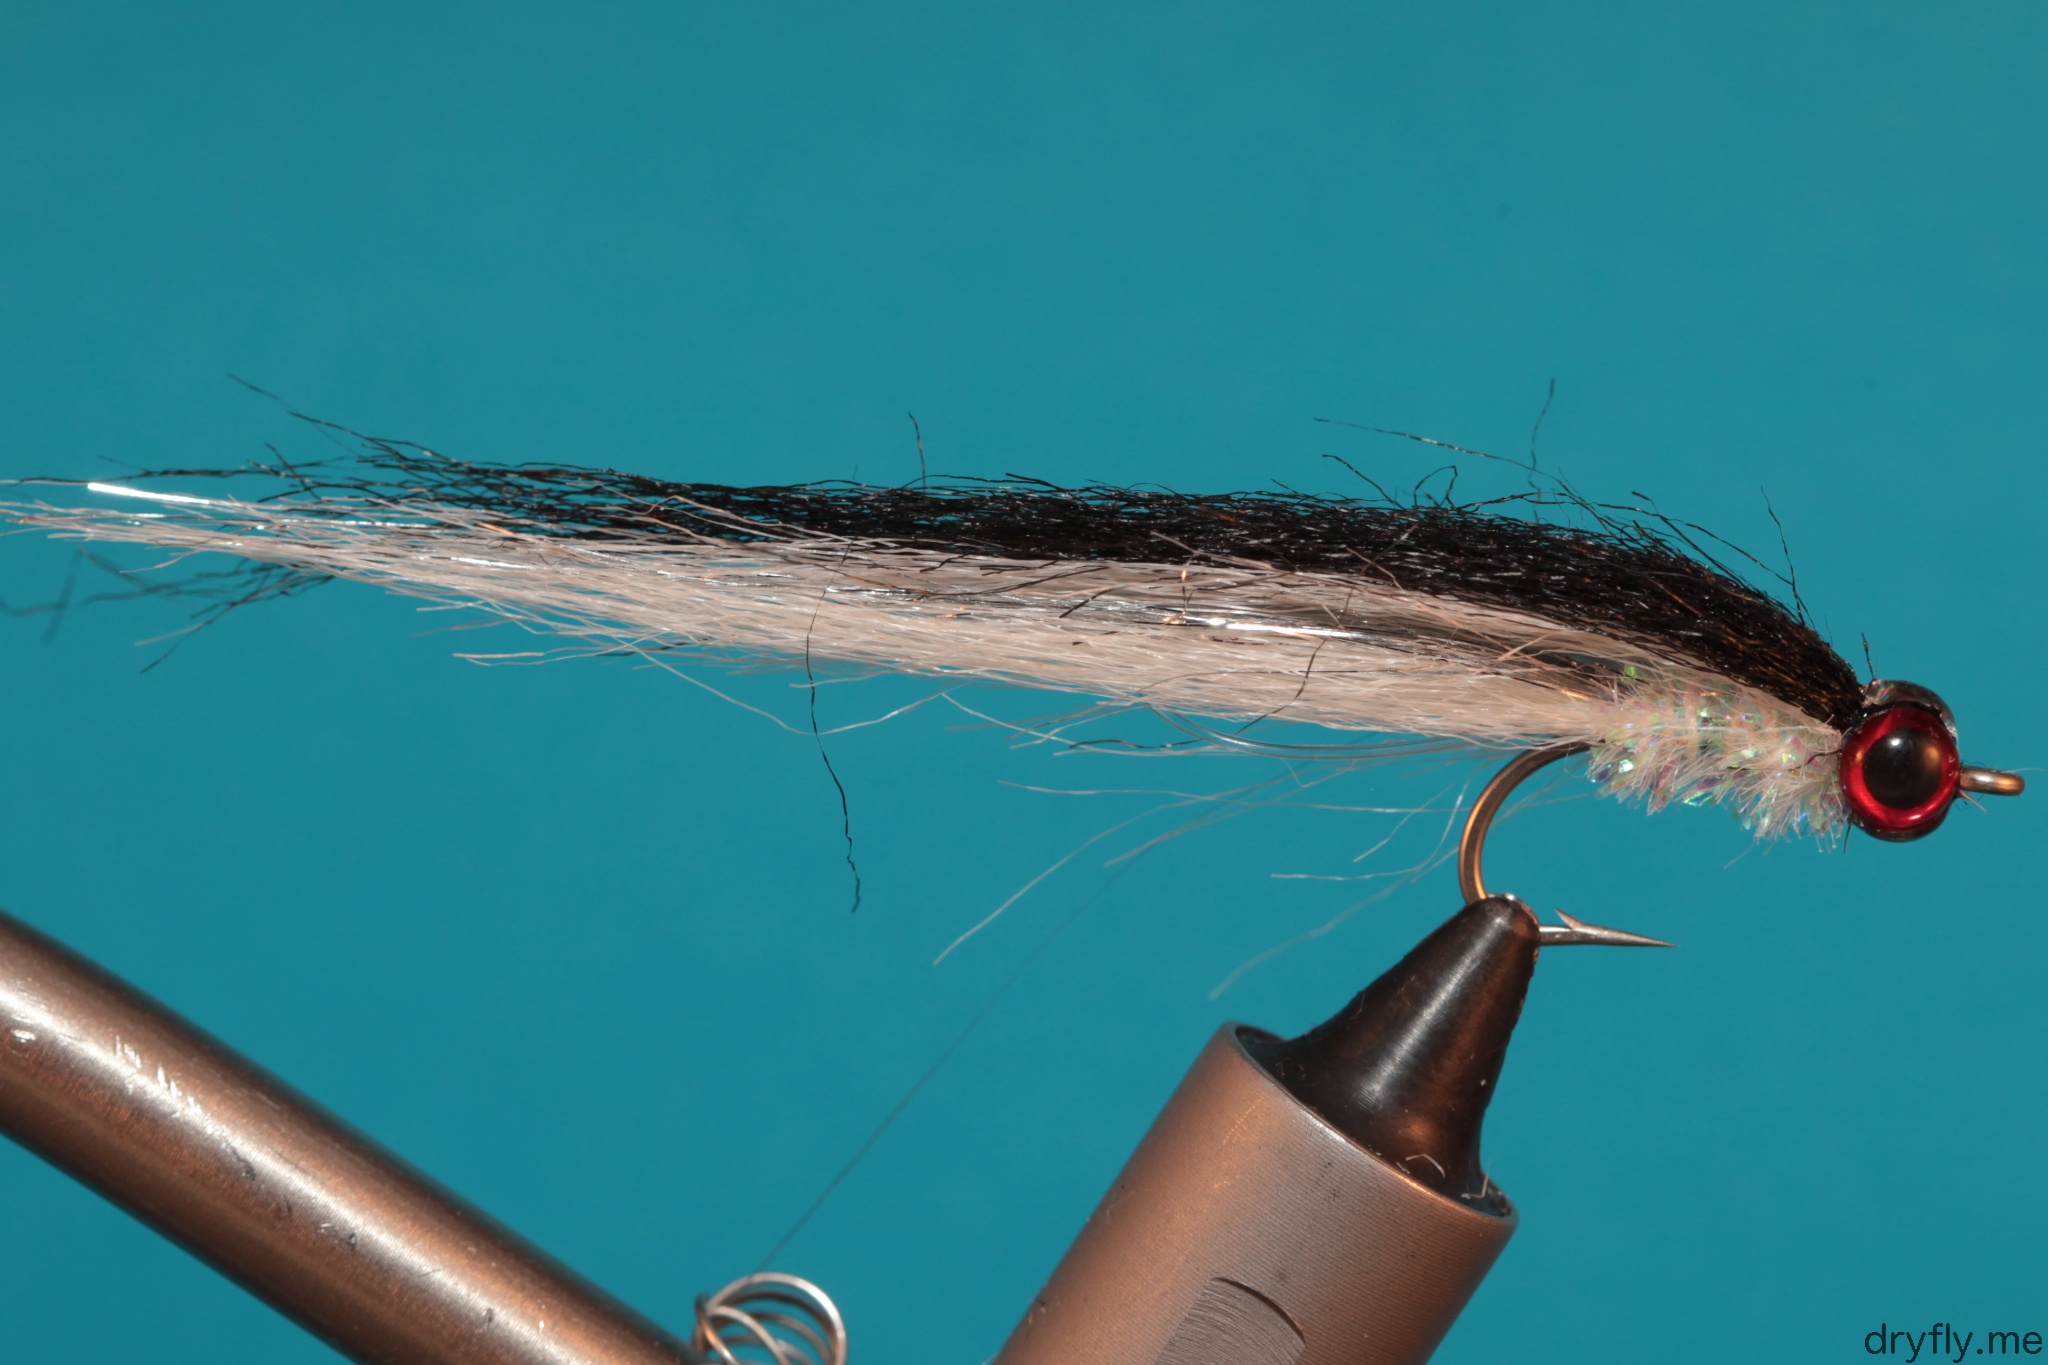
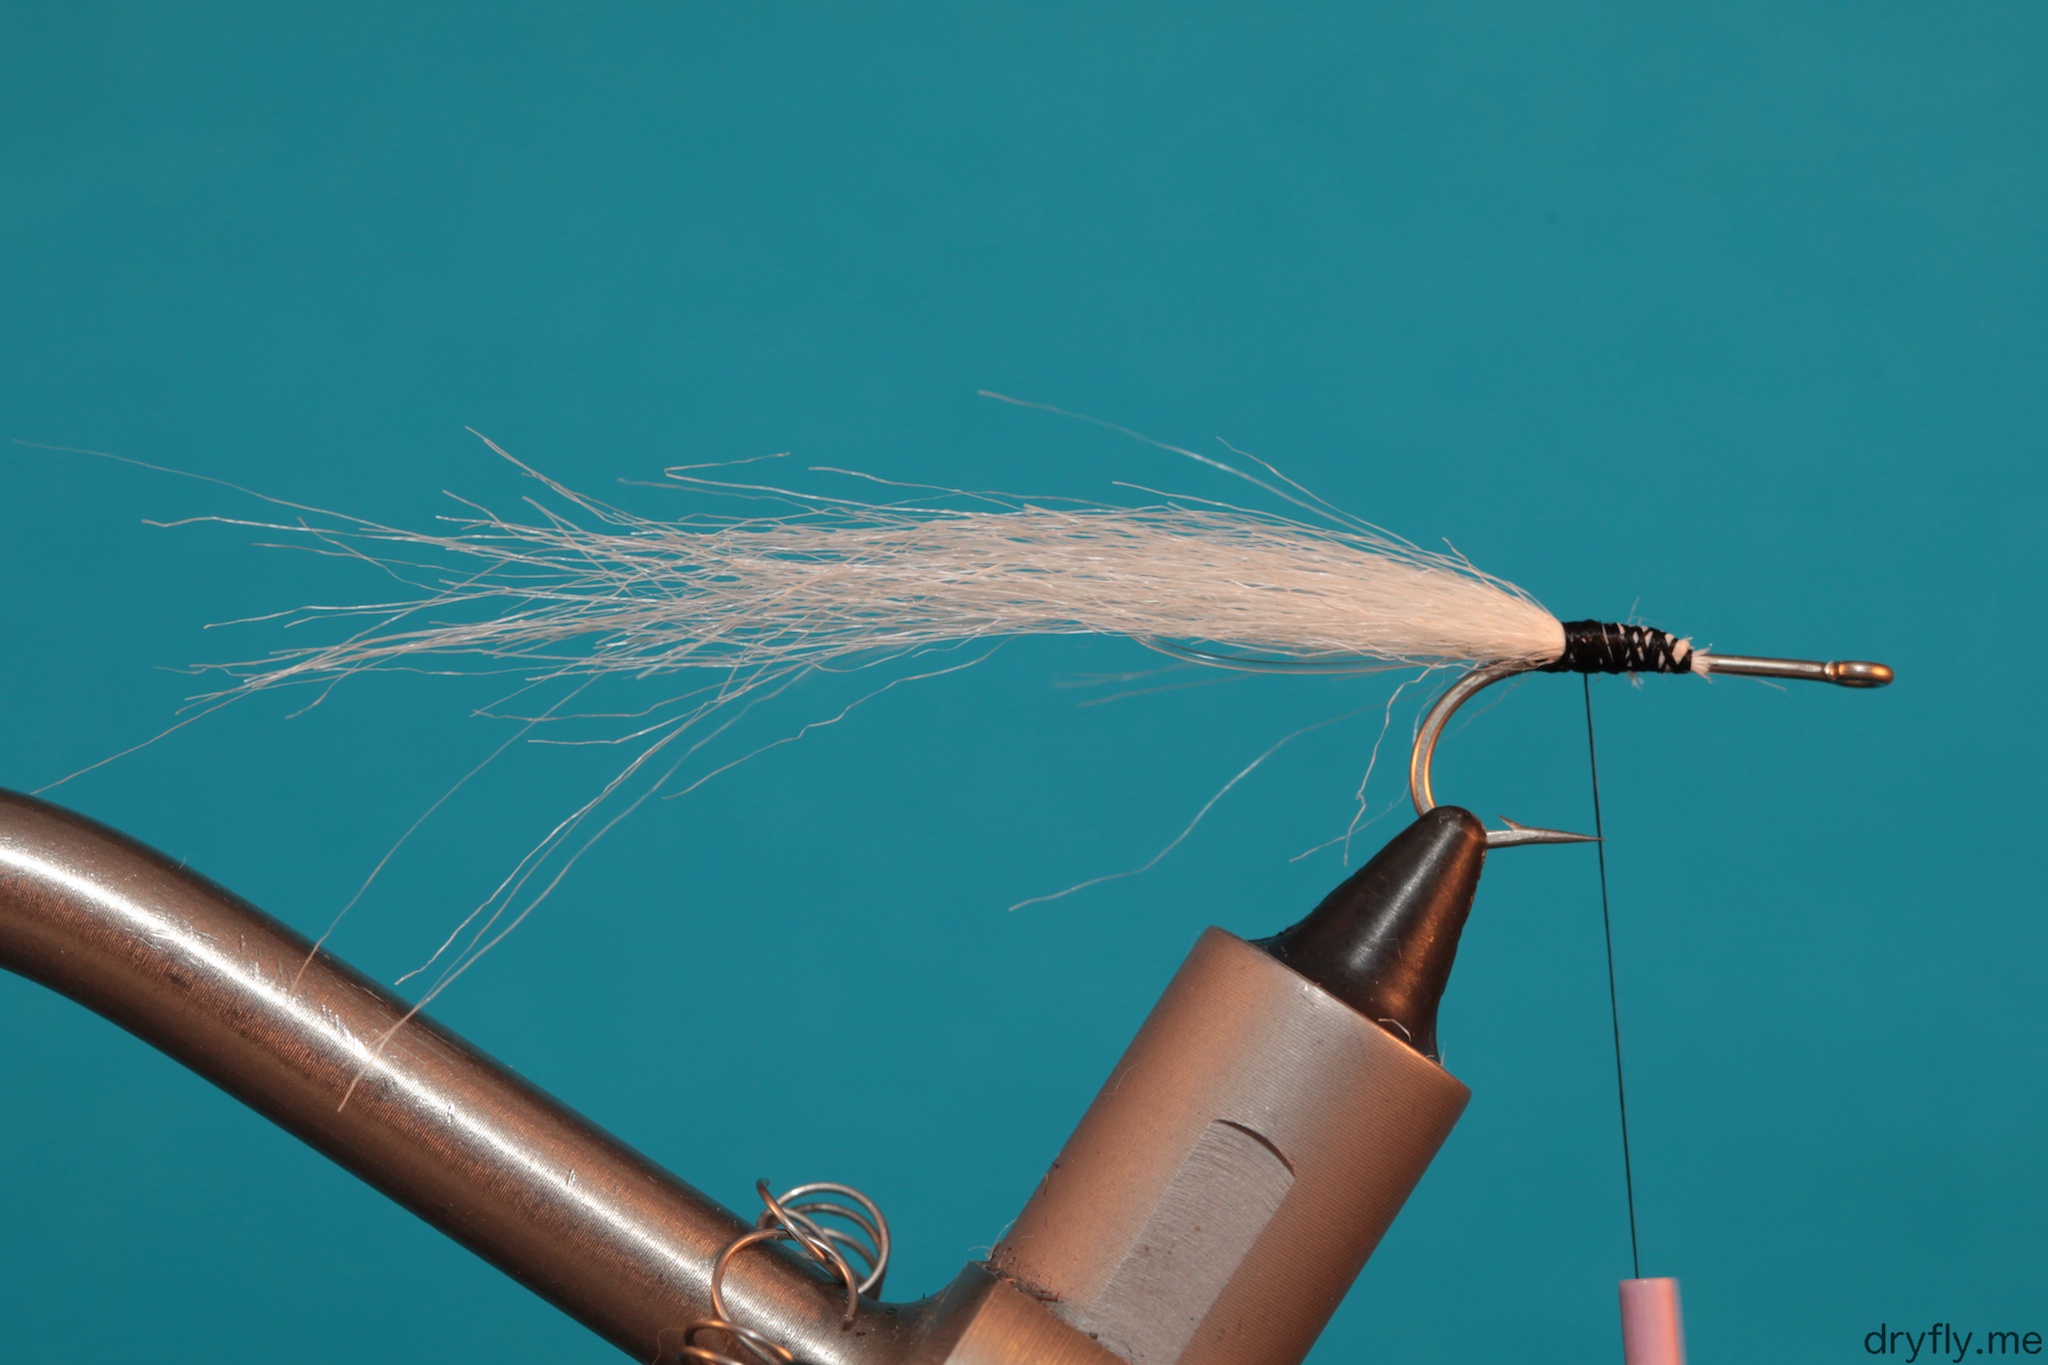
 3. Stack up deer hair and tie in: you need enough to be able to create the split wing, but not too much. Experiment a bit with the length – if it gets too long the proportions will be off.
 4. Cut the deer hair and tie in, make sure it is properly secured
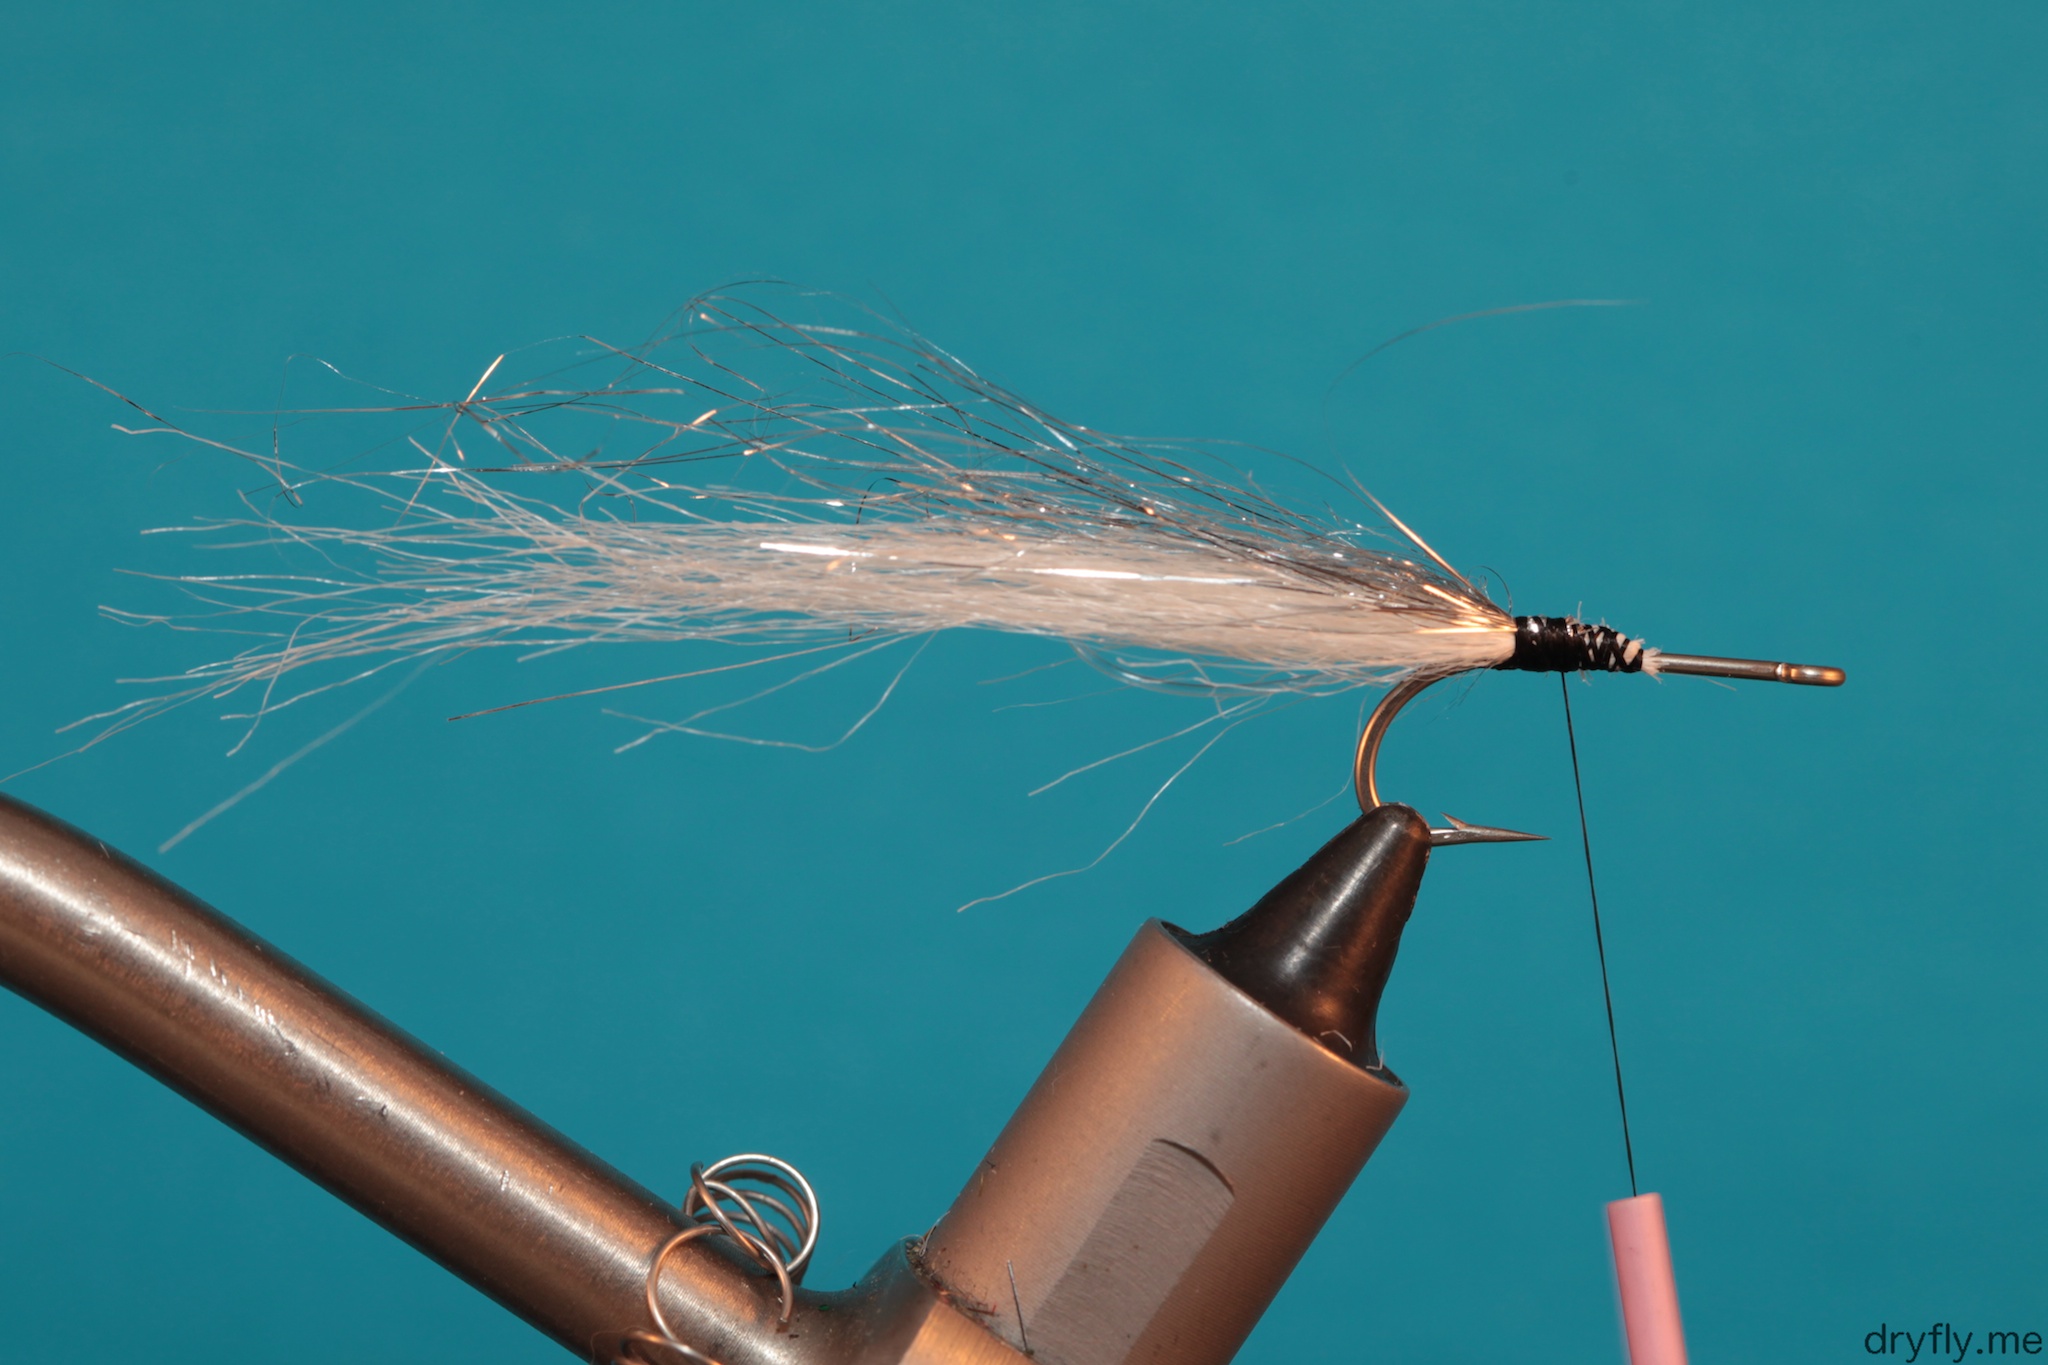
 5. Make a dubbing loop of the thread and add the CDC. I use the Marc Petitjean Magic Clip to get the fibers off the feather.
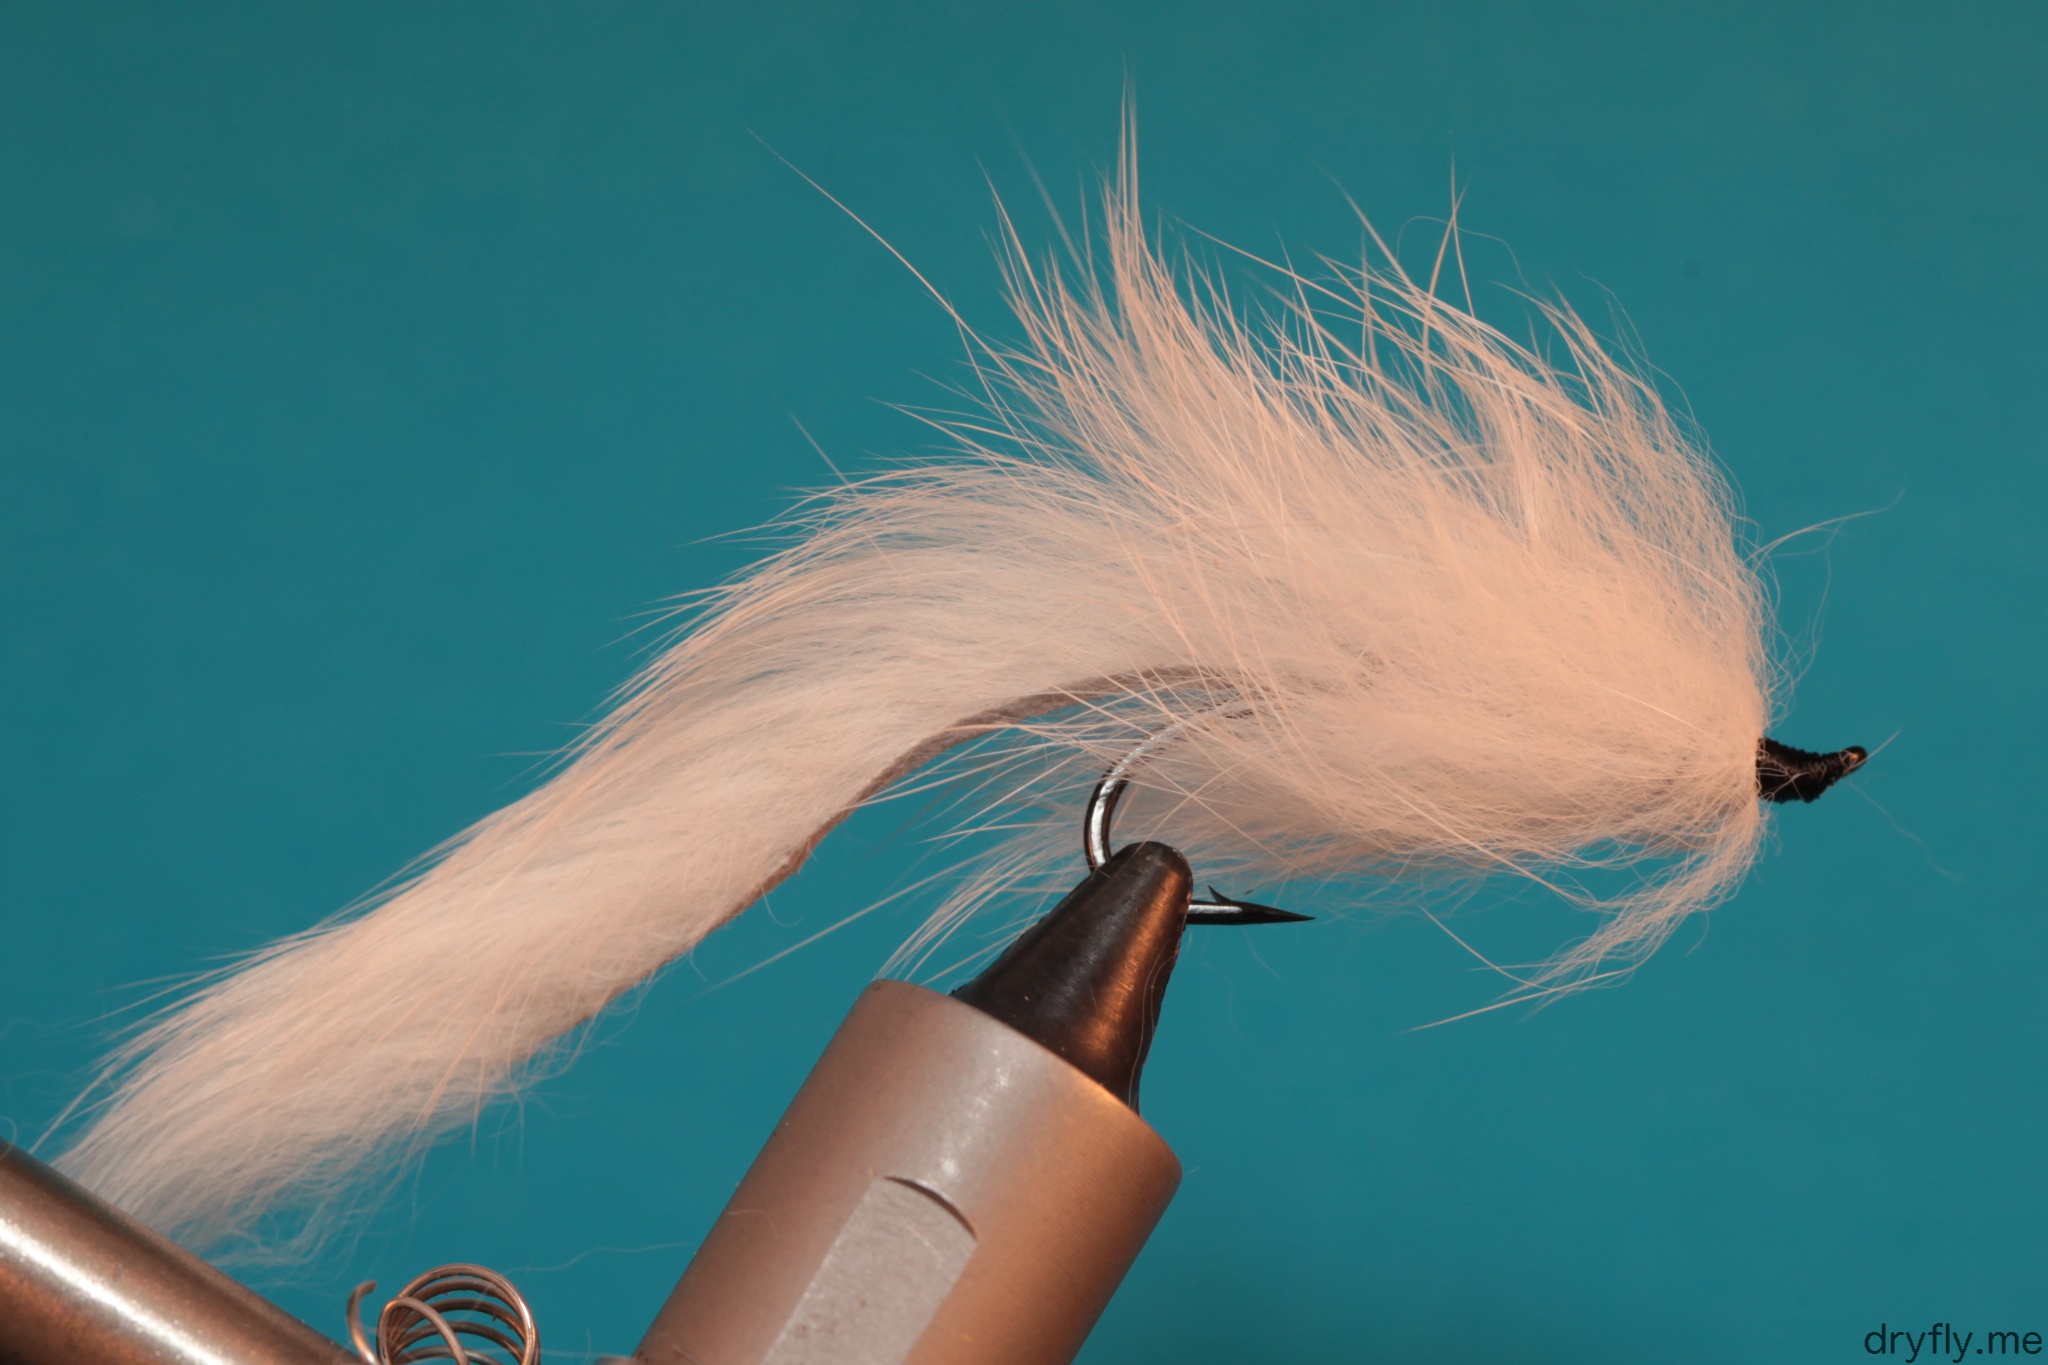
 6. Wrap the CDC just behind the deer hair and tie if off, again: make sure to not tie it too close to the eye
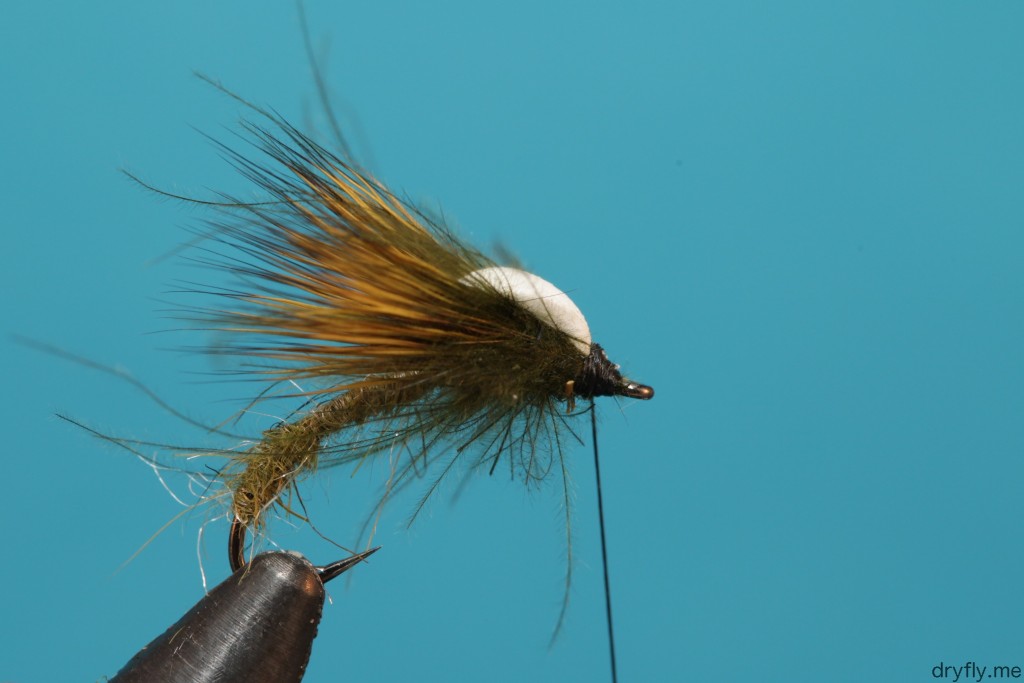
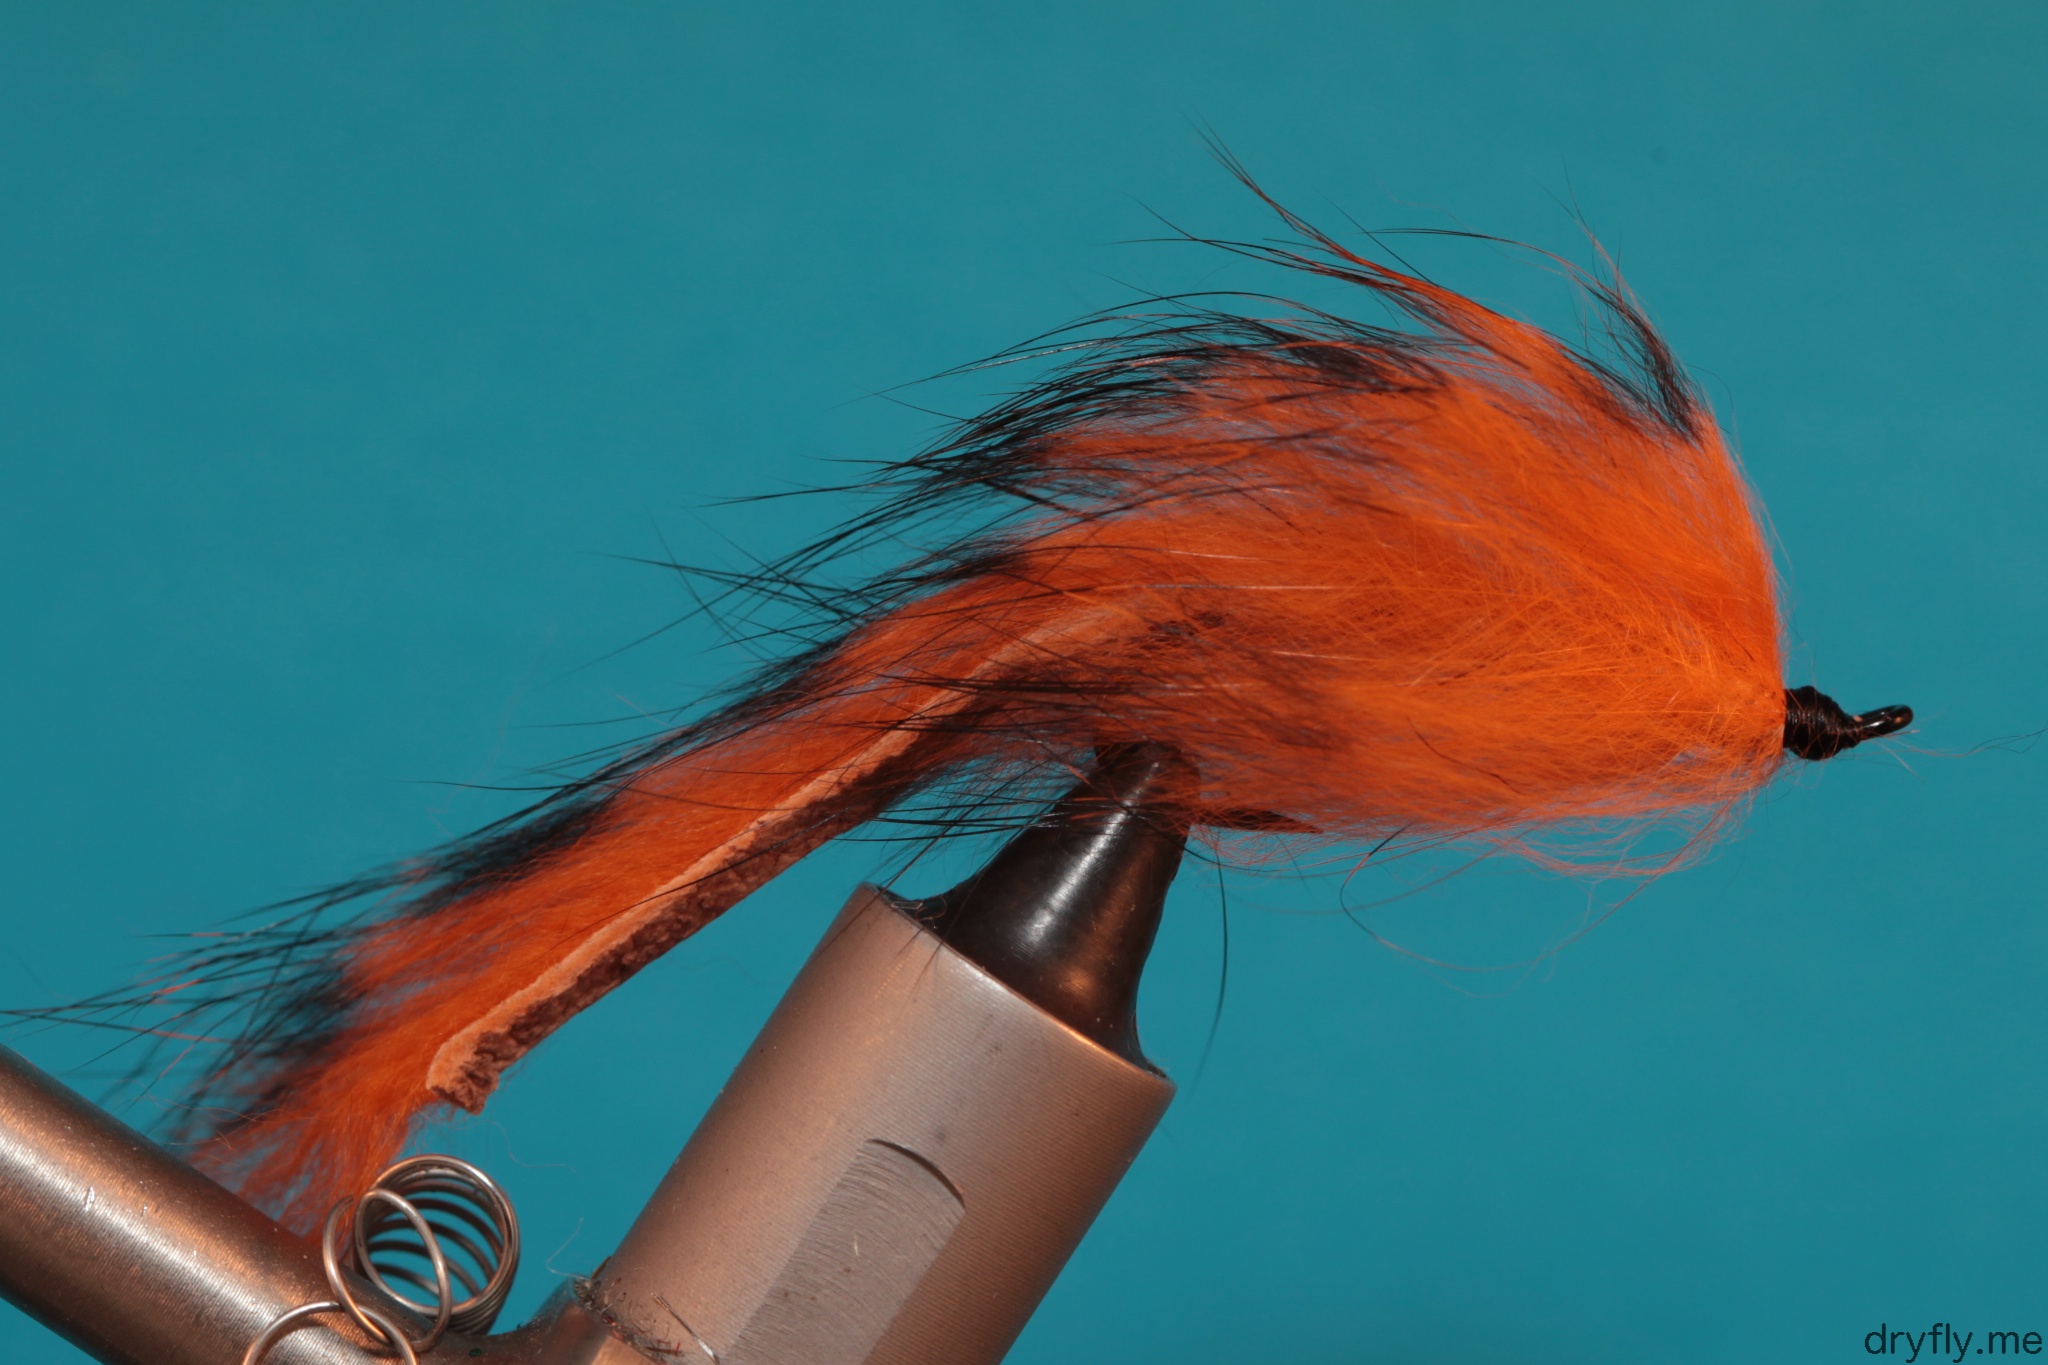
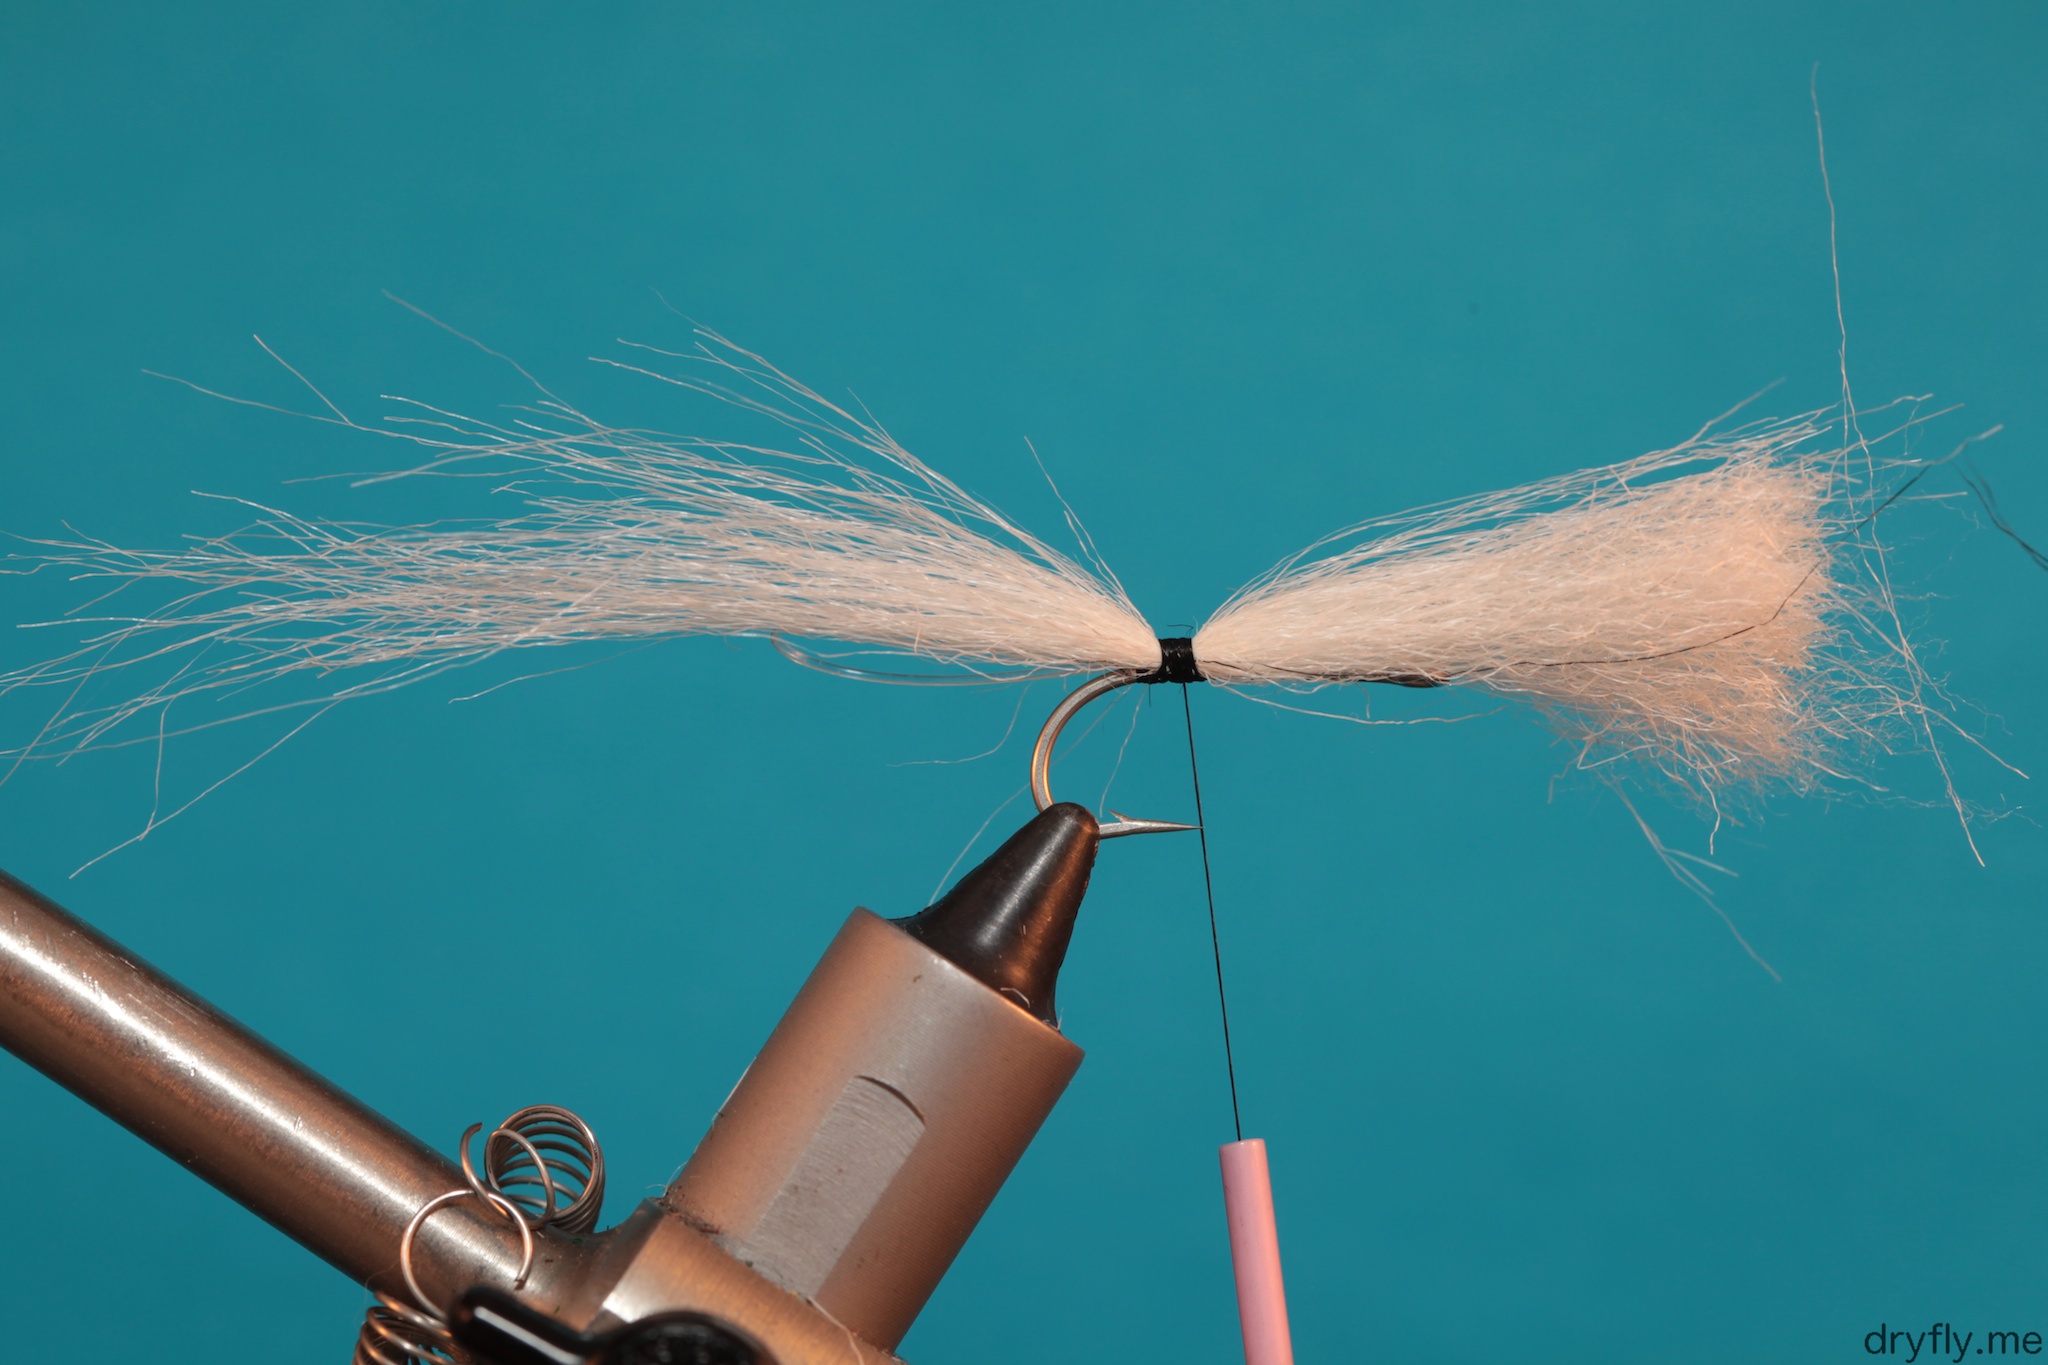
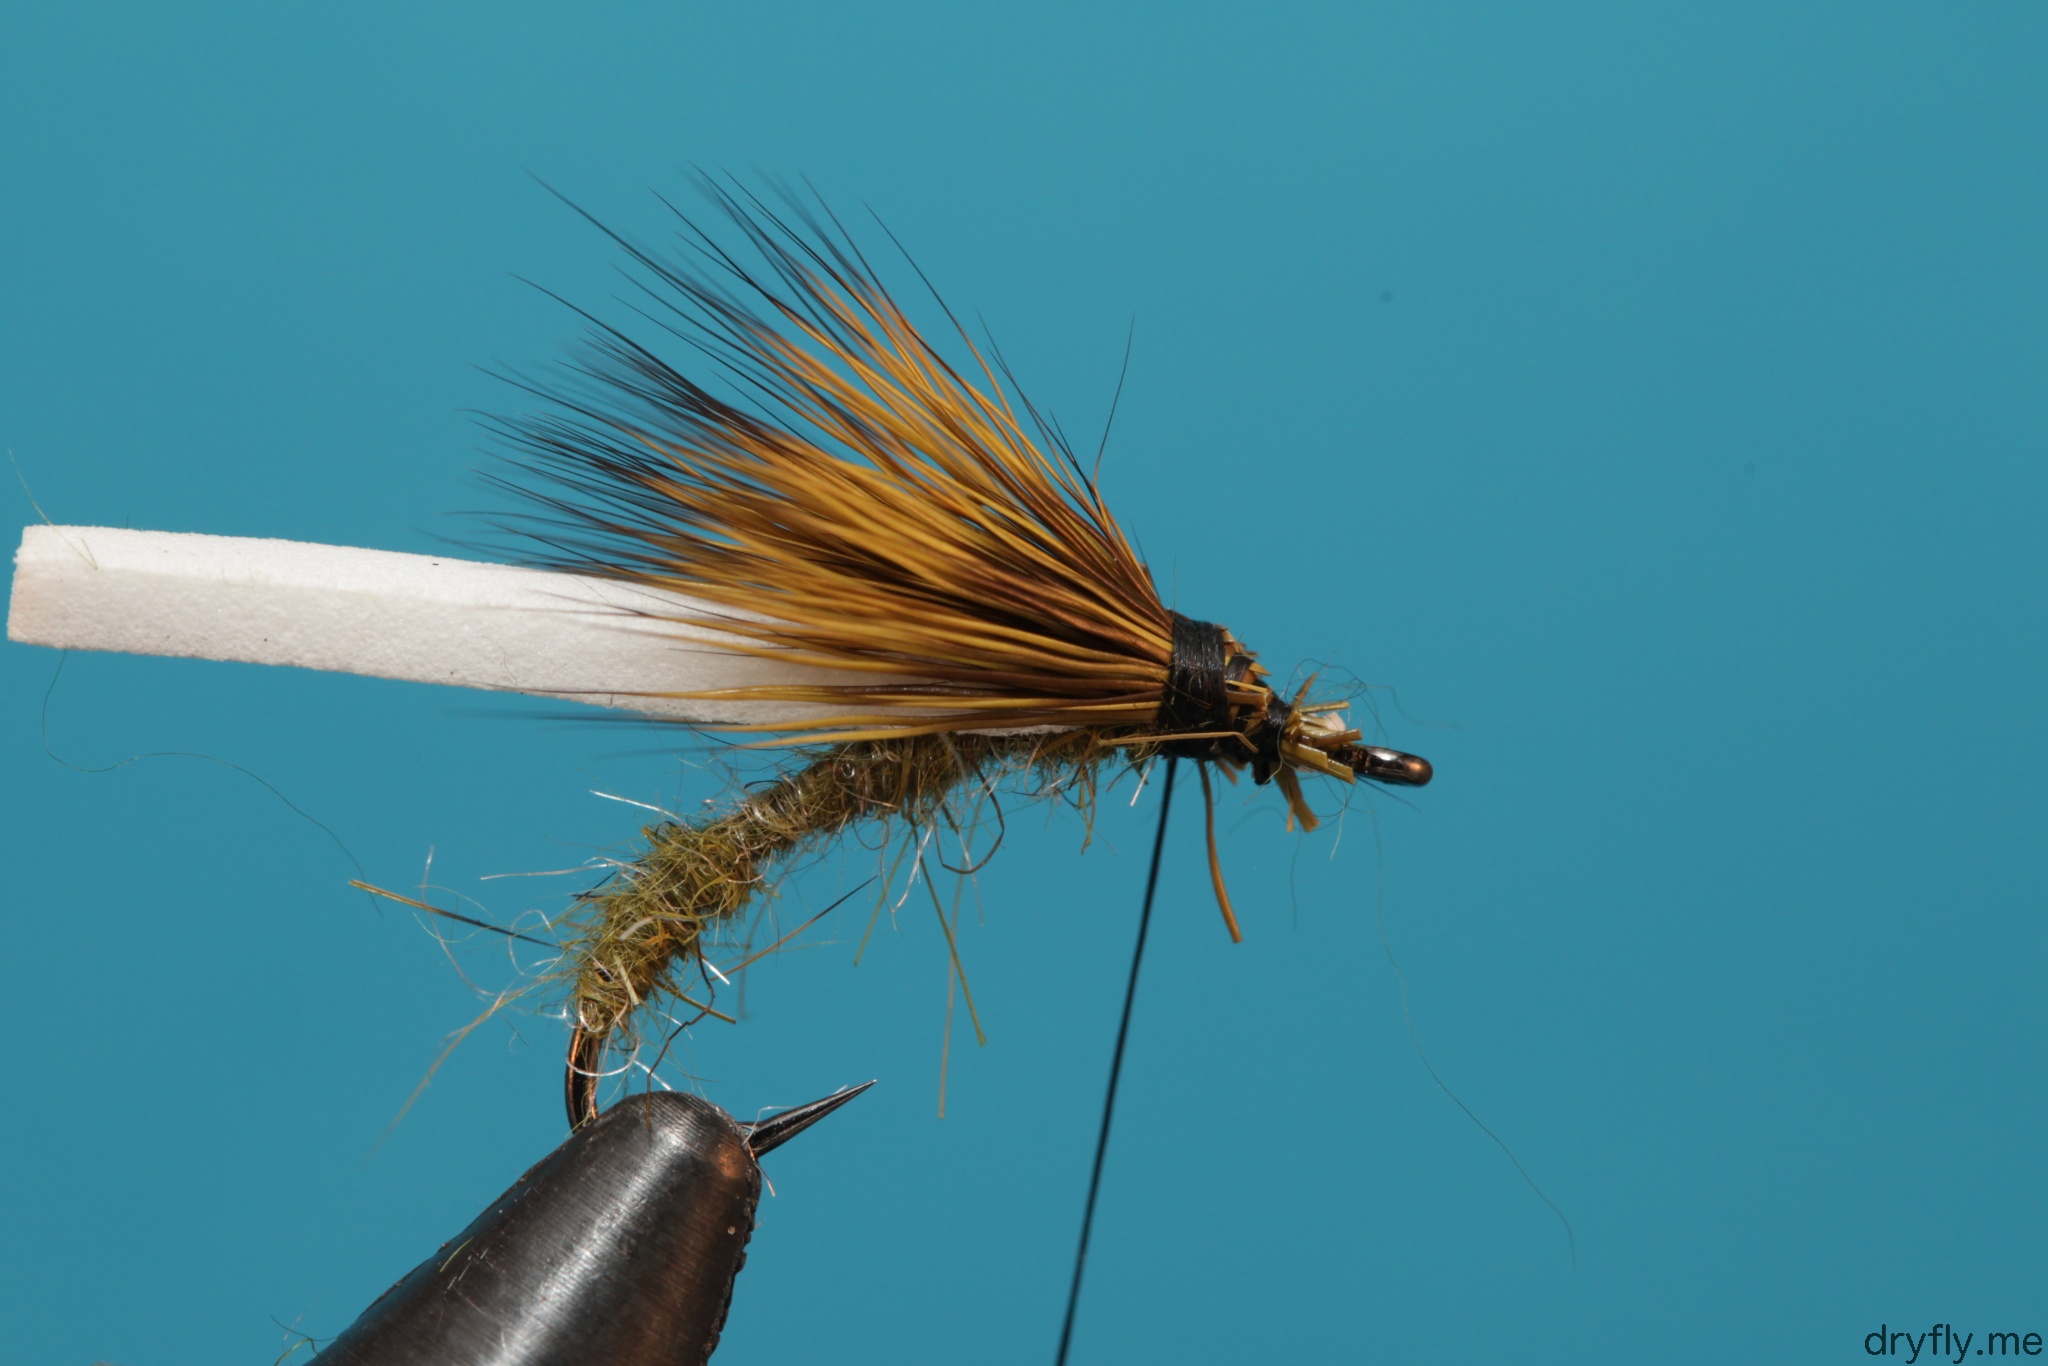
 7. This is the interesting part: drag the strip of foam slowly to the front through the deer hair and split it into a wing. Wiggle the foam through the hair and make sure the wings are even, look at the fly from above and try again if it is uneven. Tie off the foam – depending on the foam make sure to be very careful when tying it off: you can risk tearing the foam in two and you have to start all over again….
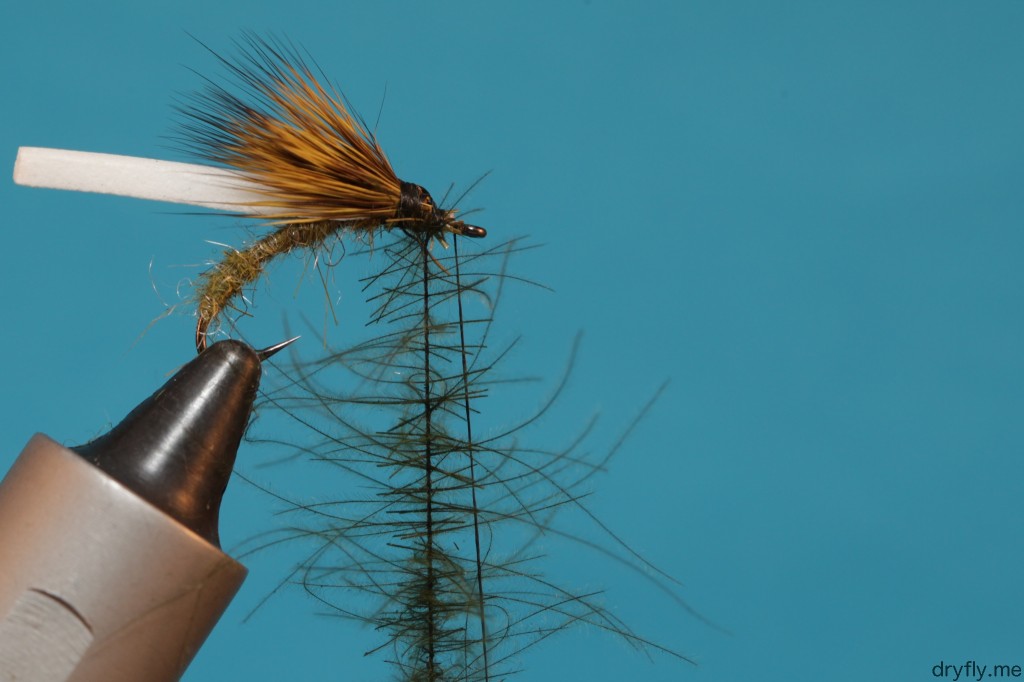
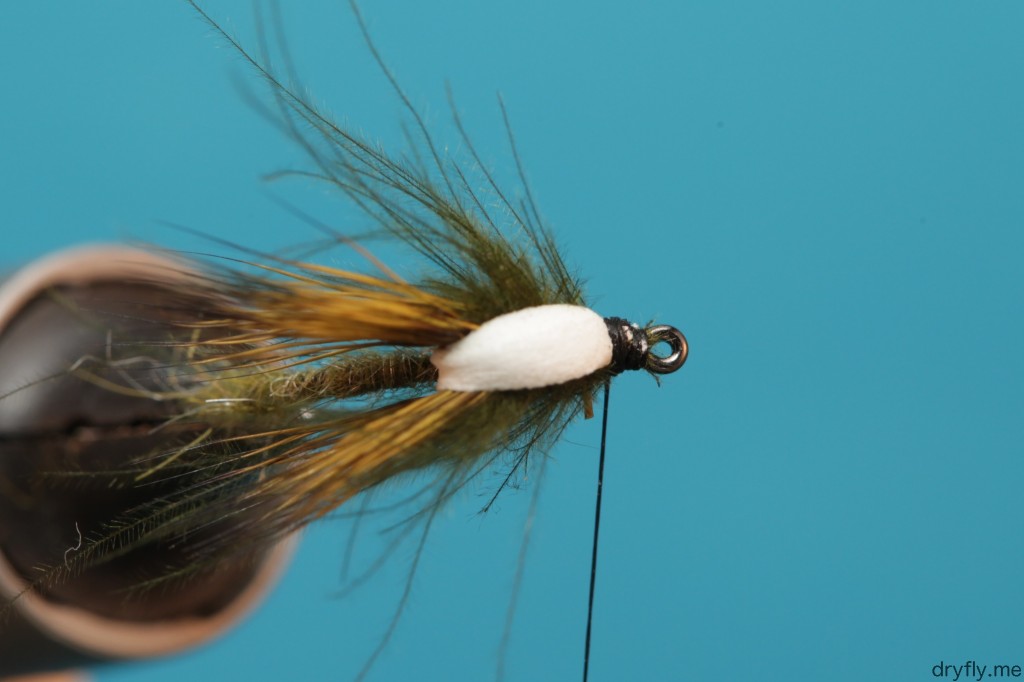
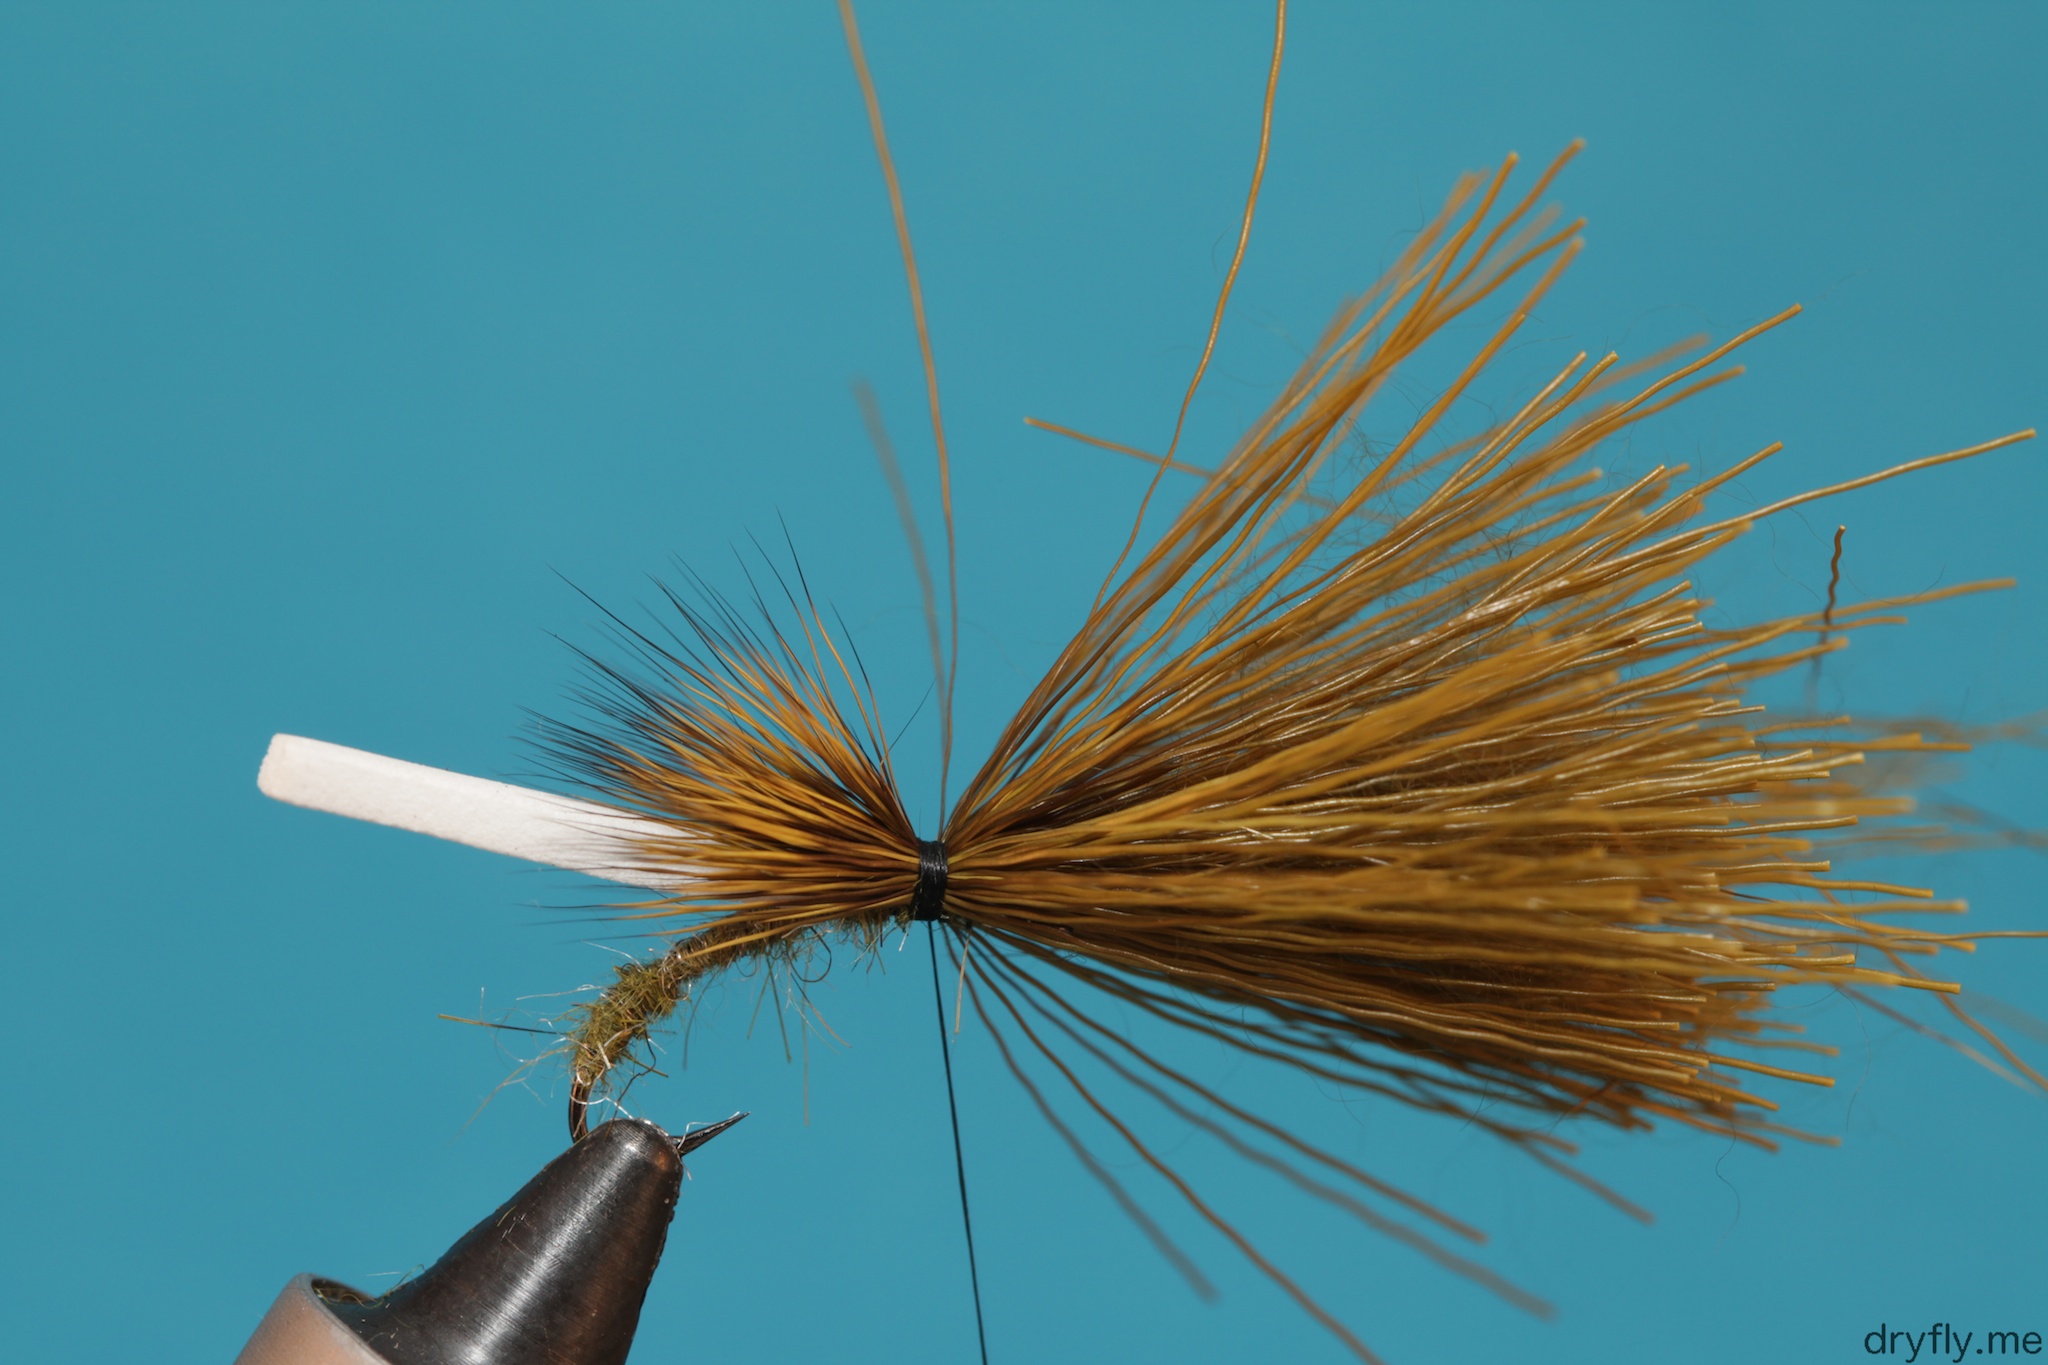
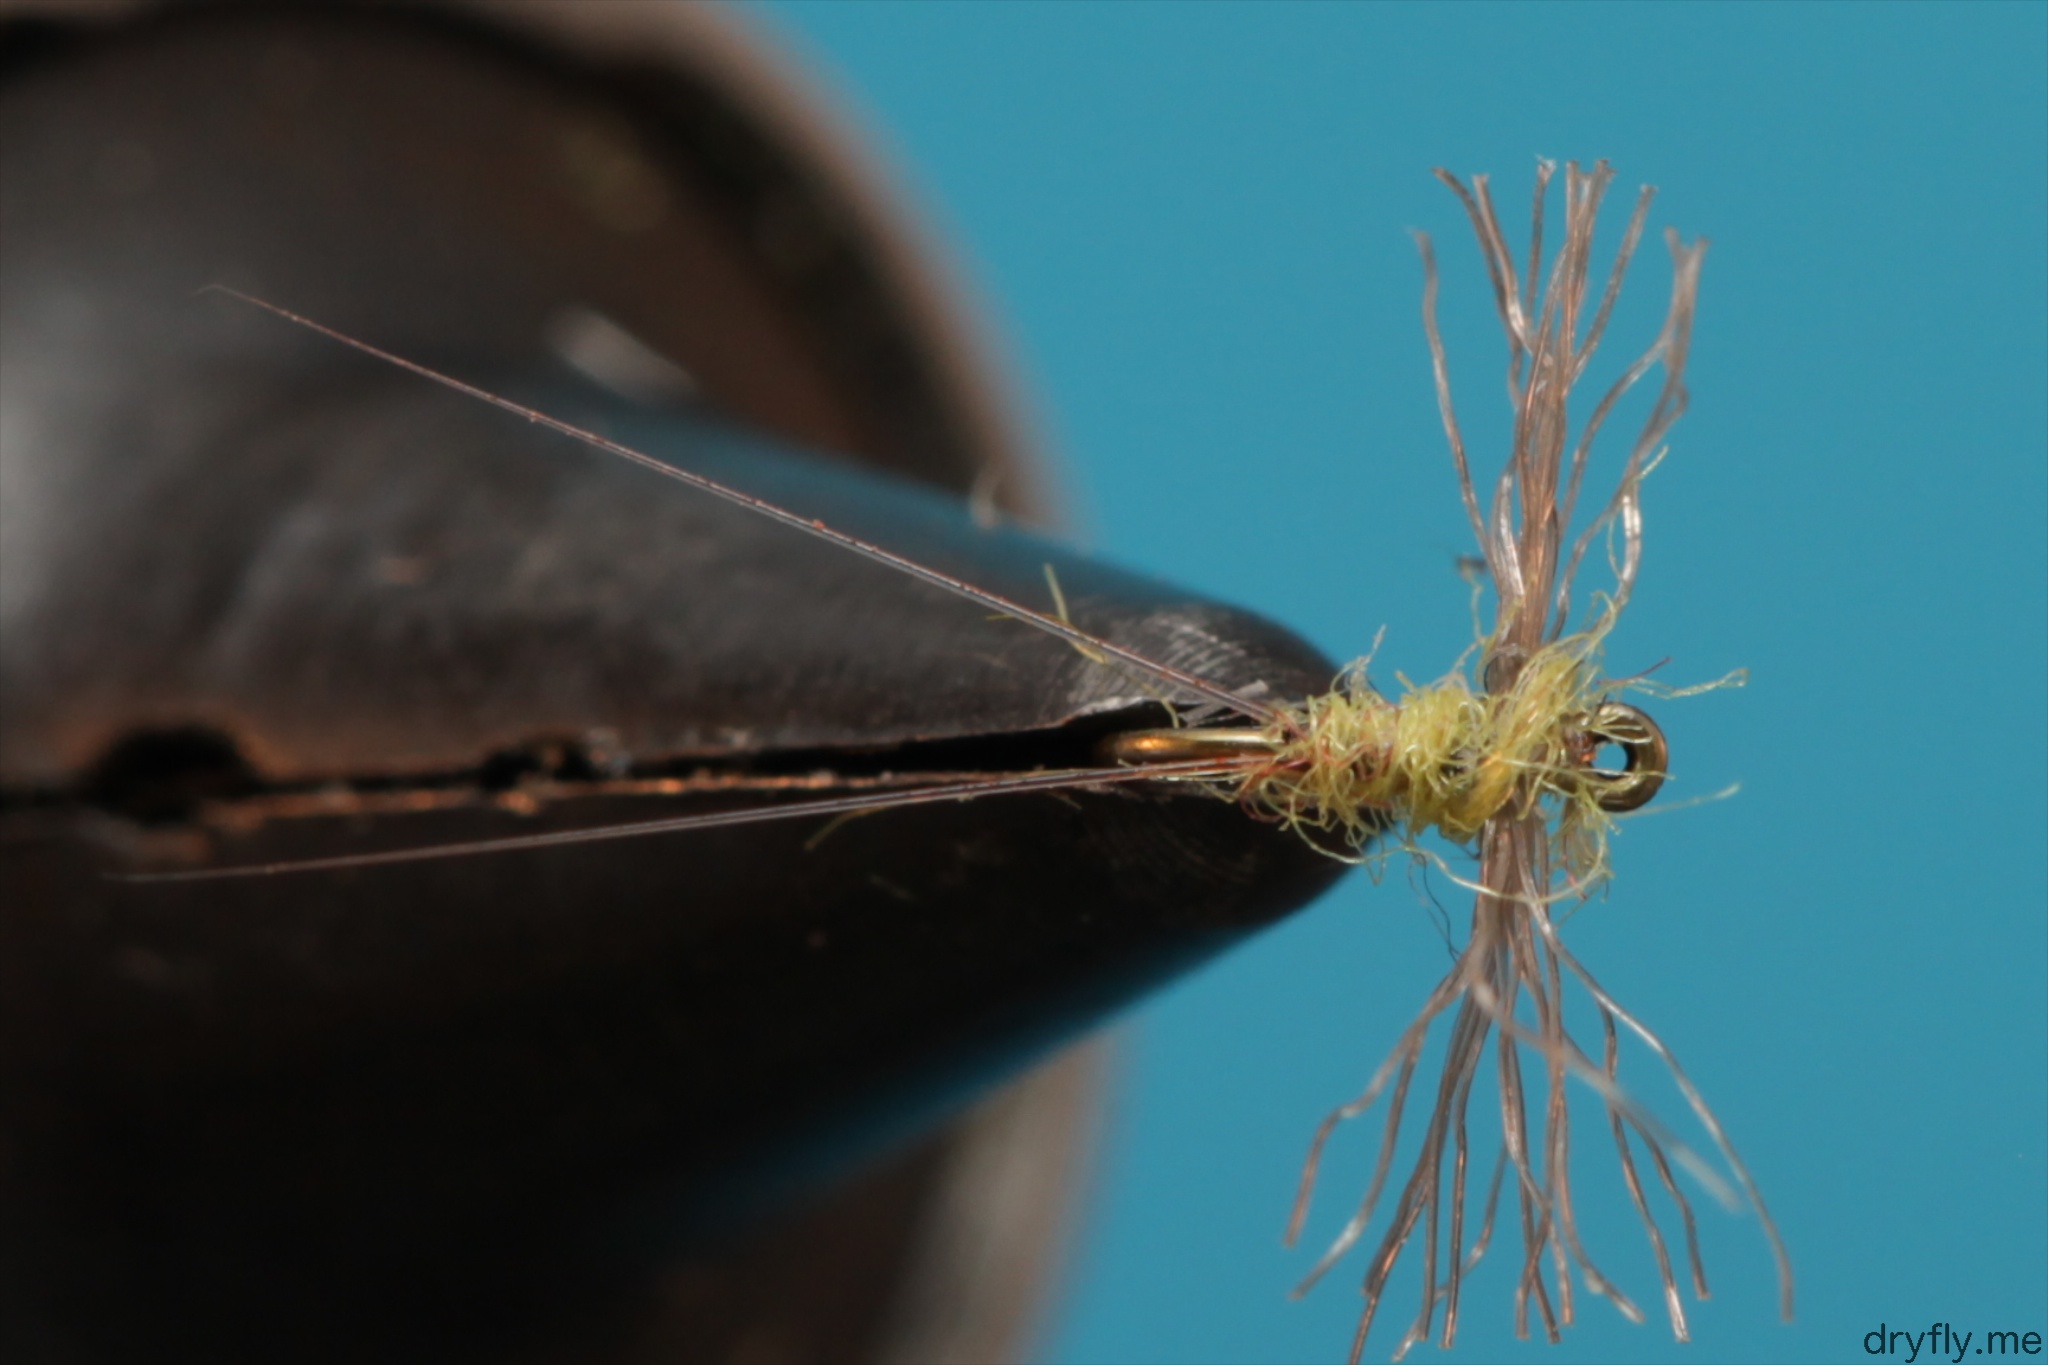
 8. The split wing from above
 9. Apply a bit of dubbing to the head and tie off.
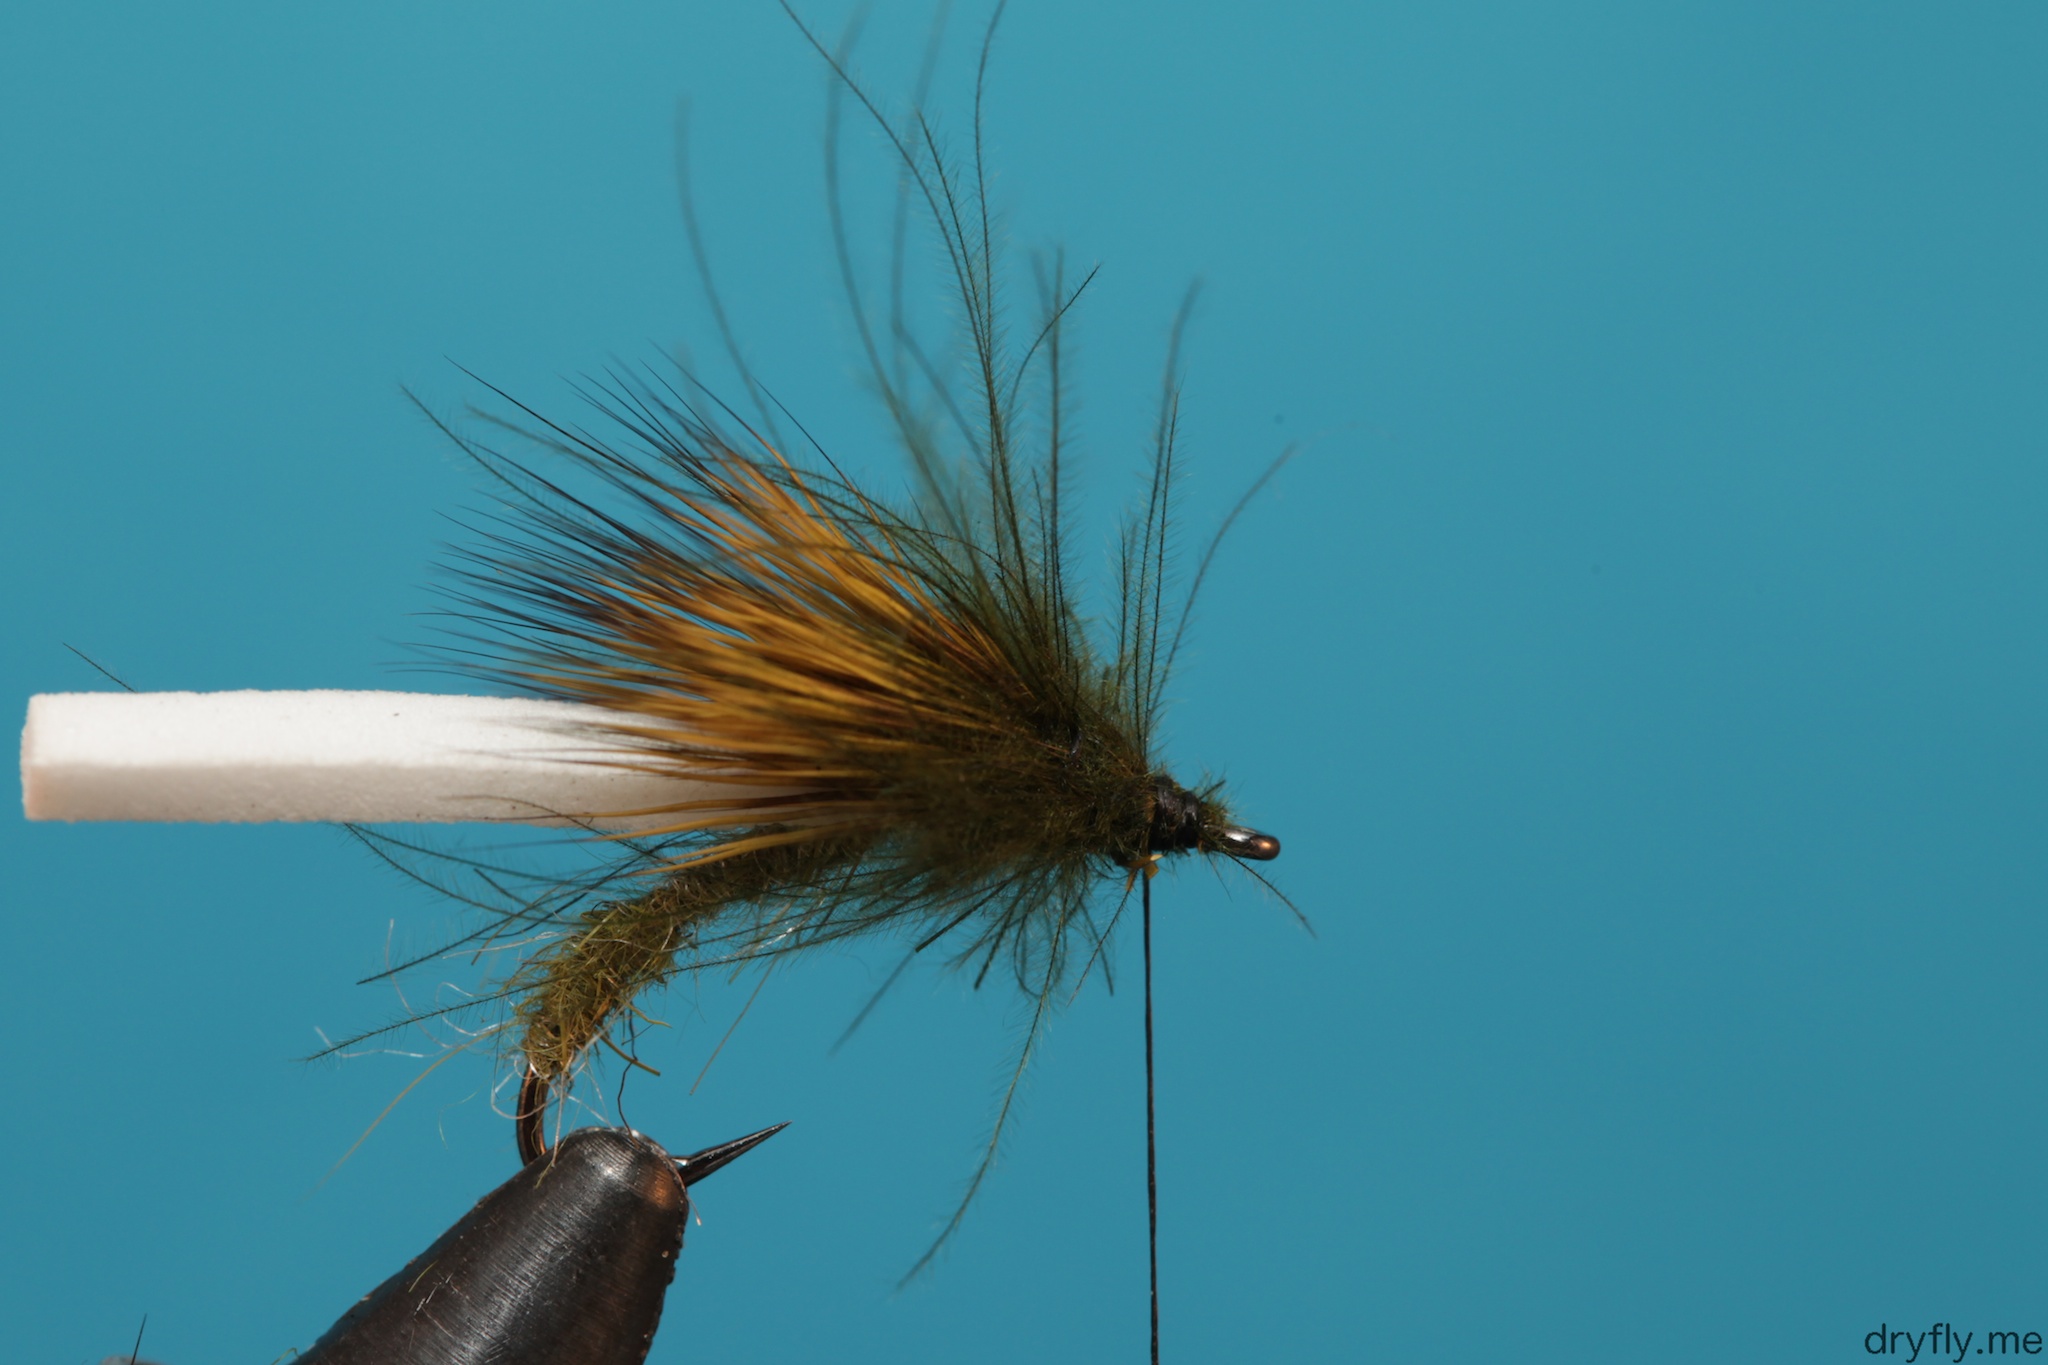
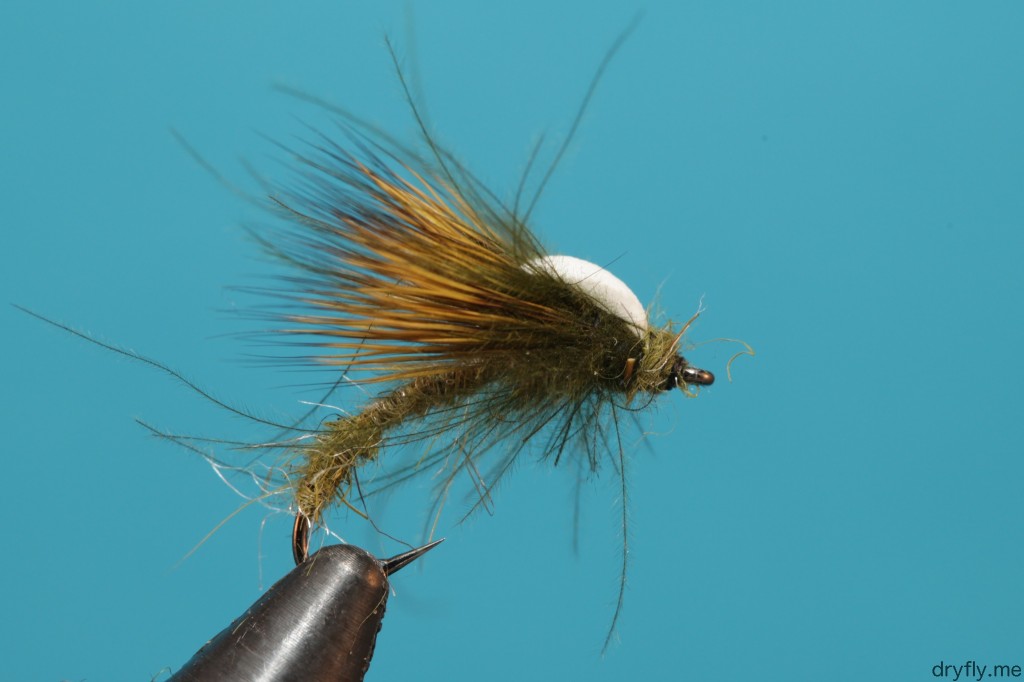 Add a bit of floatant to the wing and it is set to go! This is a fly that can be varied in different colors and sizes, the important part is the brilliant profile it gives in the water. You can tie it without the CDC, but I think the added CDC gives a lot of life on the surface


Recent Comments